The Artist · Stylist Kit
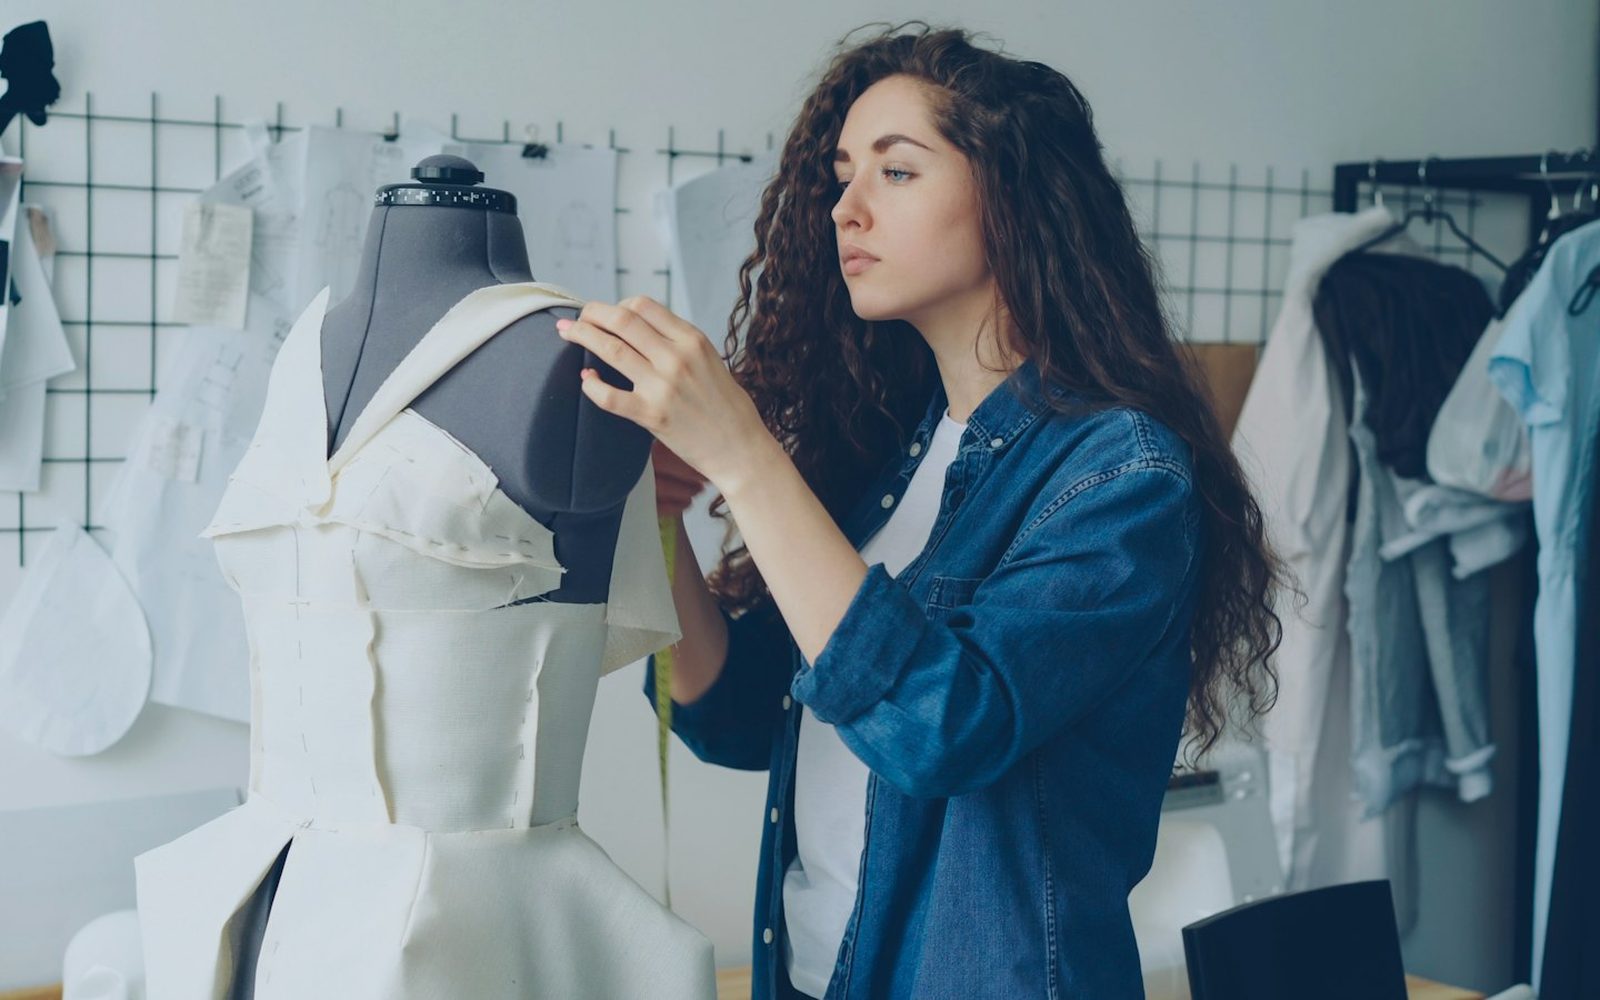
Call time is seven, and the first look comes off the rack with a fold line across the bodice. The talent will sit in the makeup chair for forty minutes. So you have time, but only if the right tools are already in the bag. That is the quiet test of a stylist kit. It rarely shows in the final image. Yet it decides whether the sample goes back clean and the hem sits straight. This guide is for stylists working across editorial, commercial and celebrity styling. It builds the case around on-set problems rather than a shopping list. Each tool below answers a specific failure, and each one earns its weight.
The short answer
A working stylist kit covers five jobs: removing wrinkles, adjusting fit, securing garments, cleaning marks and protecting borrowed pieces. In practice, that means a handheld steamer, A-clamps, double-sided fashion tape and safety pins. It also means a lint roller, a stain remover pen, a travel sewing kit, sharp scissors and clear sole protectors for loaned shoes. Build it around the problems you meet most. Test every product on hidden fabric first, then restock after each job so the case is ready for the next call.
In this guide
- What Goes in a Stylist Kit, and What Stays Home
- Steam First: The Tool That Opens Every Shoot
- Clamps and Pins: Fit Without Alteration
- Fashion Tape: Hold, Hide and Release
- Lint, Marks and Stains: The Clean-Up Kit
- Tailoring Fixes You Can Make on Set
- Protecting Loaned Shoes and Accessories
- Packing, Restocking and Billing for the Kit
- The Quiet Work That Holds a Shoot Together
- Questions worth asking
What Goes in a Stylist Kit, and What Stays Home
Search for styling essentials and you often find lists of clothes: a fedora, a blazer, a leather jacket. Those pieces may help a photographer who shoots alone, but they are not your job. Your job is to make borrowed and bought garments look intended on a specific body, under specific light. So a stylist kit holds tools, not wardrobe. It also holds consumables that run out quietly, such as tape, pins and lint sheets. Meanwhile, the case itself matters, because you will carry it up stairs and through airports. Rented studios rarely offer storage. A rolling case with clear pouches lets an assistant find a clamp without asking you. It also helps to sort the pouches by problem: wrinkles, fit, movement, marks and shoes. Gaps then become obvious before the day starts.
Steam First: The Tool That Opens Every Shoot
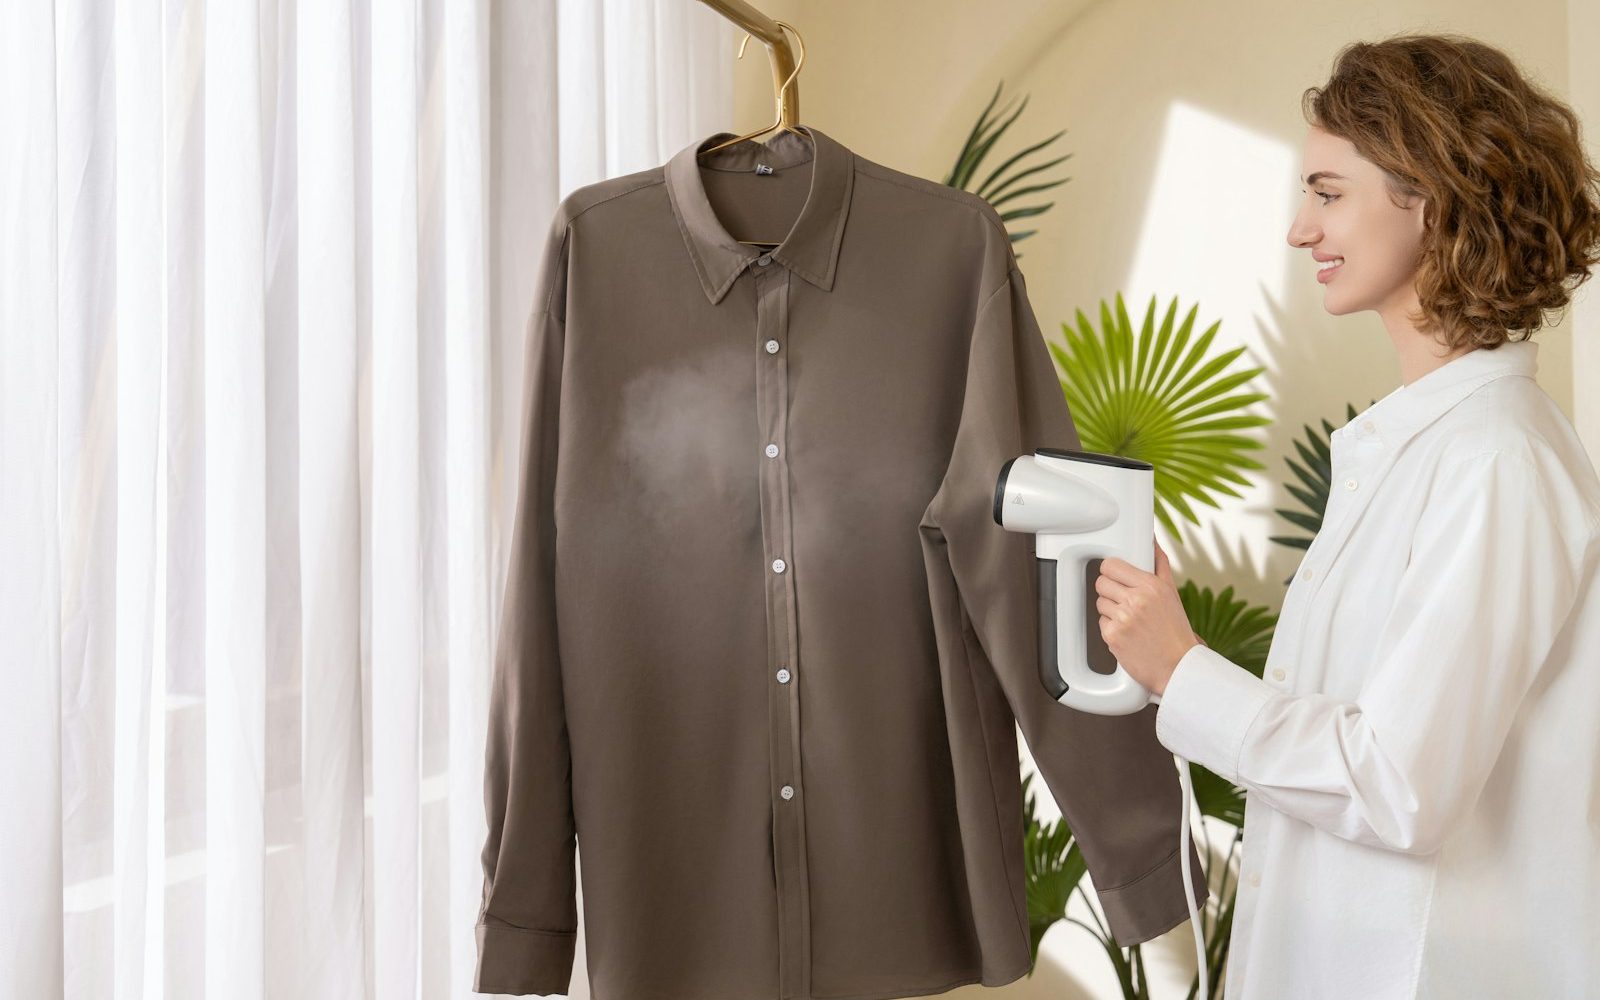
Most garments arrive creased. They travel folded in garment bags or boxed from showrooms, and they rarely hang long enough to relax before call time. A steamer is therefore the first tool you plug in and the last one you unplug. Before you steam anything, read the care label. The FTC guide to the Care Labeling Rule explains that covered garments need a care instruction. They also need a warning when an ordinary step, such as ironing, would harm the item. That label tells you what the fabric can survive. If it warns against heat, steam from a distance or not at all. Then test an inside seam first, because a water mark on a sample becomes your problem to explain.
HiLIFE Handheld Steamer — the first tool on set
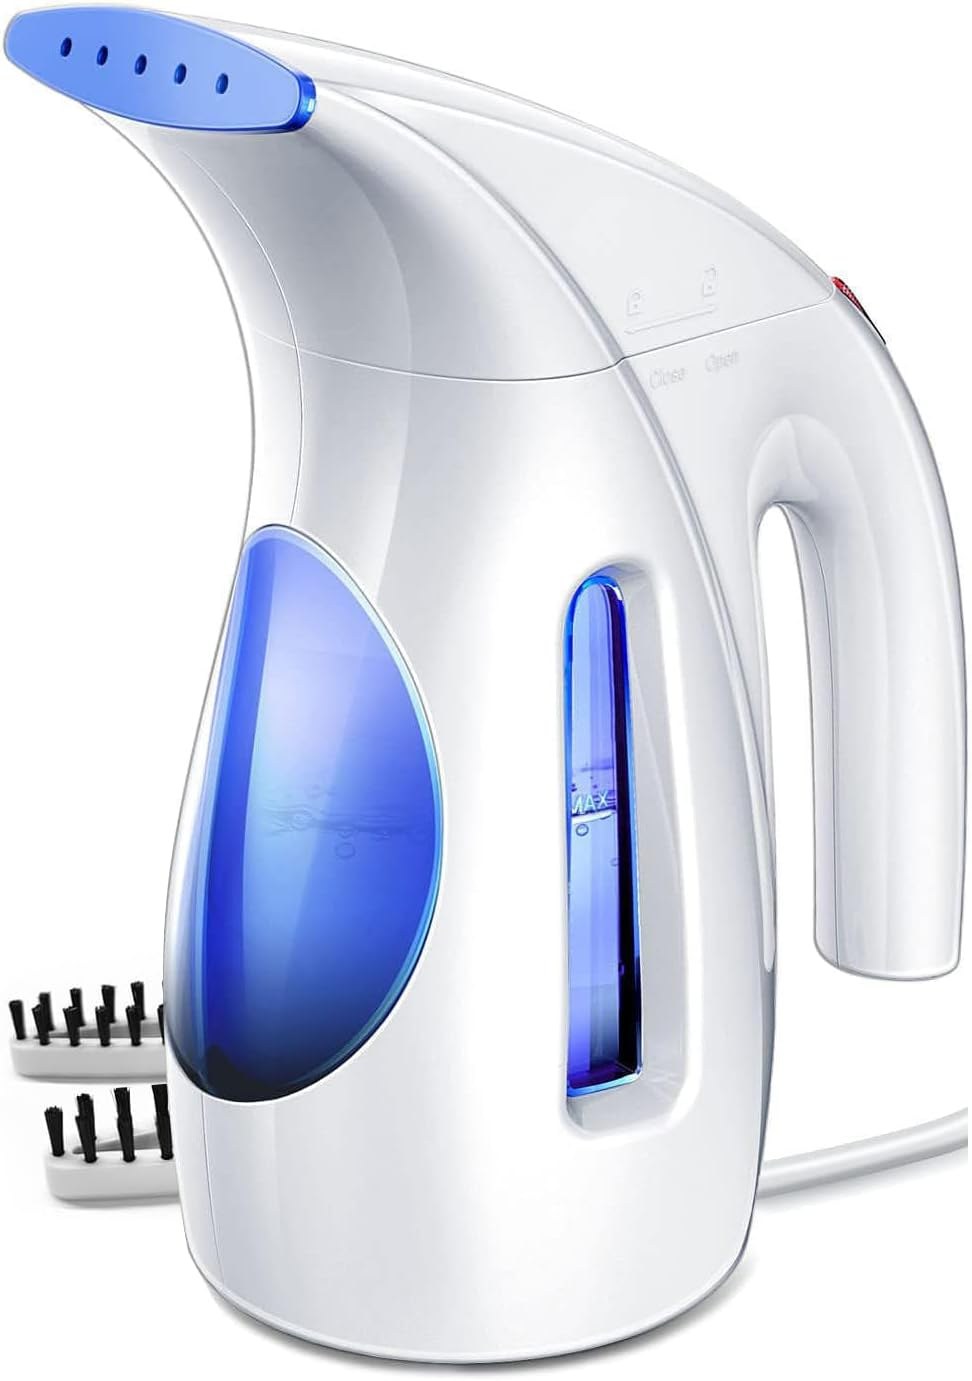
With that test done, a handheld steamer handles most creases before the first look. The HiLIFE Handheld Steamer is a 700W handheld unit with a 240ml water tank. Its 9-foot power cord gives you room to work around a rack instead of beside the outlet. In practice, it suits editorial, e-commerce and talent fittings, where pieces arrive folded from courier boxes. Because it is handheld, it packs into a kit case with the rest of your tools. Then refill the tank between rails, so steam stays steady through a long morning. However, keep it away from leather, suede and beading, which need a different approach or none at all.
Technique matters as much as the machine. The Jiffy Steamer owner’s manual advises against touching velvet or silk directly with the steam head. It also warns against water left in the steamer overnight, since stale water can foam and spit droplets. Both points apply to most machines. So empty the tank each night and refill with fresh water in the morning. Keep a towel nearby for the first bursts. Safety deserves attention too. A CPSC recall notice for VEVOR garment steamers describes tank caps that could leak or detach, with burns reported. Check your model against recall notices before each season. Also keep the nozzle well away from the talent, especially near the face and hands.
Clamps and Pins: Fit Without Alteration
Samples come in one size, and bodies do not. Clamps let you take in a jacket or dress at the back without a single stitch. That matters, because showrooms expect pieces back in the condition they left. Spring-loaded A-clamps hold firmly and release cleanly. A set in two or three sizes covers sleeves, waists and full back seams. Wrap the jaws in a little tape if the fabric is fine, since bare metal can leave a mark. Then place each clamp where the camera cannot see it, usually along the center back. Check the line from the front after each one. Our guide to clipping and pinning on figure covers in-house work, where clamps stay on for hours. The same habits apply on any set.
EMART Heavy Duty Spring Clamps — fit without a stitch
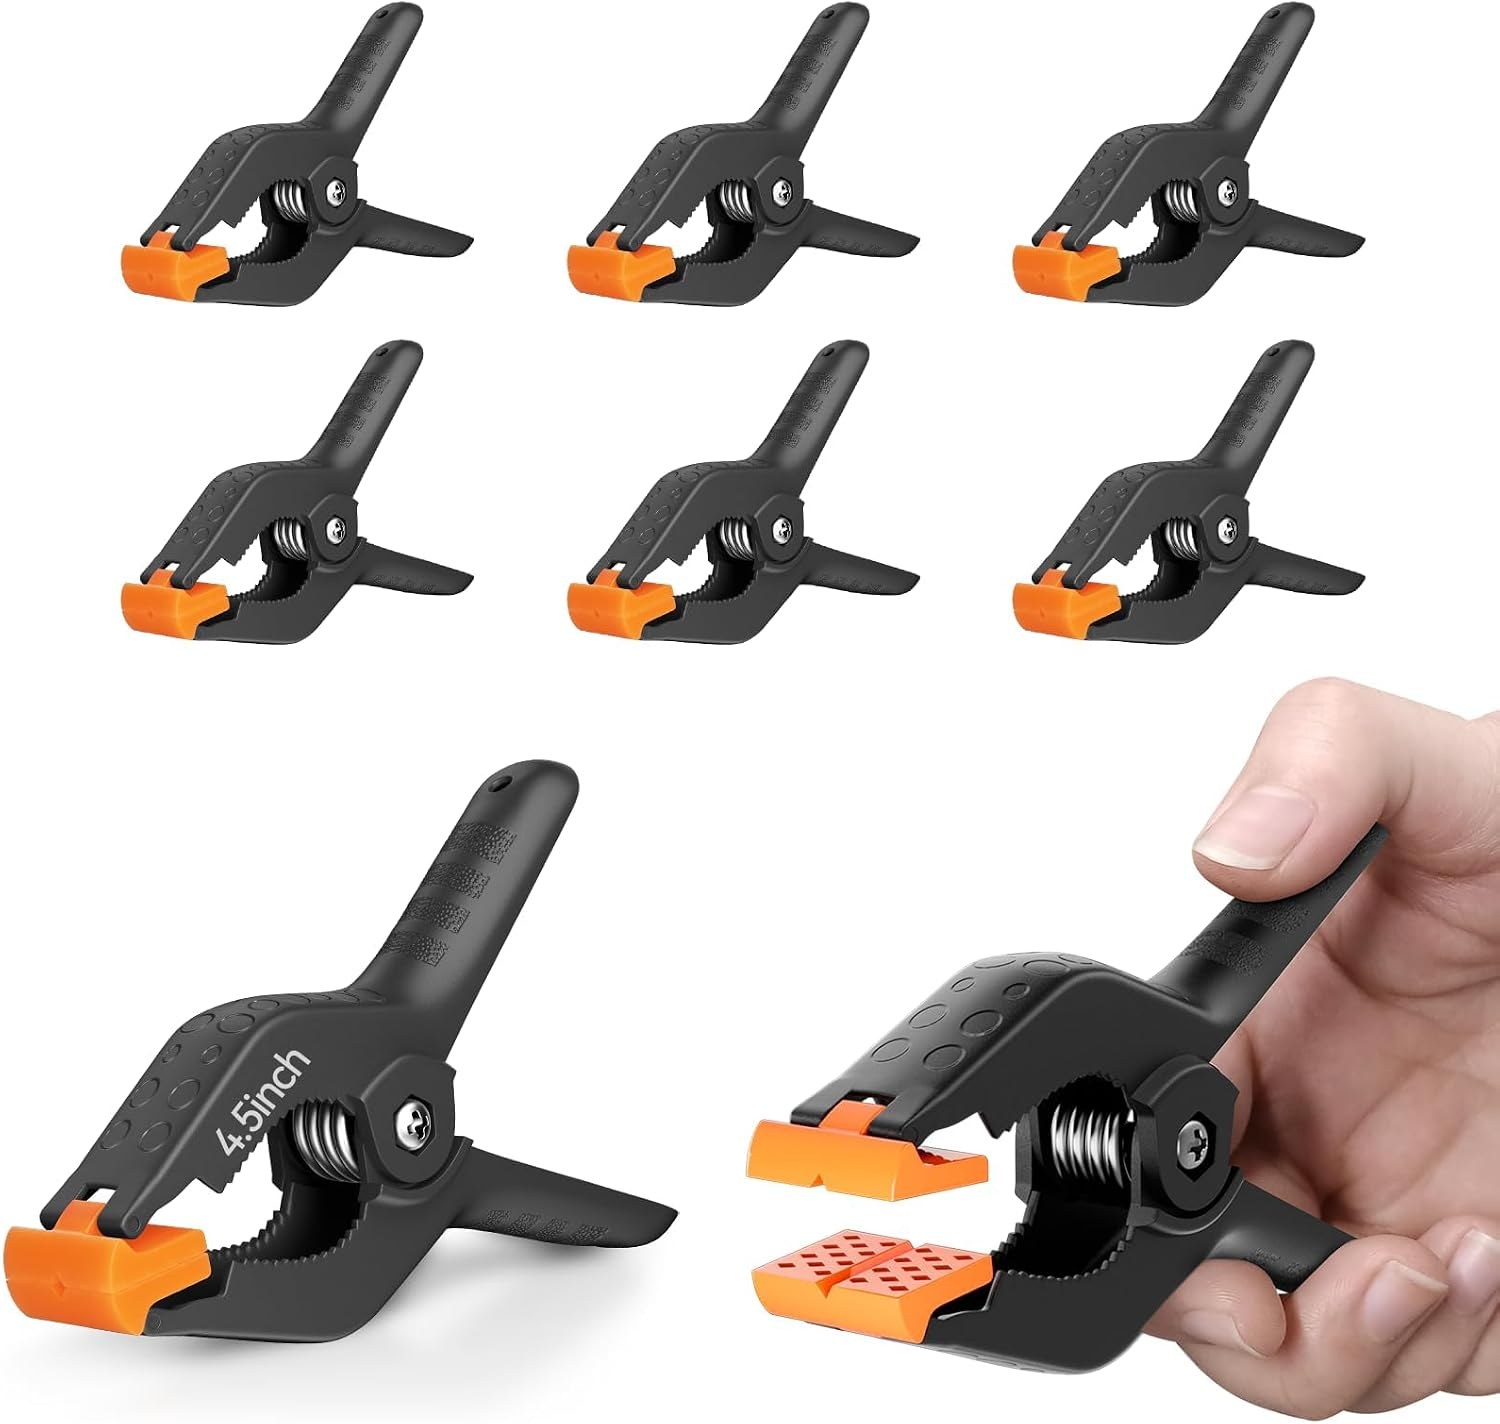
For fit without alteration, spring clamps take up excess fabric at the back of a garment. EMART Heavy Duty Spring Clamps come as a six-pack of 4.5-inch hard nylon clamps. Each one opens to a maximum of 2 inches, so it can grip a folded seam allowance or a doubled waistband. In practice, clip at the center back, then check the front silhouette through the camera. Because the clamps are nylon, they are light enough to sit on a garment without dragging it down. Also pad the jaws with tissue on delicate fabrics, since any clamp can leave a mark under pressure. Six clamps suit a single look, while a busy set may need two packs.
Fit work happens on a person, and that person deserves a word before you touch them. Tell the talent where a clamp or pin is going, especially near the chest, hips or neckline. Then check for pinching once they move into the first pose. A clamp that bites into skin will show in the face before it shows in the clothes. Meanwhile, keep a record of each adjustment on multi-look days. The same dress may return later in the shoot, and it should sit the same way. A quick phone photo of the back of each look does the job. As a result, an assistant can recreate the fit while you prepare the next look on the rack. That handover keeps the day moving.
Pins do the finer work clamps cannot reach. A safety pin can secure a gaping neckline or close a wrap dress at the waist. It can also hold a strap in place under a jacket. Choose rust-resistant brass or nickel pins in several sizes, and keep them sorted. Digging through a tangled tin wastes the time you saved with steam. Straight pins with glass heads also help when you mark a hem or test a cuff. Still, every pin hole is a potential mark on silk or satin. So pin through seam allowances, linings or the inside of a hem where possible. Avoid the face fabric of any piece you must return. Finally, count your pins out at call time and back at wrap.
XKDOUS Safety Pins — three sizes for discreet fixes
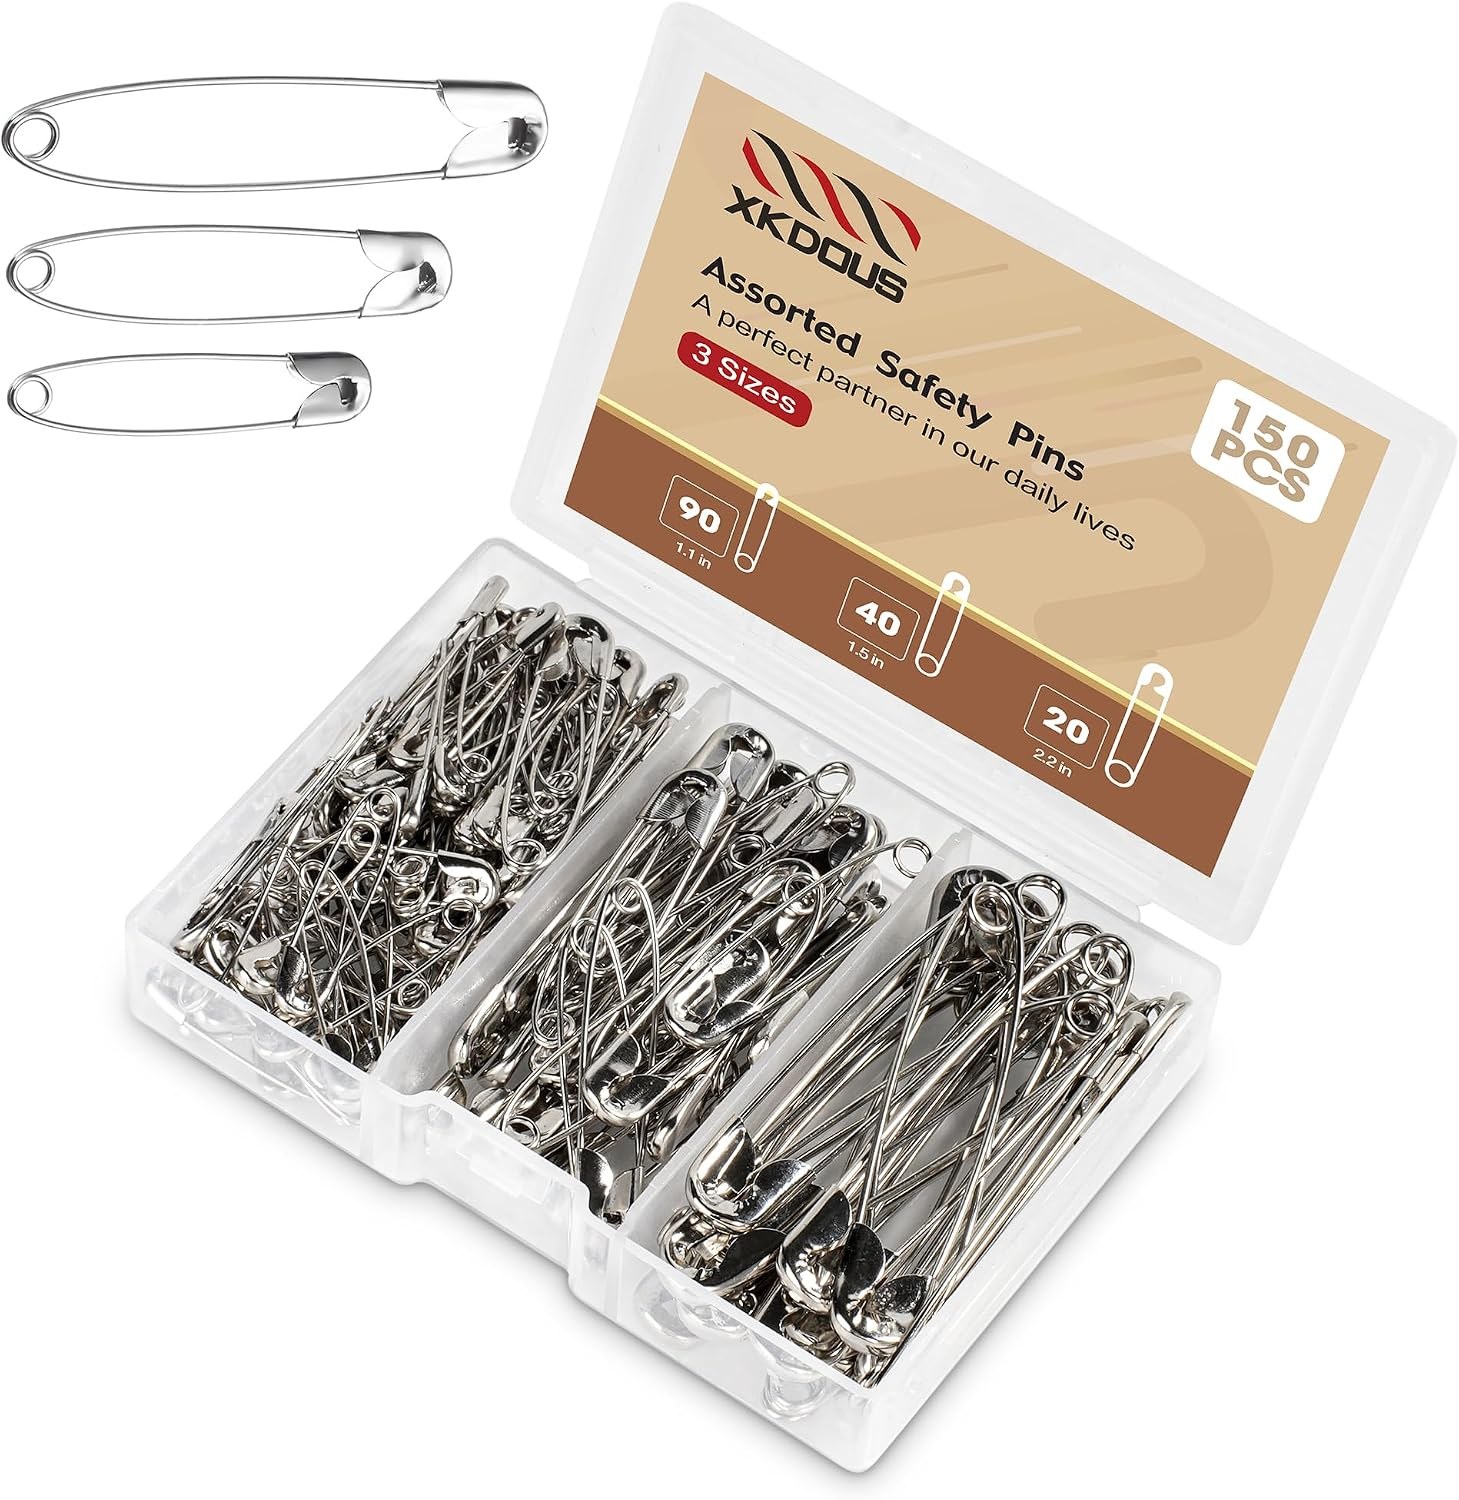
Where a clamp would show, a safety pin often does the job more discreetly. XKDOUS Safety Pins come in a pack of 150 in three assorted sizes. Because the sizes differ, you can match a small pin to a strap and a larger one to a waistband. For example, pin a loose bodice from inside, along a seam, so the hole hides in the stitching. Then note each pinned piece on your return sheet, since PR teams check for marks. A pack this size suits a kit that serves several sets a month. However, avoid pinning through delicate silk or leather, where even a small hole stays visible. Keep the pins sorted by size, so you can reach the right one quickly.
Fashion Tape: Hold, Hide and Release
Double-sided fashion tape holds fabric to skin or to itself, and it solves problems no clamp can reach. It keeps a plunging neckline in place and stops a strap from slipping. It closes the gap between buttons on a fitted shirt, and it can tack a hem up for one shot. However, adhesive and delicate fabric do not always agree. Some tapes leave residue on silk, satin or velvet, and some lift dye on darker pieces. So test a small strip inside a seam before you trust it near the face fabric. Remove it slowly at a low angle, folding it back on itself. Then check the garment for residue before it goes back on the hanger. A small mark found now is far easier to treat.
Fearless Tape — pre-cut strips for necklines and straps
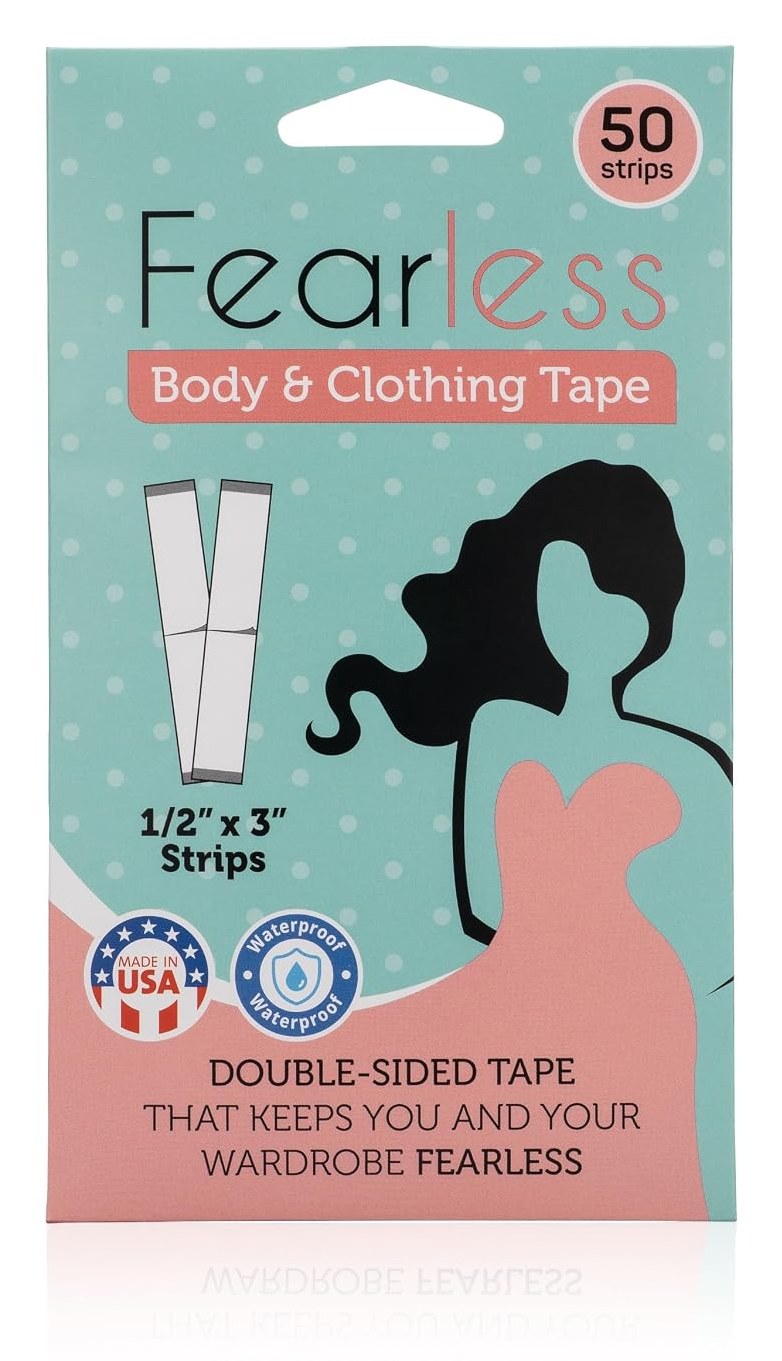
Under a neckline or along a wrap, double-sided tape holds fabric where clamps and pins cannot. Fearless Tape is a double-sided clothing and body tape that comes as 50 pre-cut strips. Because the strips are already cut, you can work quickly between looks without scissors. In practice, it suits plunging necklines, gaping lapels and straps that slip on camera. Press each strip firmly, then let the talent move before the first frame, so you can see if it holds. Also peel it slowly at wrap, since a fast pull can stress fine fabric. Test it on an inside seam of any loaned sample before use. That way, you protect both the piece and your relationship with the brand.
Tape on skin needs the same care. Ask the talent about adhesive sensitivities before you apply it. Keep the skin clean and dry so the strip holds. Body lotion, oil and some makeup products weaken the bond, which is why tape often fails under warm lights. Coordinate with the makeup artist, because body makeup applied over the tape can undo it. Makeup applied first, on the other hand, can stop it sticking. On top of that, keep a gentle adhesive remover for the chest and shoulders. Those few careful minutes at wrap leave a lasting impression. Talent remember who looked after them, and agents remember which stylists their clients ask for again. Over a career, that quiet care becomes part of how people describe your work.
Lint, Marks and Stains: The Clean-Up Kit
Cameras see what eyes miss. A high-resolution sensor and a strobe will find every fiber of lint on black wool. They will also find every dust line on a velvet lapel. Retouchers can remove some of it, but they bill for the time. Worse, a client who sees lint in the raw files notices who missed it. So roll each dark garment after steaming and again just before it goes on set. Keep a lint roller with tear-off sheets in your apron, plus a spare refill in the case. A clothes brush helps with wool and cashmere, because it lifts fibers without sticky residue. For pet hair at a location home, use the roller first and the brush second. Then check again under the key light.
Scotch Mini Lint Rollers — pocket rollers for every frame
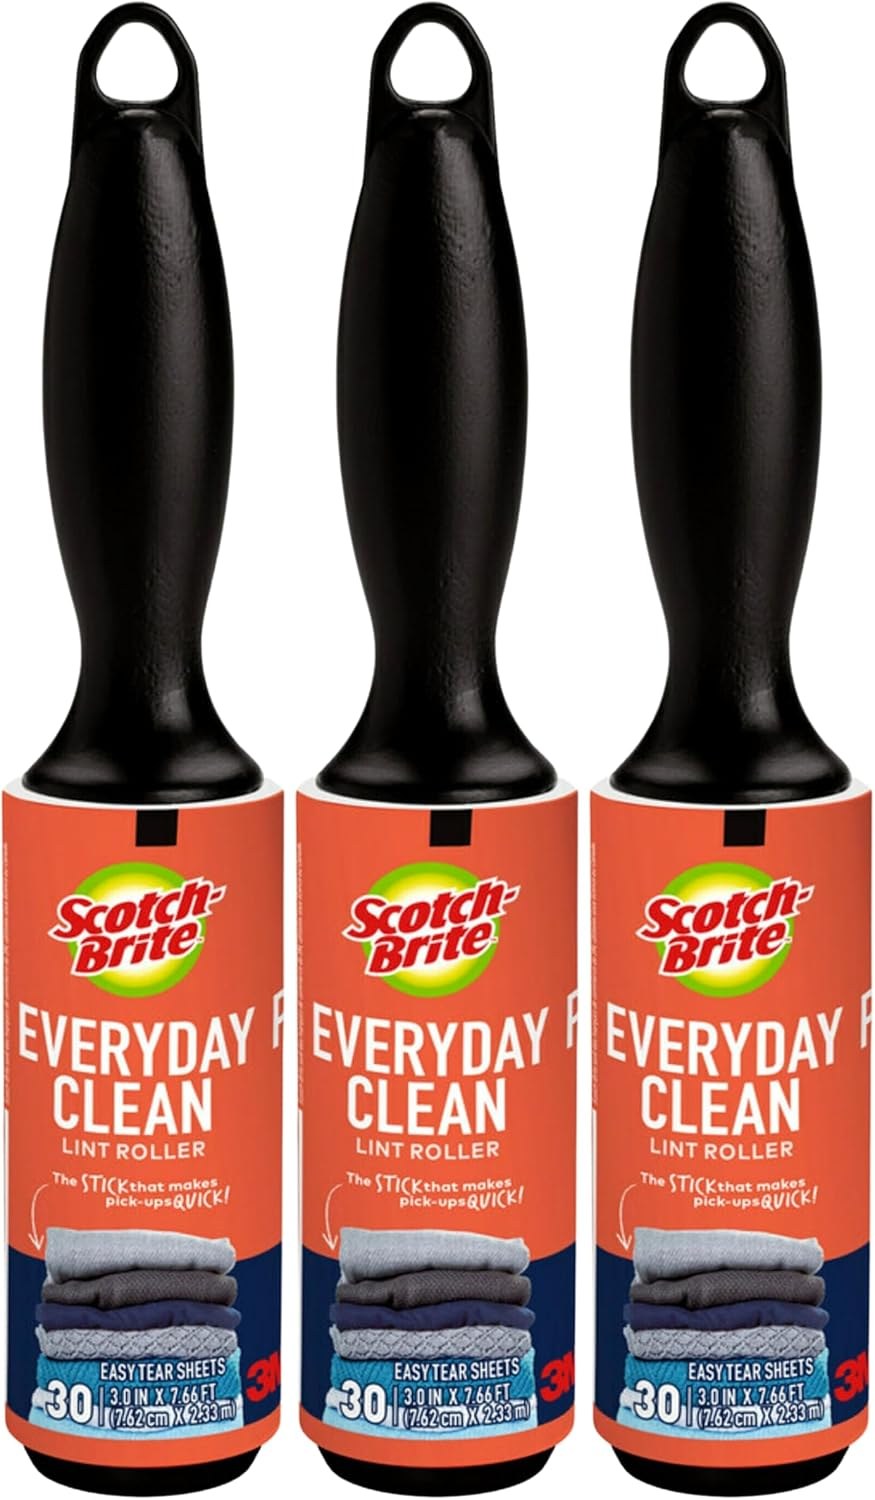
Before every frame, a quick pass with a lint roller removes dust that studio light makes obvious. Scotch Mini Lint Rollers come as a six-pack of travel-size rollers with 30 sheets each. Because they are small, you can keep one in your pocket, one on the rack and one with each assistant. In practice, dark wool, black velvet and pet hair from a location home all need the same treatment. Roll in one direction, so you do not lift the nap on fabrics like velvet. Six rollers suit a long shoot day, while a multi-day job may need a second pack. Also use them on hats and bags, since those collect dust too.
Prevention is the cheaper half of stain care. Makeup transfer causes most marks on set. It happens at collars, necklines and the inside of anything that goes on over the head. A hood or a light scarf over the face while the talent dresses prevents much of it. Agree on that routine with the makeup artist before call time. Deodorant marks come next, so ask the talent to let it dry fully. Better still, they can skip it near the sides of borrowed silk. Food and coffee belong away from the rack, and you can enforce that rule politely. Then, when a mark does appear, act quickly but gently. Blot rather than rub, because rubbing spreads the mark and roughens fine fabric.
Notes for working stylists: pulls, pricing, clients and career, sent occasionally.
Occasional letters. Unsubscribe anytime.
A stain pen is a first response, not a cure. Use it on washable fabrics after a test on an inside seam, and stop if color transfers to your cloth. Before you treat anything, return to the care label. Some labels read dry clean only, or warn against water. In that case, a pen may set the mark or leave a ring that is harder to explain. Instead, blot, photograph the mark and tell the client or the showroom the same day. Most brands would rather hear it from you first. The rules on damaged samples belong to a separate conversation. Still, honest, early reporting protects the relationship either way, and your kit buys you time to handle it calmly.
Tide To Go Pen — first response for fresh spills
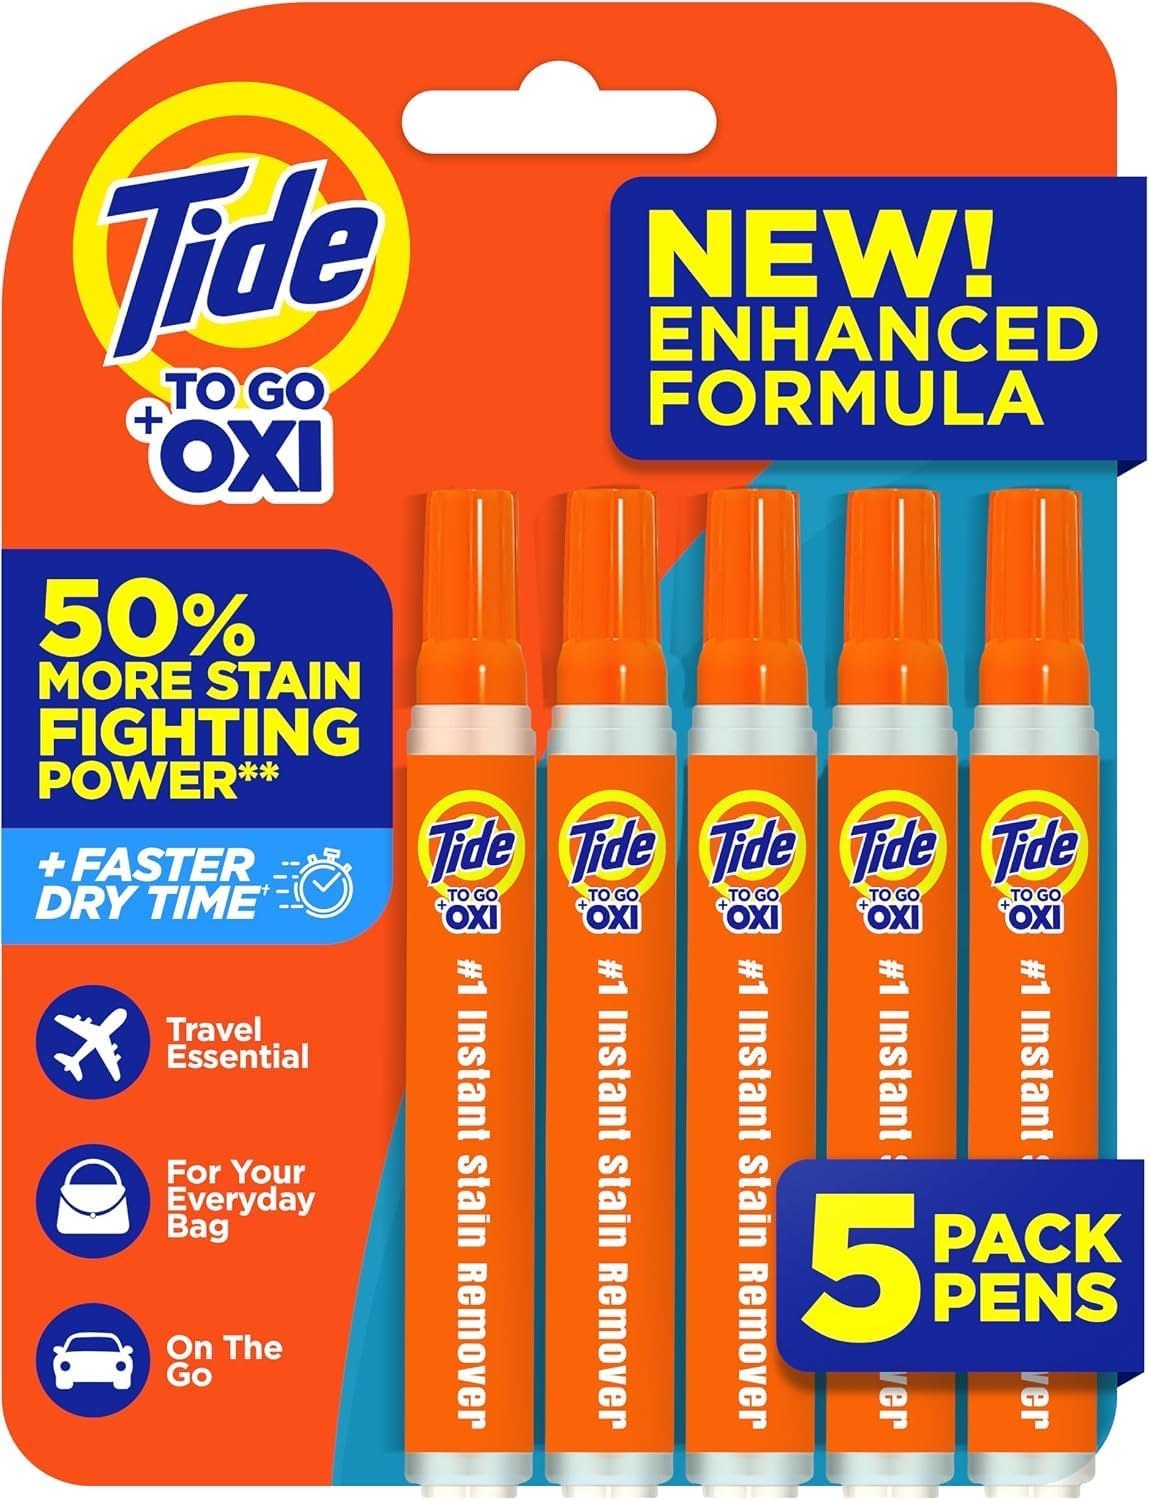
For fresh spills on set, a stain pen offers a first response before you call the brand. The Tide To Go Instant Stain Remover Pen is a pen-format stain remover for fresh food and drink stains. Because it is pen-sized, it fits in an apron pocket next to your lint roller. In practice, it suits coffee drips and catering spills on washable fabrics in your own kit pieces. However, ask before you treat a loaned sample, since many brands prefer to handle stains themselves. Then photograph the mark before and after, so your report is clear. It also helps talent between setups, when a small spill would otherwise stop the day.
Tailoring Fixes You Can Make on Set
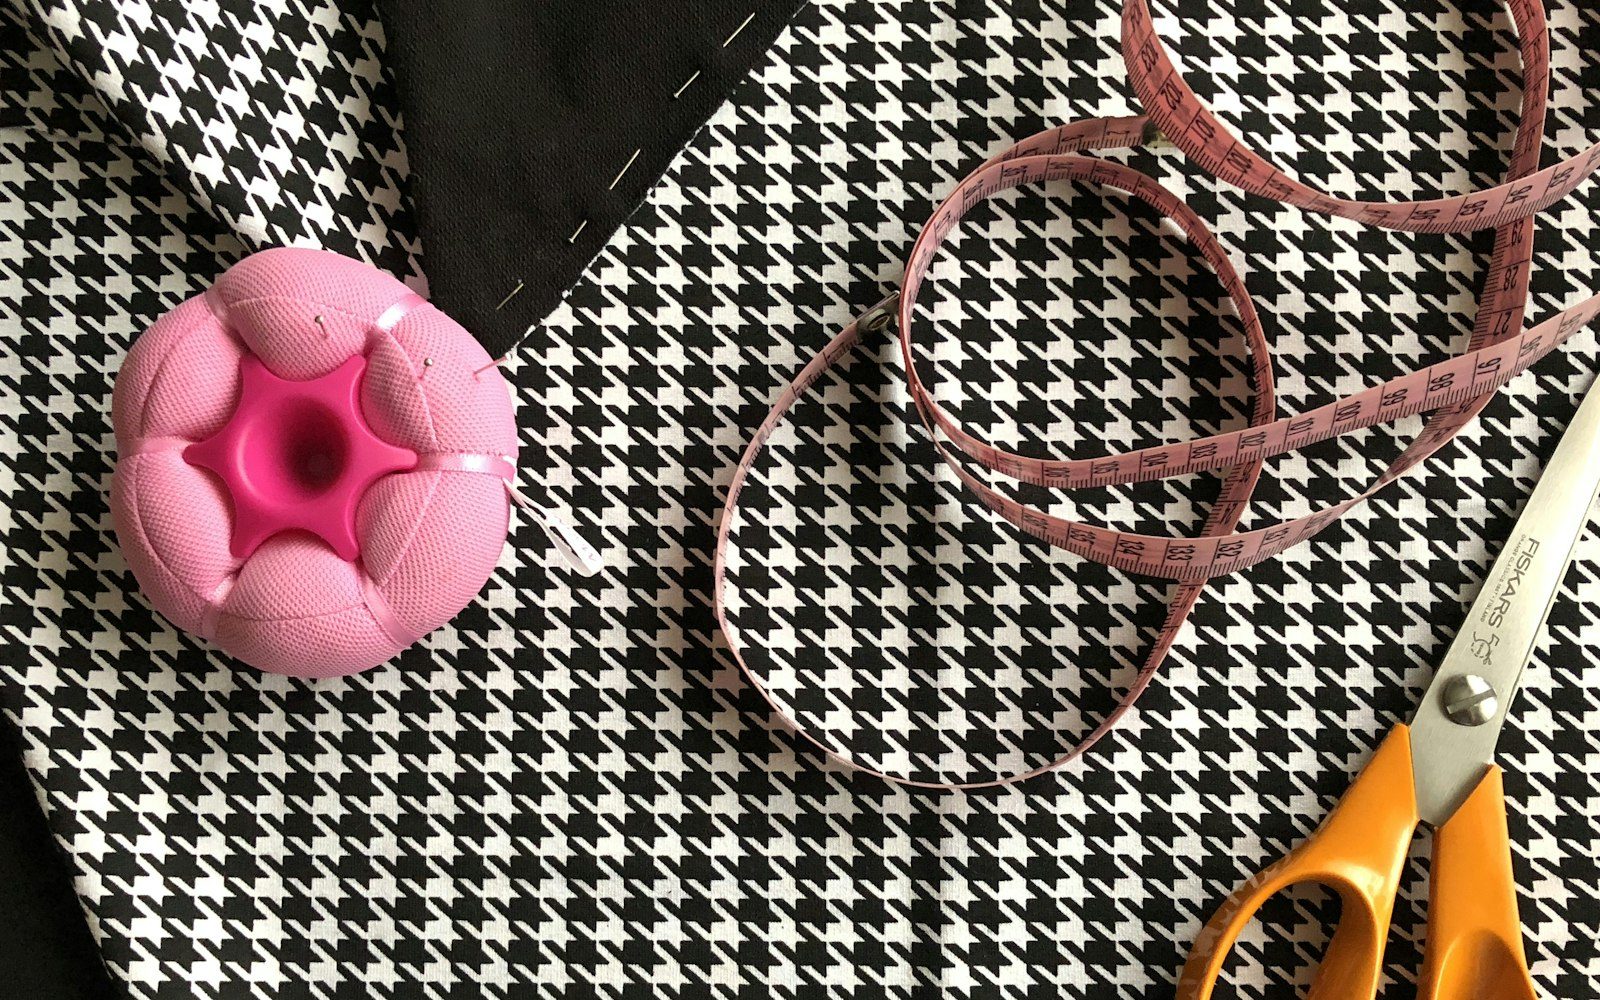
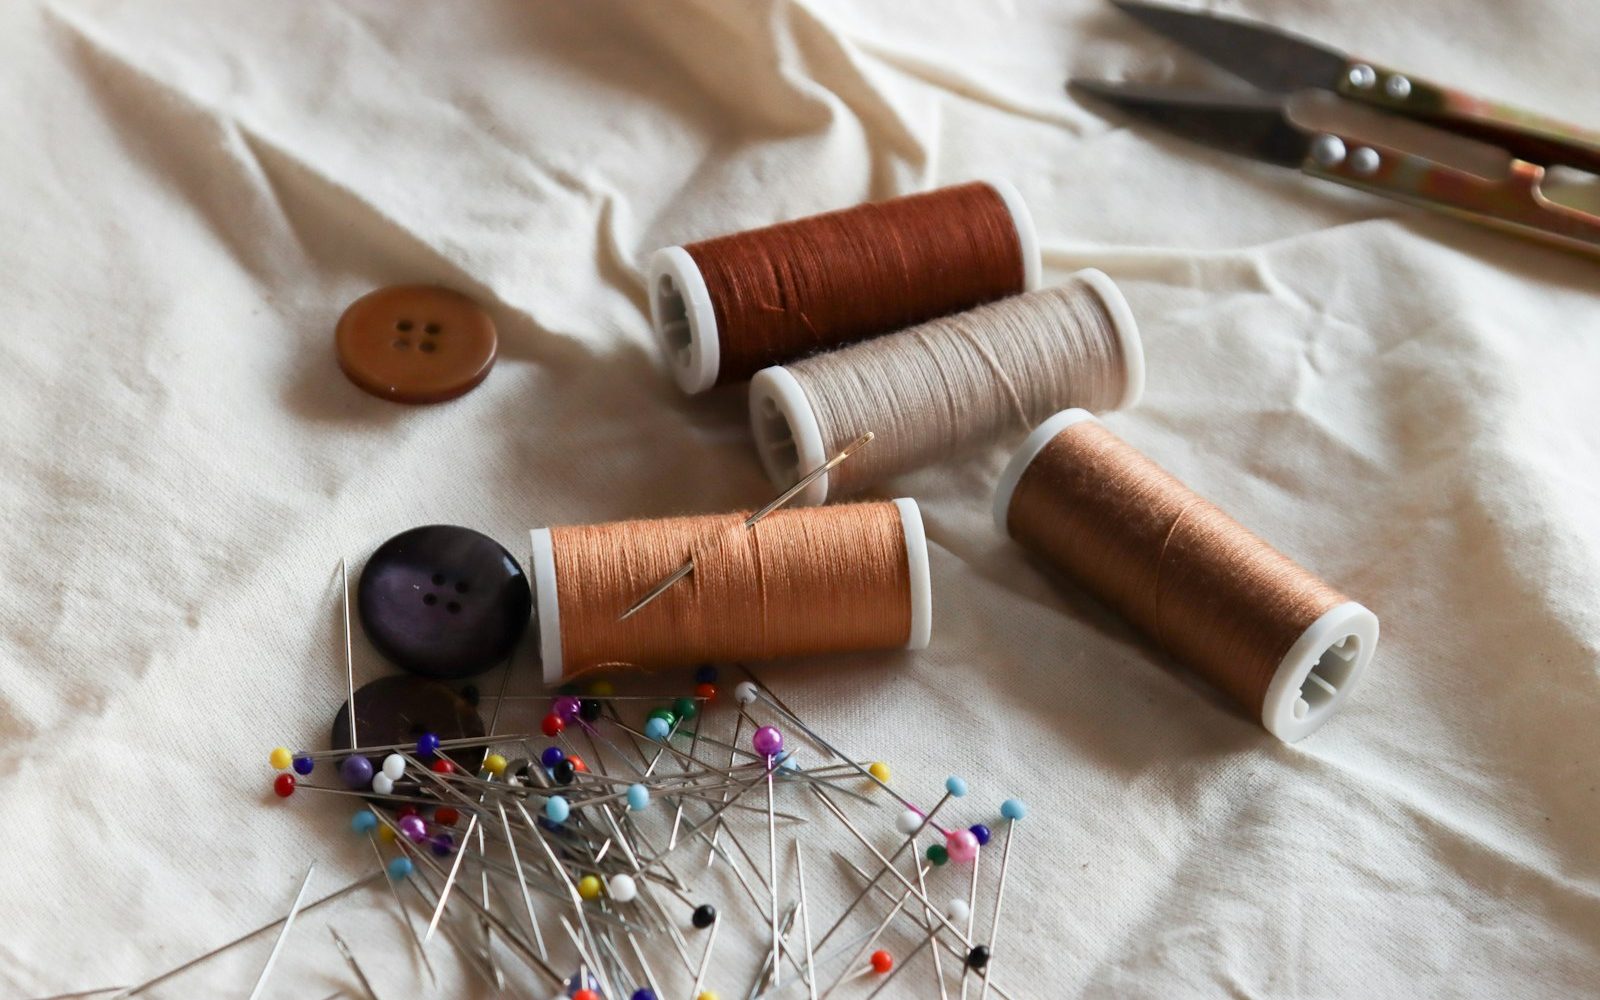
Some problems need thread. A button falls off a shirt, a hem drops at the back or a seam opens at the worst moment. A travel sewing kit covers most of them. It should hold several thread colors, sharp needles, a threader, spare buttons and a seam ripper. Black, white, navy, beige and gray thread match more garments than you might expect. For a hem, a quick slip stitch holds through a day of movement. Meanwhile, a few tacks will keep a facing from rolling out. Even so, any stitch on a loaned piece is a decision, not a reflex. Unpick it before the return unless the showroom agrees otherwise. Then note what you changed and why, so the return paperwork stays honest.
Sharp fabric scissors deserve their own place in the case. Keep them apart from the paper scissors an assistant borrows to cut tags. A dull blade chews thread and frays edges, which makes small repairs look worse. Small thread snips help too, especially for loose threads that catch the light. If you fly to jobs, check the rules before you pack. The TSA guidance on scissors allows them in carry-on bags only when the blade is under four inches from the pivot point. The TSA page on sewing needles lists needles as fine in both bags. Bladed thread cutters, however, belong in checked luggage. As always, the officer at the checkpoint makes the final call, so pack long shears in the checked case.
Fiskars 27-Piece Travel Sewing Kit — quick repairs on location
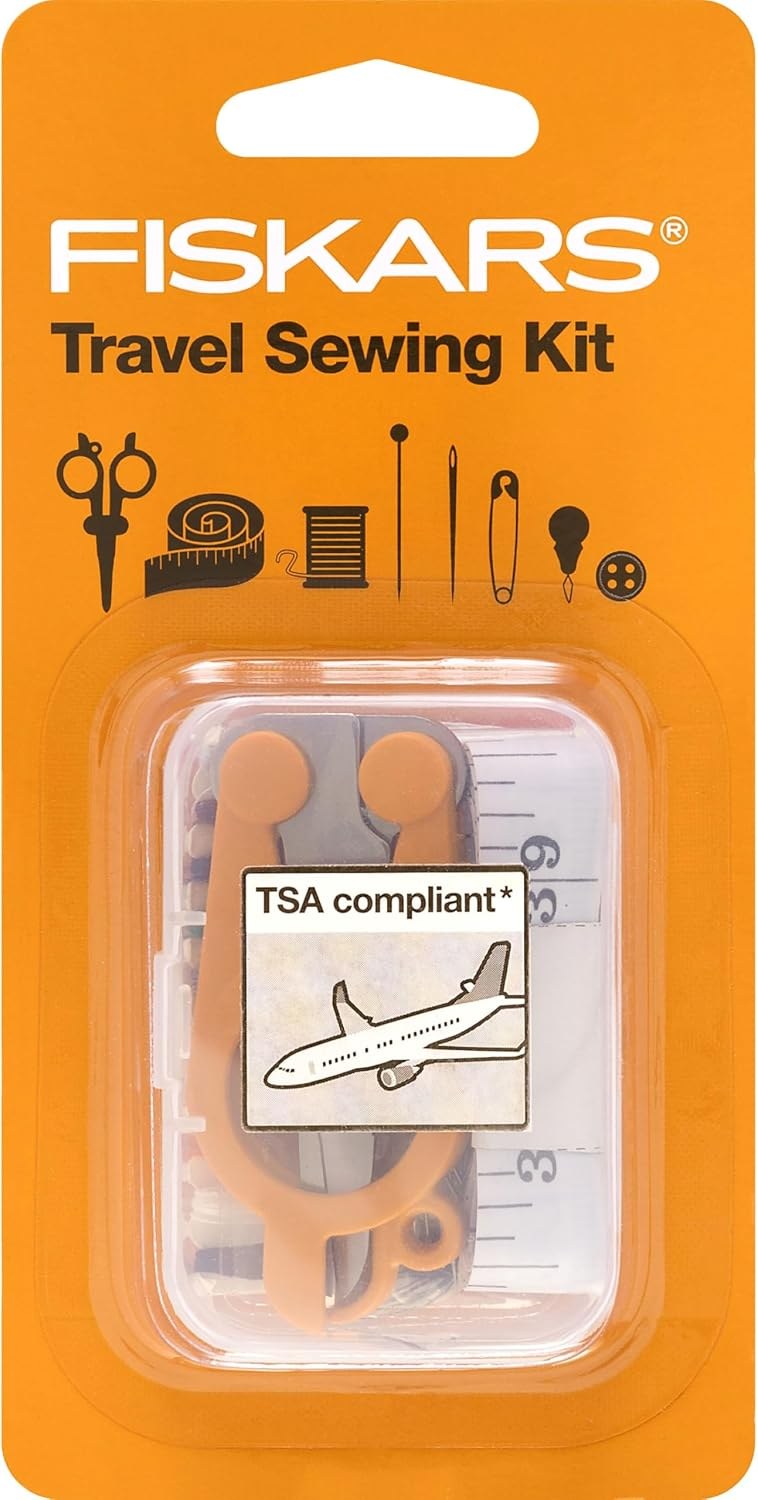
For quick repairs, a compact sewing kit covers most of what breaks between setups. The Fiskars 27-Piece Travel Sewing Kit holds thread, needles, scissors and a 39-inch measuring tape. Because everything sits in one set, you can tack a fallen hem or secure a loose button in minutes. In practice, it suits stylists who travel to location jobs, where a tailor is rarely nearby. Then use the measuring tape to check a hem before you stitch. However, keep stitches temporary on loaned samples and note each one on your return sheet. That way, the brand knows exactly what you touched. Also restock thread colors after each job, since black and white run out first.
On-set tailoring has limits, and knowing them is part of the craft. Clamps and tape can make a sample look fitted for a frame. Real alteration, by contrast, requires a tailor, a fitting and permission. That matters most when the talent does not wear sample sizes. In those cases, the work starts long before set. It starts with pulls in the right sizes, bought pieces you can alter and a tailor on call. Our guide to tailoring for non-sample bodies covers that planning in depth. Here, the point is simpler. Your kit should refine a fit, not rescue one that went wrong at the pull. Otherwise, the problem sits upstream, and no amount of tape will fix it on the day.

Protecting Loaned Shoes and Accessories
Shoes take more damage on set than almost any other loan. A single walk across a concrete studio floor can scuff a leather sole, and brands always notice. The AMIRI sample pull policy, for example, asks for items back in the condition they arrived. It also says the brand will invoice lost or damaged pieces at full retail. That is one brand, yet the principle travels. So protect soles before the talent stands up. Clear adhesive sole protectors cover the bottom of the shoe and peel off at wrap. Alternatively, lay a mat or seamless paper where the talent waits. Keep shoe wipes and a soft cloth nearby for the uppers. Above all, never let shoes leave set on someone’s feet.
Non-Slip Shoe Pads — sole cover for loaned shoes
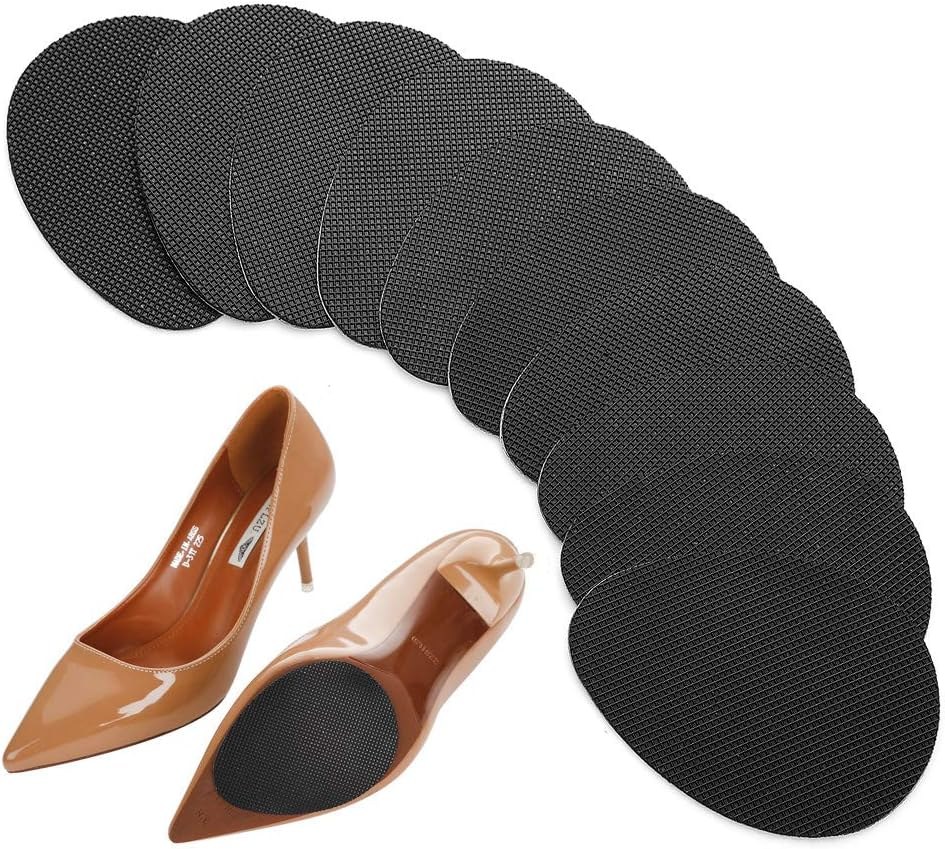
On set, loaned shoes need protection from scuffed concrete and studio floors. Non-Slip Shoe Pads come as 12 self-adhesive rubber pads for shoe soles. Because they sit between the sole and the floor, they reduce wear on the original surface while the talent moves. They also add grip, which matters on smooth studio floors and polished location tiles. In practice, apply them only after checking with the brand, since some PR teams prefer bare soles. Then remove them carefully at wrap and photograph each sole for your return record. Twelve pads cover several pairs, while a large shoe pull may need more. As a result, shoes return in the condition they arrived.
Jewelry and small accessories need a different kind of care. Keep each loaned piece in its own labeled pouch or a divided tray. Log it out and back in with the time. Earrings disappear into rugs, behind sofas and inside garment bags, and a missing stud becomes an expensive problem. A jewelry cloth removes fingerprints before a close-up, while a small tray with a lip keeps pieces from rolling off a table. Meanwhile, carry spare earring backs and clear elastic for loose bracelets. Also tape a short checklist inside the lid of the jewelry case. At wrap, you or an assistant can run through it before anyone leaves. That habit makes the returns day far less stressful.

Packing, Restocking and Billing for the Kit
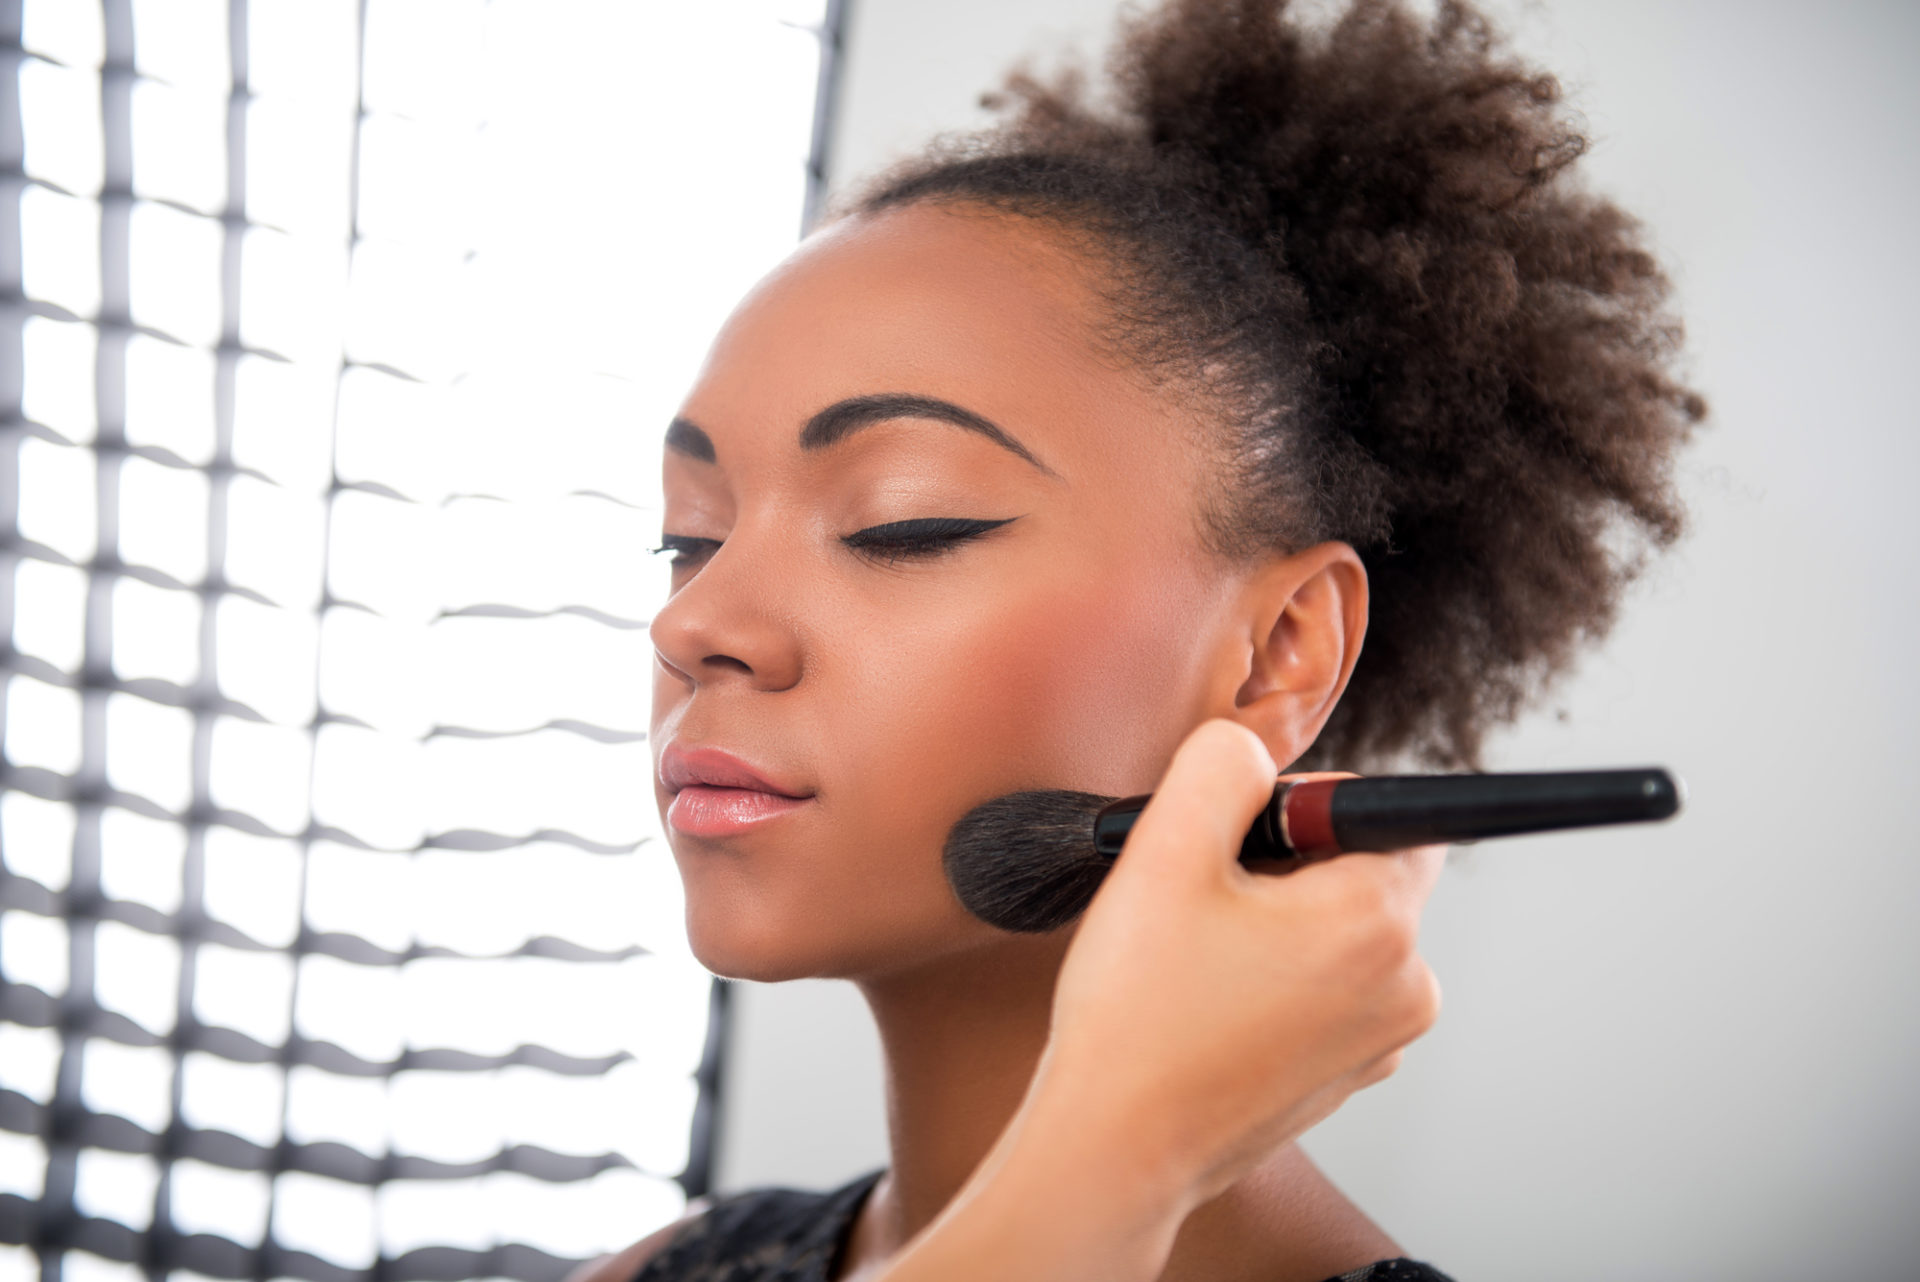
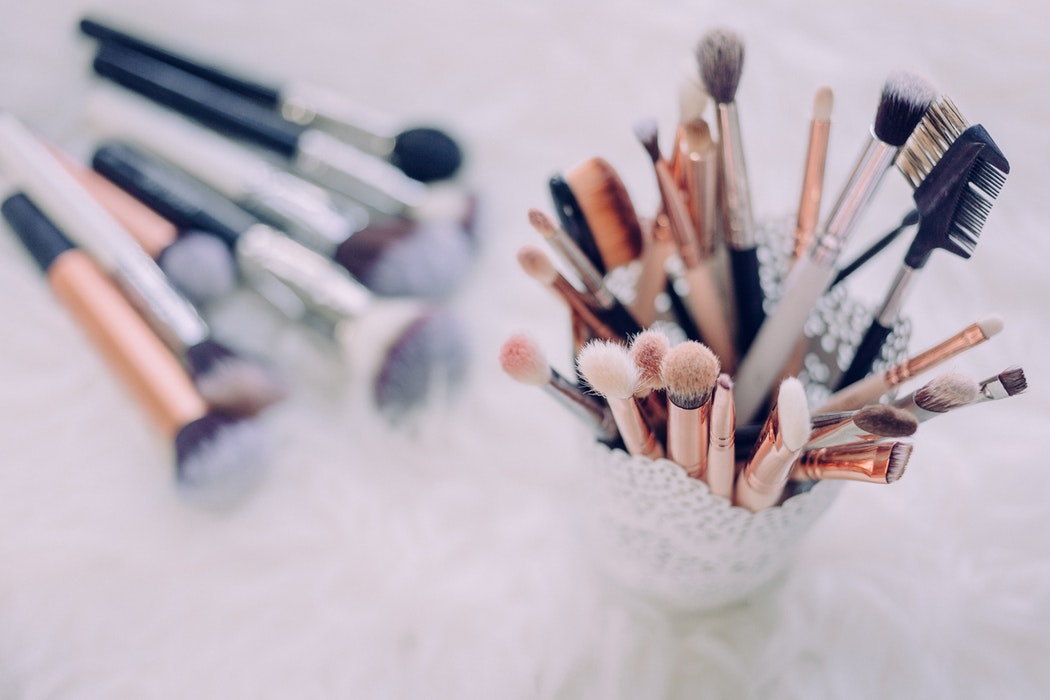
A stylist kit only works if it is ready. Restock after every job, not before the next one. After all, the night before a call is when shops close and couriers fail. Keep a simple list taped inside the case. Tick off tape, pins, lint sheets, stain pens and thread as you replace them. Then check the steamer cord, the tank seal and the needle count. Some stylists keep two kits: a full case for studio days and a slim bag for location work. It also helps to study how other set professionals pack. For example, the set bags makeup artists carry follow a similar logic, built around problems, quick access and a clean surface to work from.
The kit costs money, and the costs return every month. Tape, pins, lint sheets and stain pens are consumables, while steamers and scissors wear out. You can recover part of that cost through your quote rather than absorbing it quietly. Our guide to charging a kit fee explains how to present it alongside day rates and prep days. Either way, keep receipts and a simple log of what each job used. That record helps at tax time. It also helps when a production asks why the line exists. Clients rarely question a fee when you can show what it covers and how it protects their wardrobe. Clarity, in the end, is part of the service.
The Quiet Work That Holds a Shoot Together
Nobody credits a clamp. The images may run with your name, and the tape, pins and steam will stay out of frame where they belong. Still, the kit is where much of your reputation lives. Photographers remember the stylist who fixed a dropped hem in four minutes. Showrooms remember the one who returned shoes without a mark. Talent remember who asked before touching them and who removed tape gently at wrap. None of that is glamorous, and it does not need to be. It is the professional layer under the creative one, and it lets the creative work happen at all. So build your stylist kit slowly, test everything and let each job teach you what to add. The case you carry in five years will look different, and it should.
Tools and library

Those tools handle the hours on set, yet the business around them deserves the same care. A well-stocked case protects samples. Clear quotes, documented kit fees and tidy records, meanwhile, protect your income and your time. Many artists learn those systems slowly, through a few difficult invoices and one or two awkward returns. You do not have to learn them that way. Treat your kit list, your restock log and your billing notes as one system, because each feeds the other. Then review it every quarter, and drop anything you have not used in three months. The same discipline applies to your rates and the clients you choose. If you want a structured place to start, the resource below gathers those business foundations for working artists.
From the Artist Library
The career guide in the Artist Library was written for makeup artists, yet its chapters on pricing, contracts, agencies and the first five clients translate directly to styling work. Read it alongside your rate sheet and loan paperwork, and it will help you ask sharper questions before your next booking.
Questions worth asking
What should a beginner stylist kit include?
Start with a handheld steamer, A-clamps in two sizes, double-sided fashion tape, safety pins, a lint roller, a stain remover pen, a small sewing kit and sharp scissors. Add clear sole protectors once you handle loaned shoes. Then expand the case based on the problems you meet most often on real jobs.
Can I alter a loaned sample on set?
Usually not without permission. Showrooms expect pieces back in the condition they left, so use clamps, pins through seam allowances and tape instead of stitching. If a stitch is unavoidable, ask first, keep it minimal, note what you did and unpick it before the return unless the brand agrees otherwise.
Is fashion tape safe on silk and satin?
Sometimes, but test it first. Some adhesives leave residue or lift dye on delicate or dark fabrics. Apply a small strip inside a seam, wait a few minutes, then remove it slowly at a low angle. If you see residue or color on the tape, use clamps or pins in hidden places instead.
Can I bring scissors in a carry-on bag?
According to the TSA, scissors with blades under four inches from the pivot point may go in a carry-on bag, while longer pairs belong in checked luggage. Sewing needles are fine in both. The officer at the checkpoint makes the final decision, so pack longer fabric shears in your checked case.
How often should I restock my kit?
Restock after every job rather than before the next one. Tape, pins, lint sheets and stain pens run out quietly, and the night before a call is a poor time to shop. Keep a checklist inside the case, and check the steamer seal and your sewing supplies at the same time.
Should I charge clients for kit supplies?
You can include a kit fee in your quote to cover consumables and wear on tools. Keep receipts and a log of what each job used, so you can explain the line if a production asks. Present it clearly alongside your day rate rather than absorbing the cost quietly over many jobs.
