
The Artist · Styling Business
The shoot wrapped at seven, and the call sheet now belongs to somebody else. Meanwhile, forty pieces from six brands hang on a rolling rack in your living room. Returns day is the part of styling nobody photographs. Yet it decides whether those brands lend to you next season. This guide is for working stylists who handle pulls from showrooms, PR agencies and retail stores. It treats the return as a process with records, not an errand. If you are still mapping the full range of stylist jobs, the work changes by segment. Still, the return logic holds across editorial, commercial and celebrity sets. Below, you will find pull sheets, check-in, condition photos and courier proof. After that come store policies, deadlines and the etiquette that keeps a showroom answering your email.
The short answer
A good returns day starts at the pull, not at the drop-off. Log every piece on a pull sheet with its source, value and due date. Check items in when they arrive. Then photograph and note their condition before anyone wears them. On the way back, match each piece to the sheet and pack by brand. Keep a dated courier receipt or signature record for every box. For retail pulls, read the store’s written return policy before you buy. Finally, return on time, or ask for an extension before the deadline, never after it.
In this guide
- Why the return matters more than the pull
- Build the pull sheet before the first piece leaves
- Check in every piece when it arrives
- Condition notes and photos that settle questions early
- Packing and courier proof: what a receipt really proves
- Retail pulls and the store’s return policy
- Deadlines, extensions and late returns
- Returns day etiquette that keeps lenders saying yes
- The quiet half of the work
- Questions worth asking
Why the return matters more than the pull
Every pull is borrowed property, and the law has a plain word for that arrangement. Cornell’s Legal Information Institute entry on bailment describes a transfer of possession without a transfer of ownership. In other words, the brand stays the owner while you hold the clothes. That framing explains why showrooms watch returns so closely. Samples exist in limited numbers. The next editor on the list may need the same jacket for a shoot the following week. When one piece goes missing for a few days, that editor waits. A publicist may lose a placement too. So the return is not a courtesy at the end of a job. Instead, it is the last deliverable of the job, and the people who lend to you grade it.
On the other side of the desk, someone tracks every piece you hold. The Lede Company’s showroom coordinator listing in New York sets out that work. The coordinator sends out and tracks sample loans to editors, influencers and stylists. They also follow up on returns as a regular duty. Likewise, Place Showroom’s Los Angeles coordinator posting puts sample check-in at the center of the role. It also names the Fashion GPS tracking system. As a result, your return lands in a system that records what came back, when, and in what state. That record outlives the shoot. It also shapes how fast your next request gets a yes. A coordinator remembers the stylist who sent a rack back early. They remember the one who went quiet just as clearly.
Build the pull sheet before the first piece leaves
The pull sheet is your ledger, and it starts the moment you confirm a loan. Most lenders send their own loan form or packing list. Treat that document as the source of truth, and copy it into your own sheet. Then add the columns the brand does not track for you. Note which look each piece belongs to and who on your team handled it. Also note where it sits right now. Keep one row per item rather than one row per brand. After all, a single missing belt is what causes trouble later. Record the return address, the contact name and the agreed due date as well. Your request and the lender’s reply set the terms. Our guide to pull letters and showroom etiquette covers that exchange in detail.
- Item, color, size and the brand’s style number
- Source: showroom, PR agency, retail store or designer studio
- Value as stated on the loan form or receipt
- Date out, date due and the contact who approved it
- Condition at check-in, with a photo reference
- Return method, tracking number and delivery date
Keep the sheet somewhere your assistant can reach from a phone, because returns rarely happen at a desk. A shared spreadsheet works well. However, a paper copy in the rack bag helps when the signal drops in a basement studio. Meanwhile, give every garment bag and accessory pouch a label that matches its row. That way, nobody has to guess which brand a pair of earrings came from. Small items cause most of the confusion on the way back. So jewelry, belts and hosiery deserve their own sealed pouches. Then, at the end of each shoot day, reconcile the rack against the sheet before you leave. Ten minutes at wrap saves an afternoon of searching later.
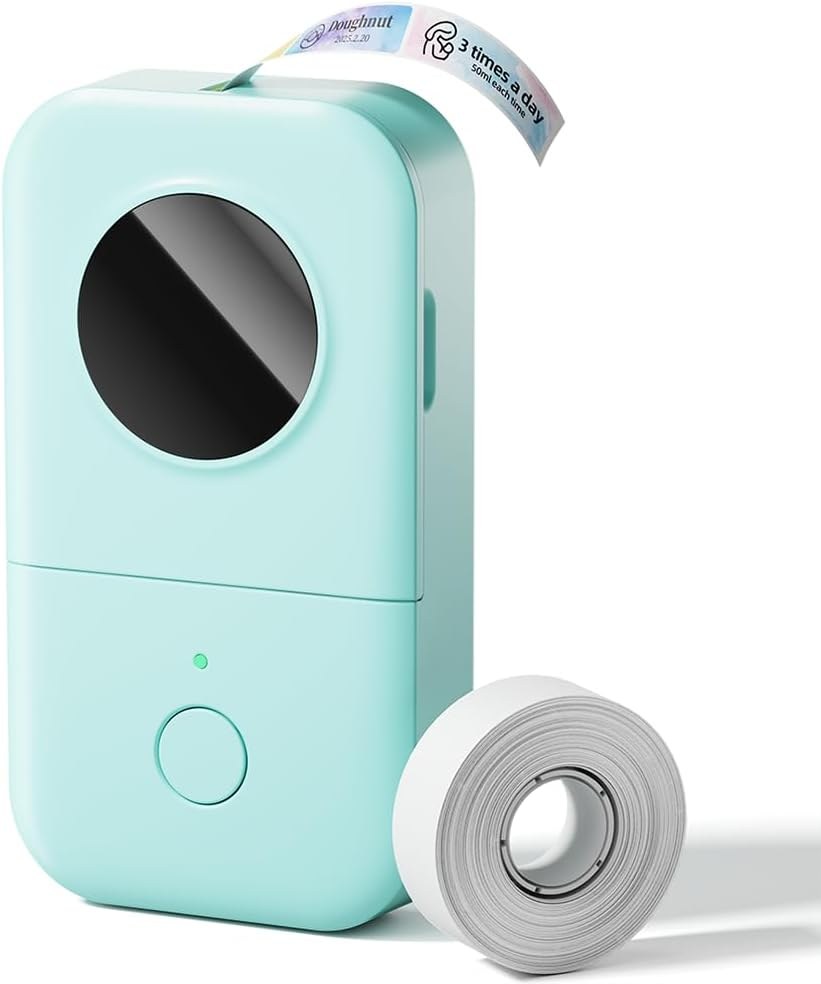
Print a label for each piece from your phone, matching the pull sheet line, so returns check off in minutes.
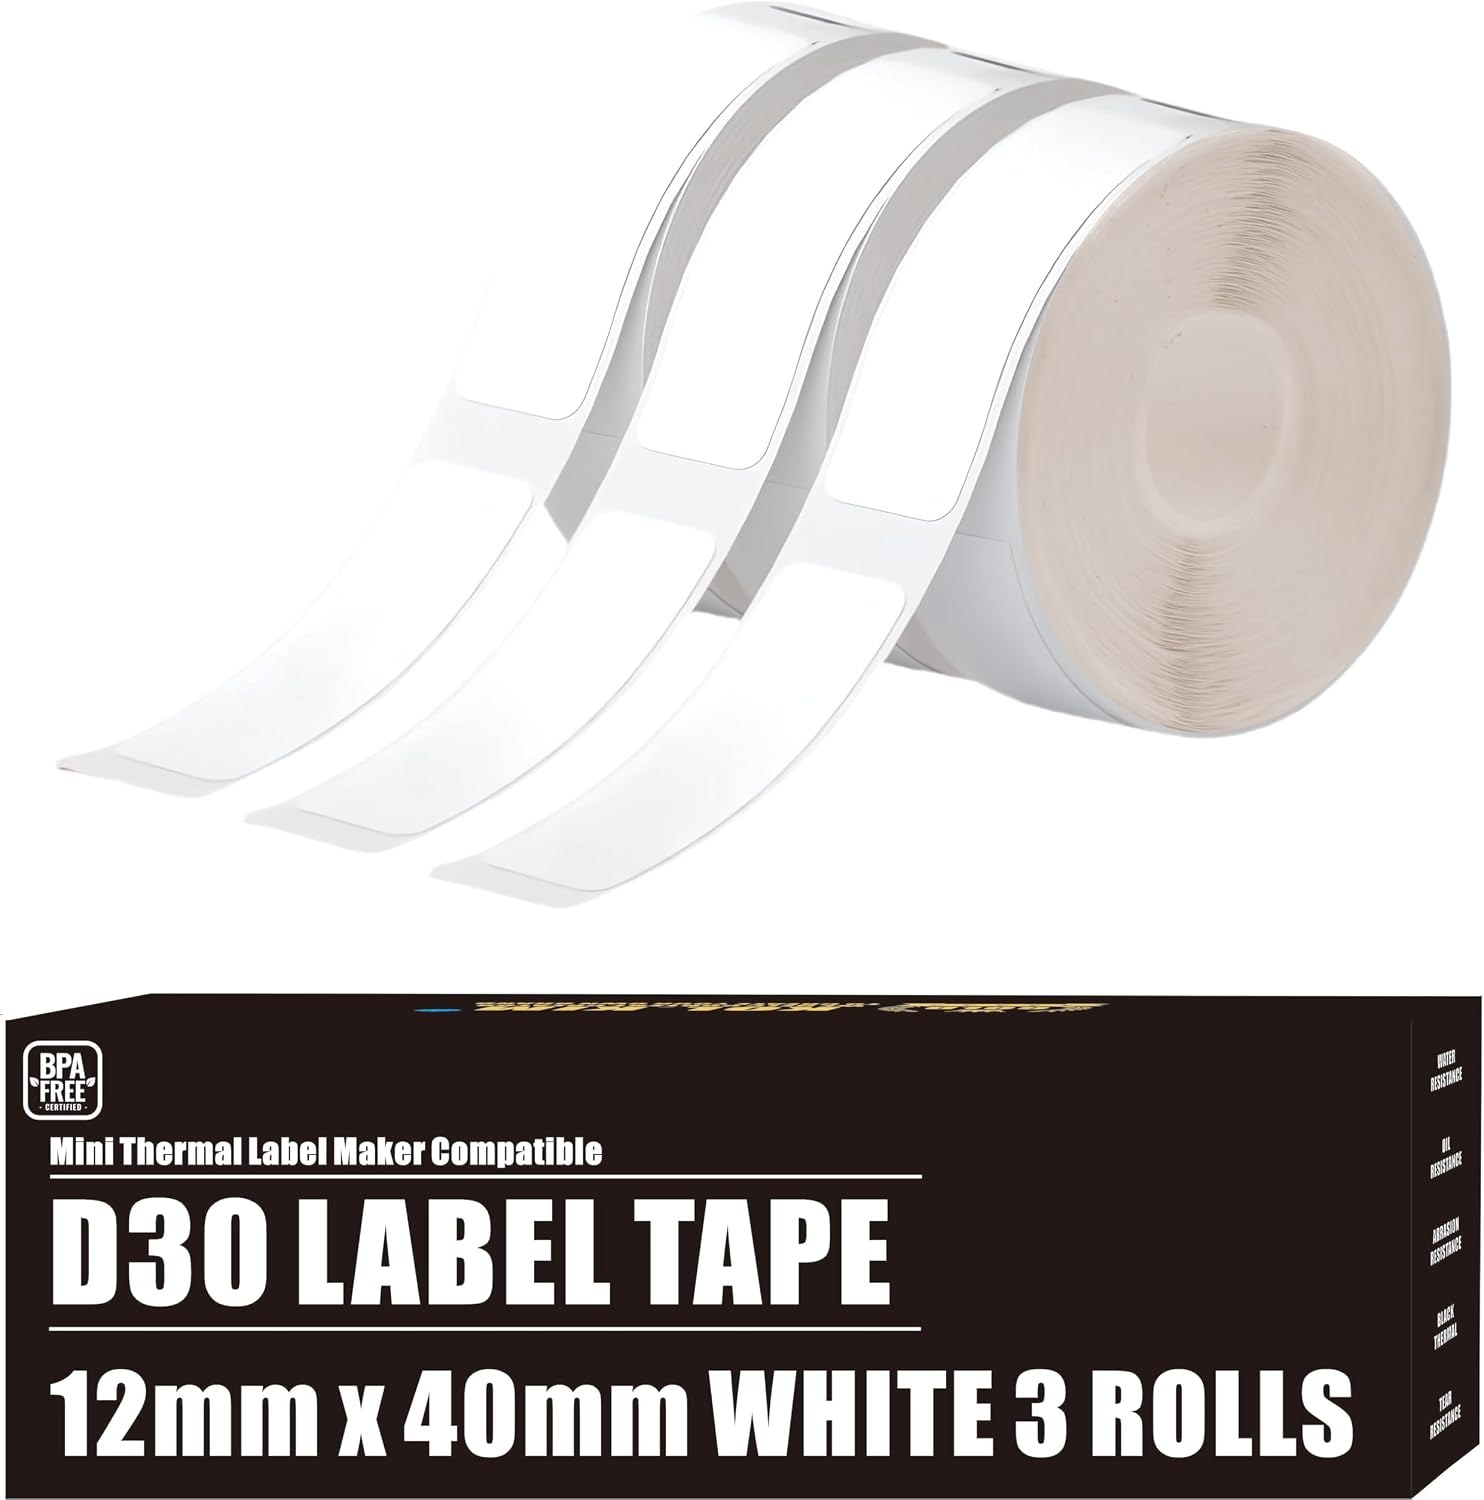
Keep a spare roll in the kit, because a large pull can use a full roll before the first fitting.
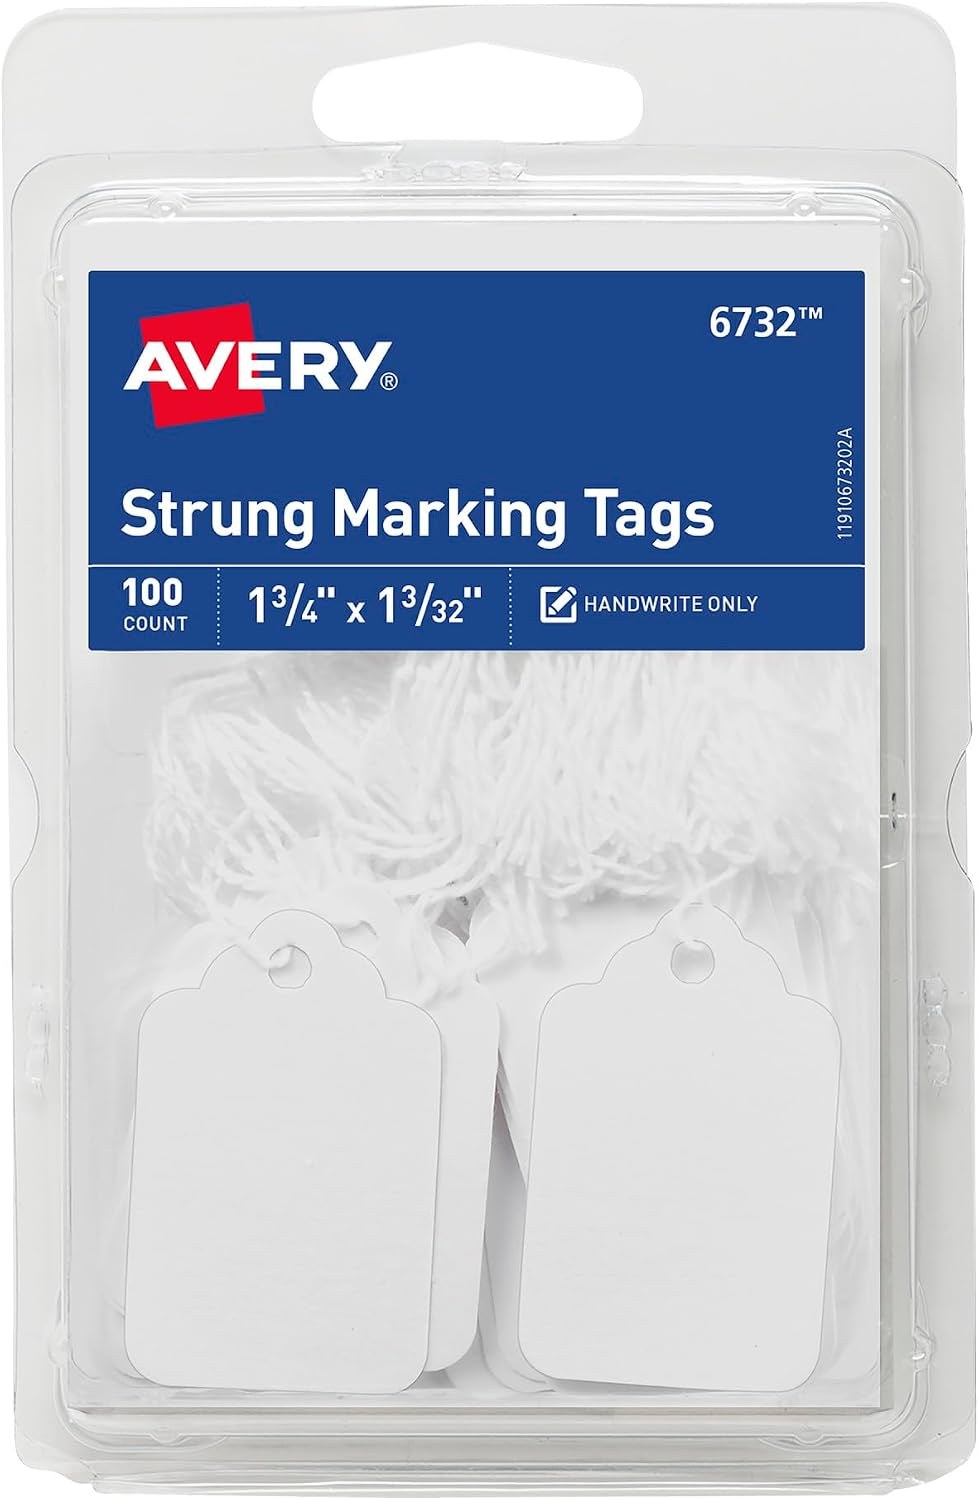
Loop a written tag through a button or hanger when an adhesive label would mark leather, silk or suede.
Sorting pulls by type
Before the clothes even arrive, sort each row by the kind of pull it is. The return rules differ by type. A showroom or PR agency loan goes back to the lender on the date in the loan agreement. Their packing list usually travels inside the box. A designer lending direct may want pieces back at the studio, sometimes by hand. Some want them the same evening. Retail pulls work differently again, since you bought the items. There, the store’s written policy governs what you can bring back. As a result, one shoot can carry three sets of deadlines at once. Mark the type in its own column. Then sort the sheet by due date rather than by brand. Now the earliest obligation sits at the top every time you open the file.
Check in every piece when it arrives
Check-in is the step most stylists skip when a messenger arrives at nine and call time is ten. Still, it protects you more than any other habit. It fixes the condition of each piece at the moment it entered your care. Open every box on a clean surface, and compare the contents with the brand’s packing list. Mark any gap at once. If a listed item is missing, email the contact the same day. Include a photo of the open box and the list. Likewise, if something arrives with a pulled thread or a mark, note it before anyone tries it on. A short, polite message about a small stain on the left cuff reads as professional. It does not read as defensive, and it protects you later.
Build a small check-in kit that lives with your rack, separate from your fitting tools. A tape measure, a label pen, spare hangers, tissue and a few zip pouches cover most needs. Add the phone you use for photos, and you are ready. Our list of a working kit for set covers the broader tools, from steamers to clamps. So this kit can stay lean. Then set a rule for the whole team. No piece goes on a body until it has a row, a label and a check-in photo. Assistants appreciate a clear rule, because it removes the awkward moment of asking a client to wait. Over time, the routine also makes your shoots calmer. Everyone knows where each item is and who last handled it.

Between arrival and wrap
Check-in also covers what happens between arrival and wrap. Keep a single rack for borrowed pieces. Then keep a separate one for anything the client or the production owns. That split stops pieces crossing over in the rush of a fitting. When a piece leaves the rack for a look, note the time and the person. A group chat message is enough if that is all you have. Then return each piece to its own labeled bag as soon as the look is done. This sounds fussy. Even so, it is how careful teams avoid a borrowed top leaving set in a model’s tote. It also keeps samples cleaner, because fewer hands touch them. And the evening count takes minutes rather than an hour of searching under tables.

Condition notes and photos that settle questions early
Condition photos only help if they show what a brand might later question. So photograph each piece front and back on a hanger. Then take close shots of labels, hardware, hems, cuffs and any existing flaw. Shoot in even light against a plain wall. A shadow can look like a stain on a phone screen months later. Keep the camera’s date stamp on, or name the folder with the date and brand. Meanwhile, write a one-line note for each item on the pull sheet. Clean, minor pull at hem, or missing spare button is enough. Brief notes beat long ones here. A coordinator reading your email wants the fact, not a story about the day. Consistent framing also makes the before and after shots easy to compare.
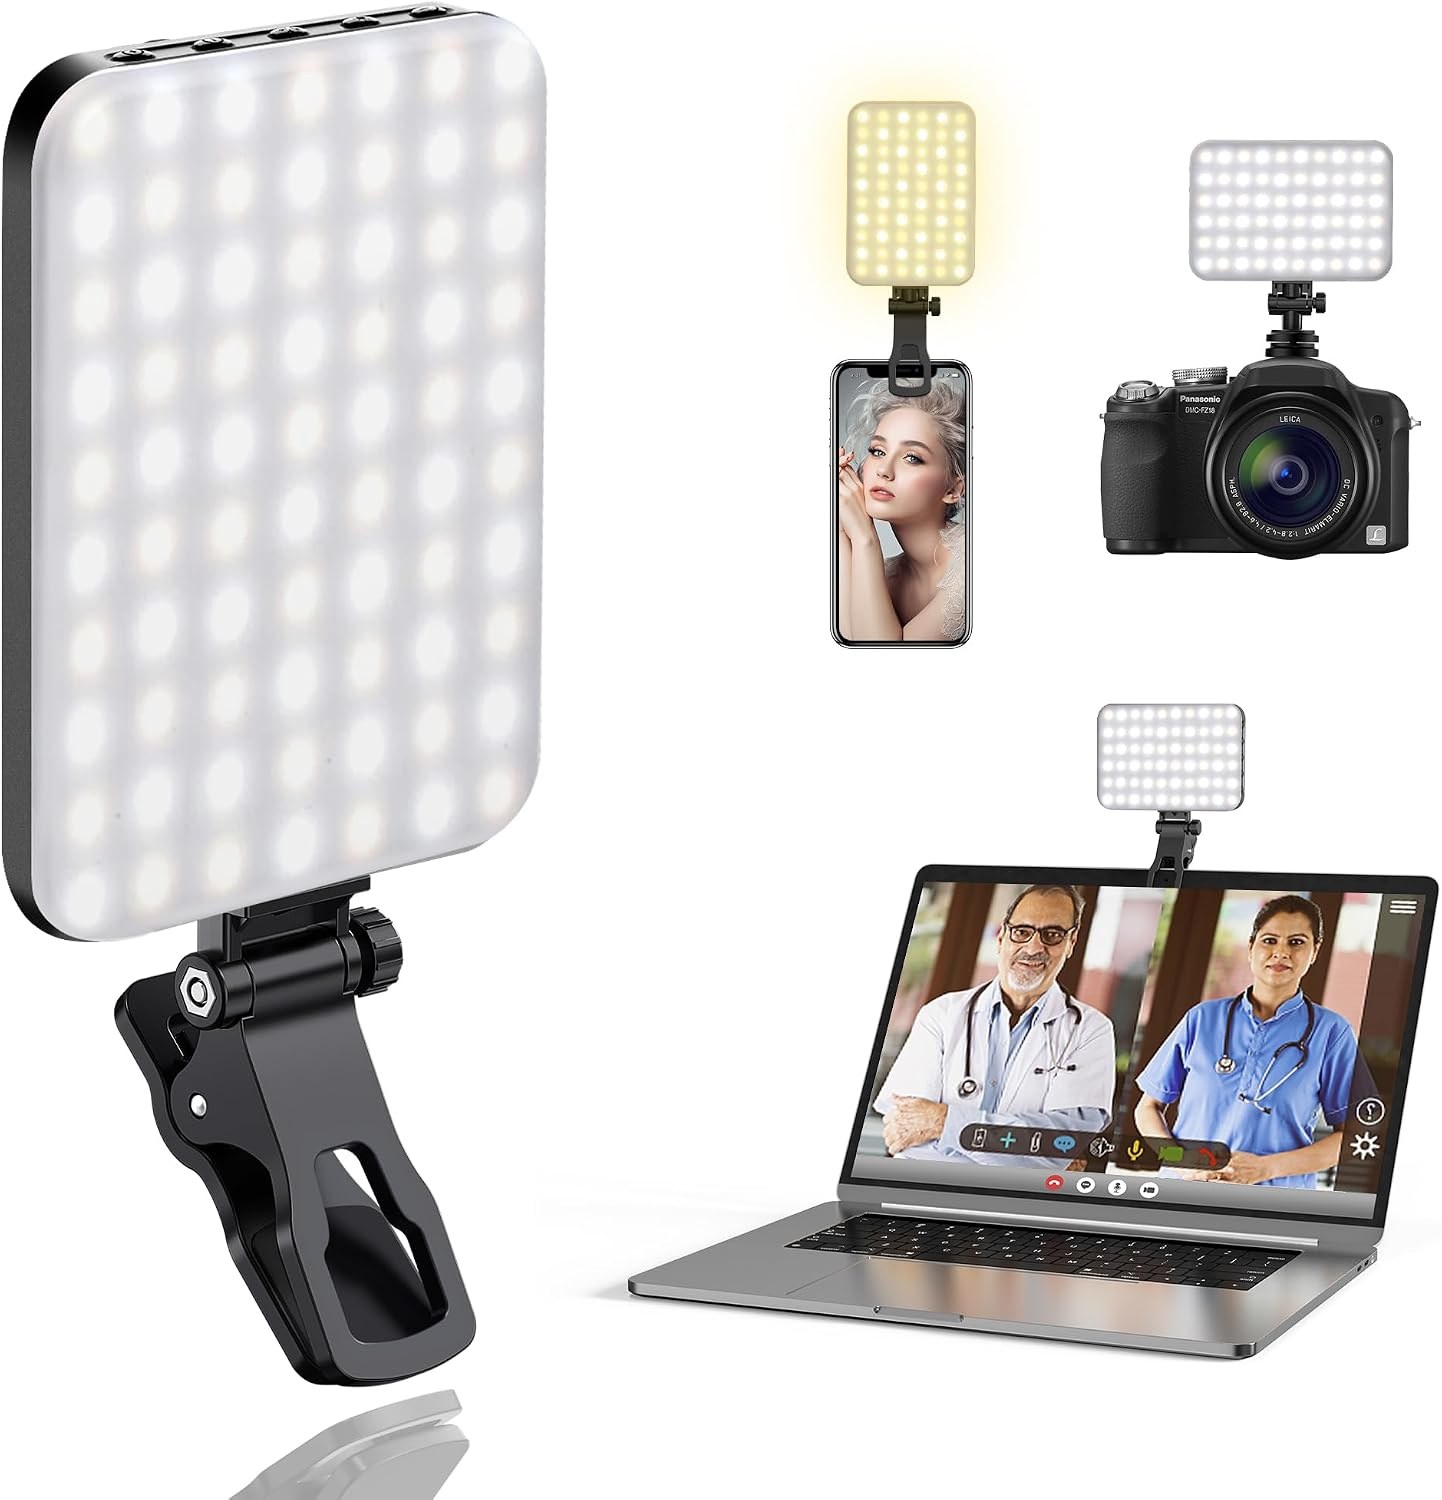
Clip it to your phone for arrival photos, so pulls, snags and stains show clearly in any showroom lighting.
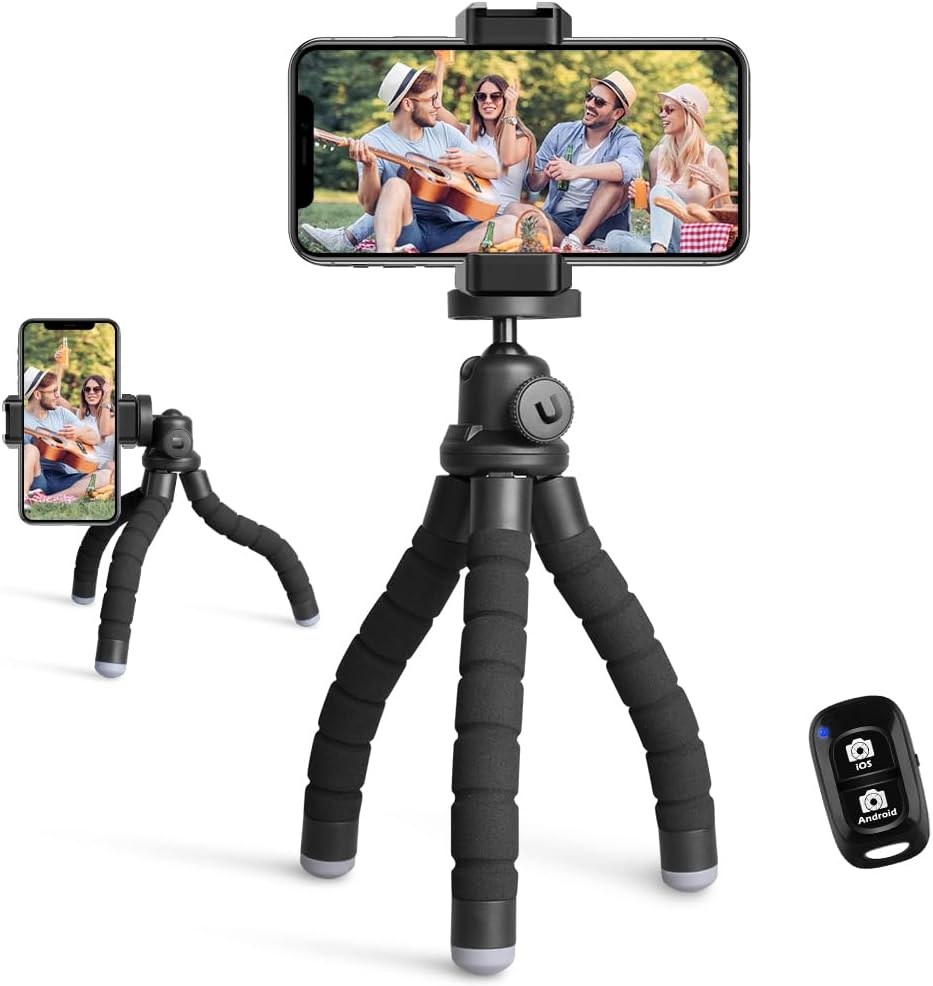
Wrap the legs around a rack rail and shoot every condition photo from the same angle and distance.
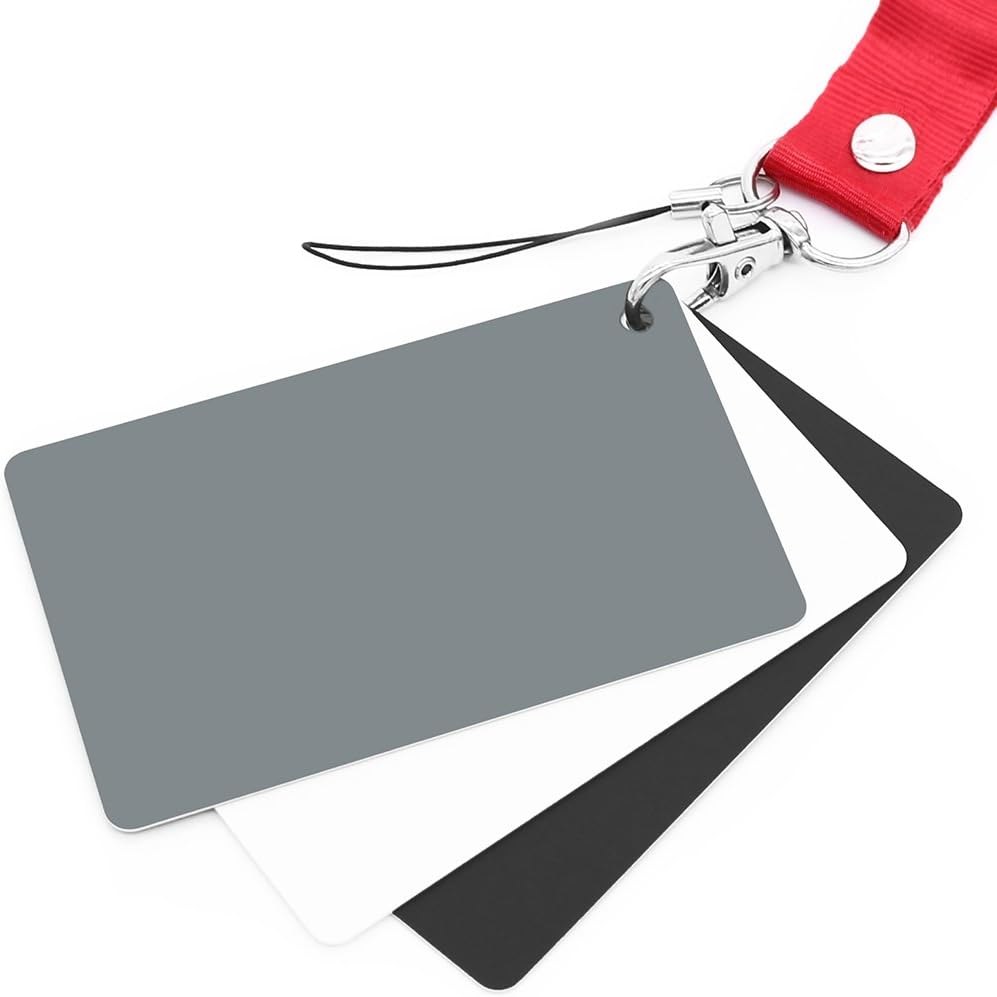
Place the card in the first frame of each batch, so color stays honest when a brand questions damage.
Repeat the same photos on the way out, ideally in the same spot and the same light. A matching pair of images, before and after, answers most condition questions in one reply. When a piece did pick up damage on set, say so in the return email. Do not leave the coordinator to find it. For example, a short line that a strap clasp loosened during the shoot is enough. Add that you flagged it in the bag. Honesty here costs very little, while silence tends to cost the relationship. If a brand does raise a claim, your dated photos and notes become the evidence. Our separate guide to damage disputes with brands covers holds, invoices and who pays. This guide stays with prevention and records.
Packing and courier proof: what a receipt really proves
On returns day, pack each brand separately, even when two loans go to the same agency. A box with mixed lenders slows down every check-in at the other end. Fold or hang pieces the way they arrived. Use the brand’s own garment bags where you have them, and add tissue to protect beading and hardware. Put a copy of the brand’s packing list in each box, with your returned items ticked off. Then photograph the open box before you seal it. Take a second photo once the box is taped and labeled. Those two images show what went in and how it left your hands. Finally, update the pull sheet with the box count and the time. Your records will then match the courier’s from the first scan onward.

Tracking versus proof of delivery
Tracking and proof of delivery are not the same thing. The difference matters when a lender says a box never arrived. The USPS insurance and extra services page explains that standard tracking shows the date and time of delivery or an attempt. By contrast, Signature Confirmation adds a signature and a delivery record you can request later. The same page lists standard insurance up to $5,000, limited to the item’s actual value. It also asks for claims within 60 days of mailing. So for high-value samples, a tracking number alone is a thin defense. Ask the lender which carrier and service they prefer. Use their account number when they offer one, since it keeps the record in their system as well as yours.
Notes for working stylists: pulls, pricing, clients and career, sent occasionally.
Occasional letters. Unsubscribe anytime.
Courier returns across town follow the same logic, even without a national carrier. If you use a messenger service, ask for a delivery confirmation with the recipient’s name and the time. Save it next to the row on your pull sheet. When you return by hand, ask the person at the front desk to sign your copy of the packing list. Some showrooms prefer to count pieces in front of you. That is the best outcome, because any question gets settled on the spot. Meanwhile, avoid leaving bags with building security unless the lender has agreed in writing. A nod from the front desk is not a record. The lender may not see the bags until the next morning, after your deadline has passed.

Retail pulls and the store’s return policy
Retail pulls carry a different risk. A store is not a lender, and its staff owe you nothing beyond the written policy. Retailers also watch returns more closely than they once did. Retail Dive’s report on the Appriss Retail and Deloitte returns research put 2024 returns at about $685 billion. It estimated that roughly 15 percent involved fraud. The same research found that 60 percent of surveyed retailers had seen wardrobing. That term means buying an item, wearing it and returning it. A stylist who buys forty pieces and returns thirty-five can resemble that pattern to a store’s system. That holds even when the shoot was entirely legitimate. So the goal is to buy in a way that stays inside the policy and leaves a clear paper trail.

Read the policy for the exact store and channel before you buy, then save a copy with the receipt. Nordstrom’s return policy, for example, sets no general time limit. Yet it asks that special-occasion and designer items come back in the condition received, with tags attached. The store says it added that rule after seeing many apparently worn returns in those categories. J.Crew’s returns and exchanges page, by contrast, allows 30 days. Items must be unworn, unwashed and undamaged, and store purchases go back to a store. The retailer also reserves the right to limit or refuse returns it suspects are excessive. In short, the tags, the window and the channel all matter. Each retailer sets them differently, so read before every large purchase.
Habits that keep retail returns clean
Several habits follow directly from those policies. Keep tags on, and run pins or clips through existing seams only. Never pin through fabric that would show a hole afterward. Style retail pieces in ways that avoid makeup, deodorant and perfume contact. Keep tissue or a garment shield at the neckline during fittings. Avoid altered or final-sale items unless the client has agreed to buy them outright. Then return within the window, through the right channel, with the original receipt and the same card. If you plan to buy heavily from one store, call the store manager before the shoot. A manager who knows the purchase is a styling pull can explain the store’s expectations. That conversation protects you at the register later.
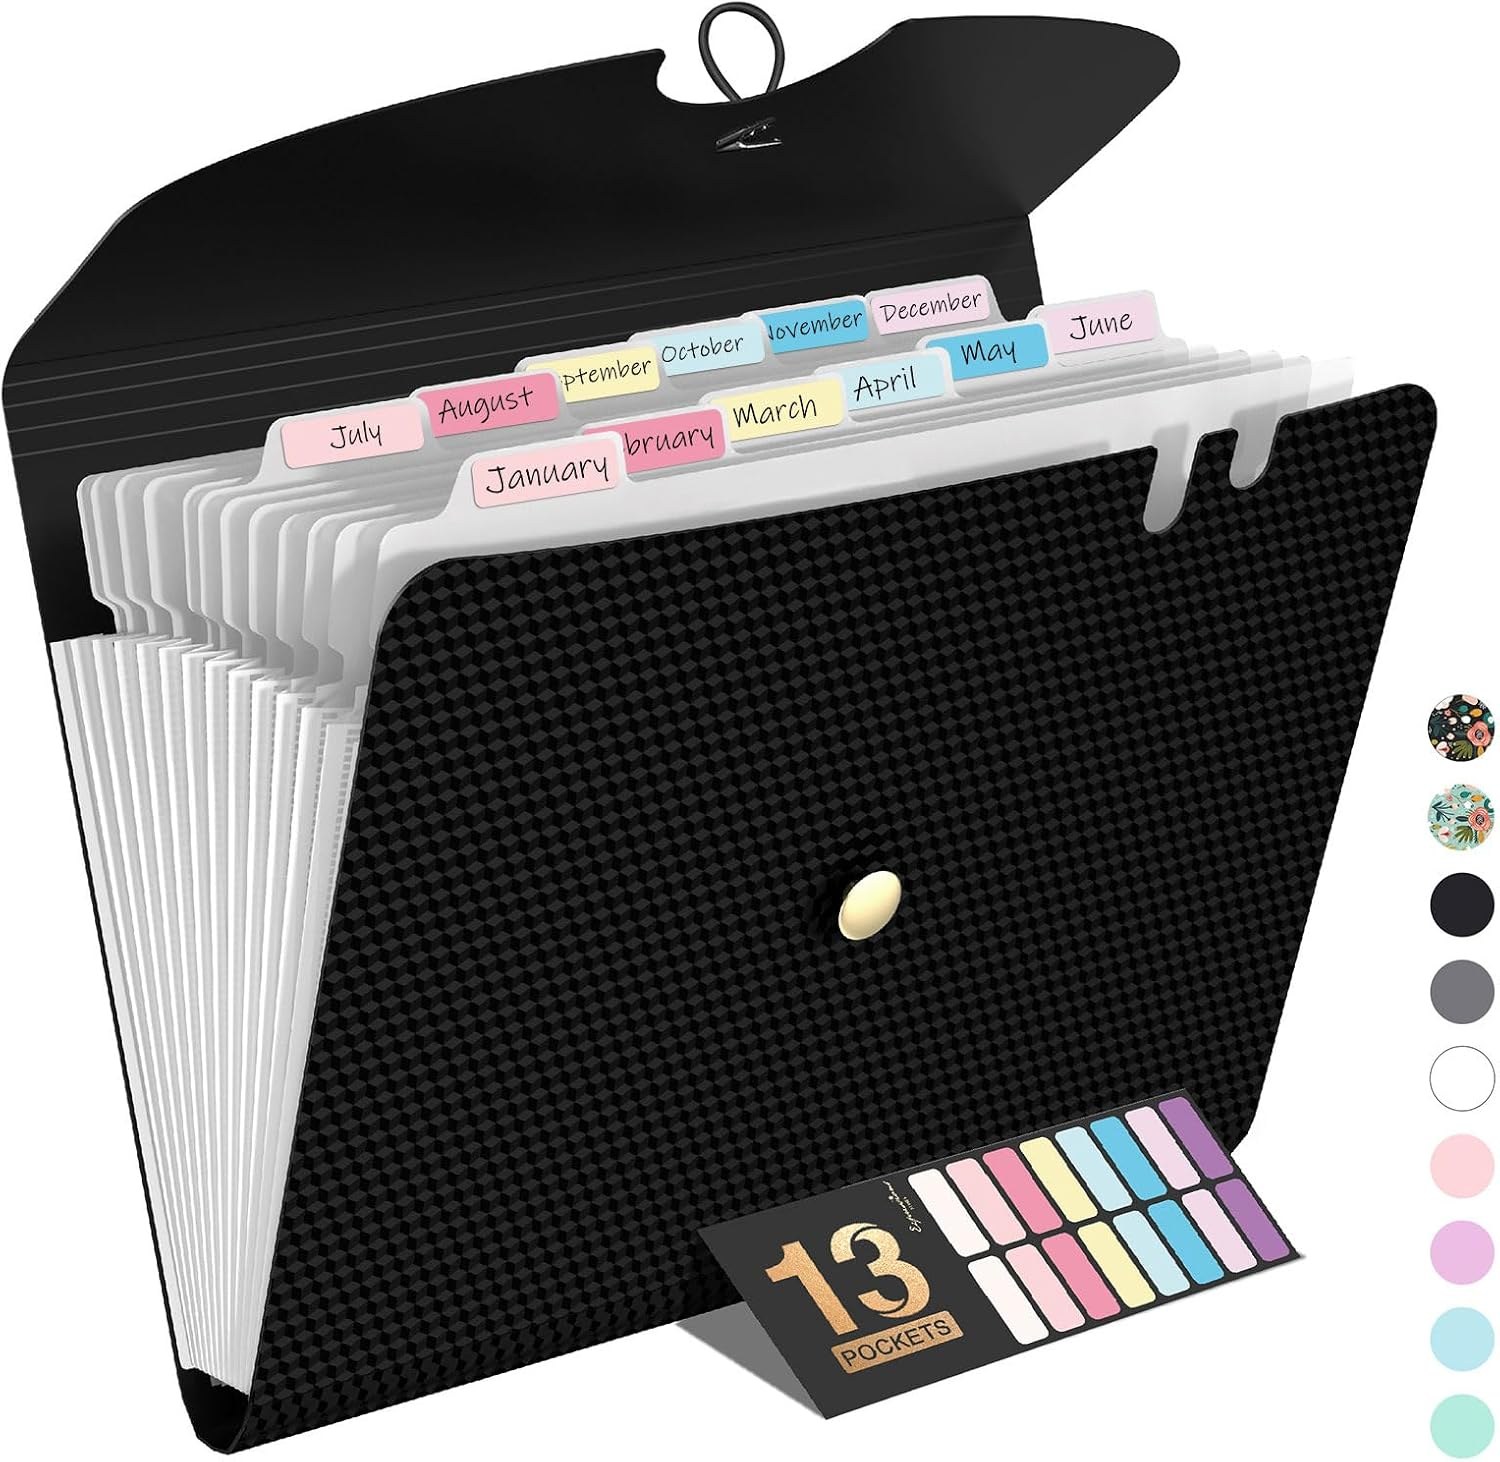
File each store's receipts and return deadlines in their own pocket, so every return goes back inside the window.
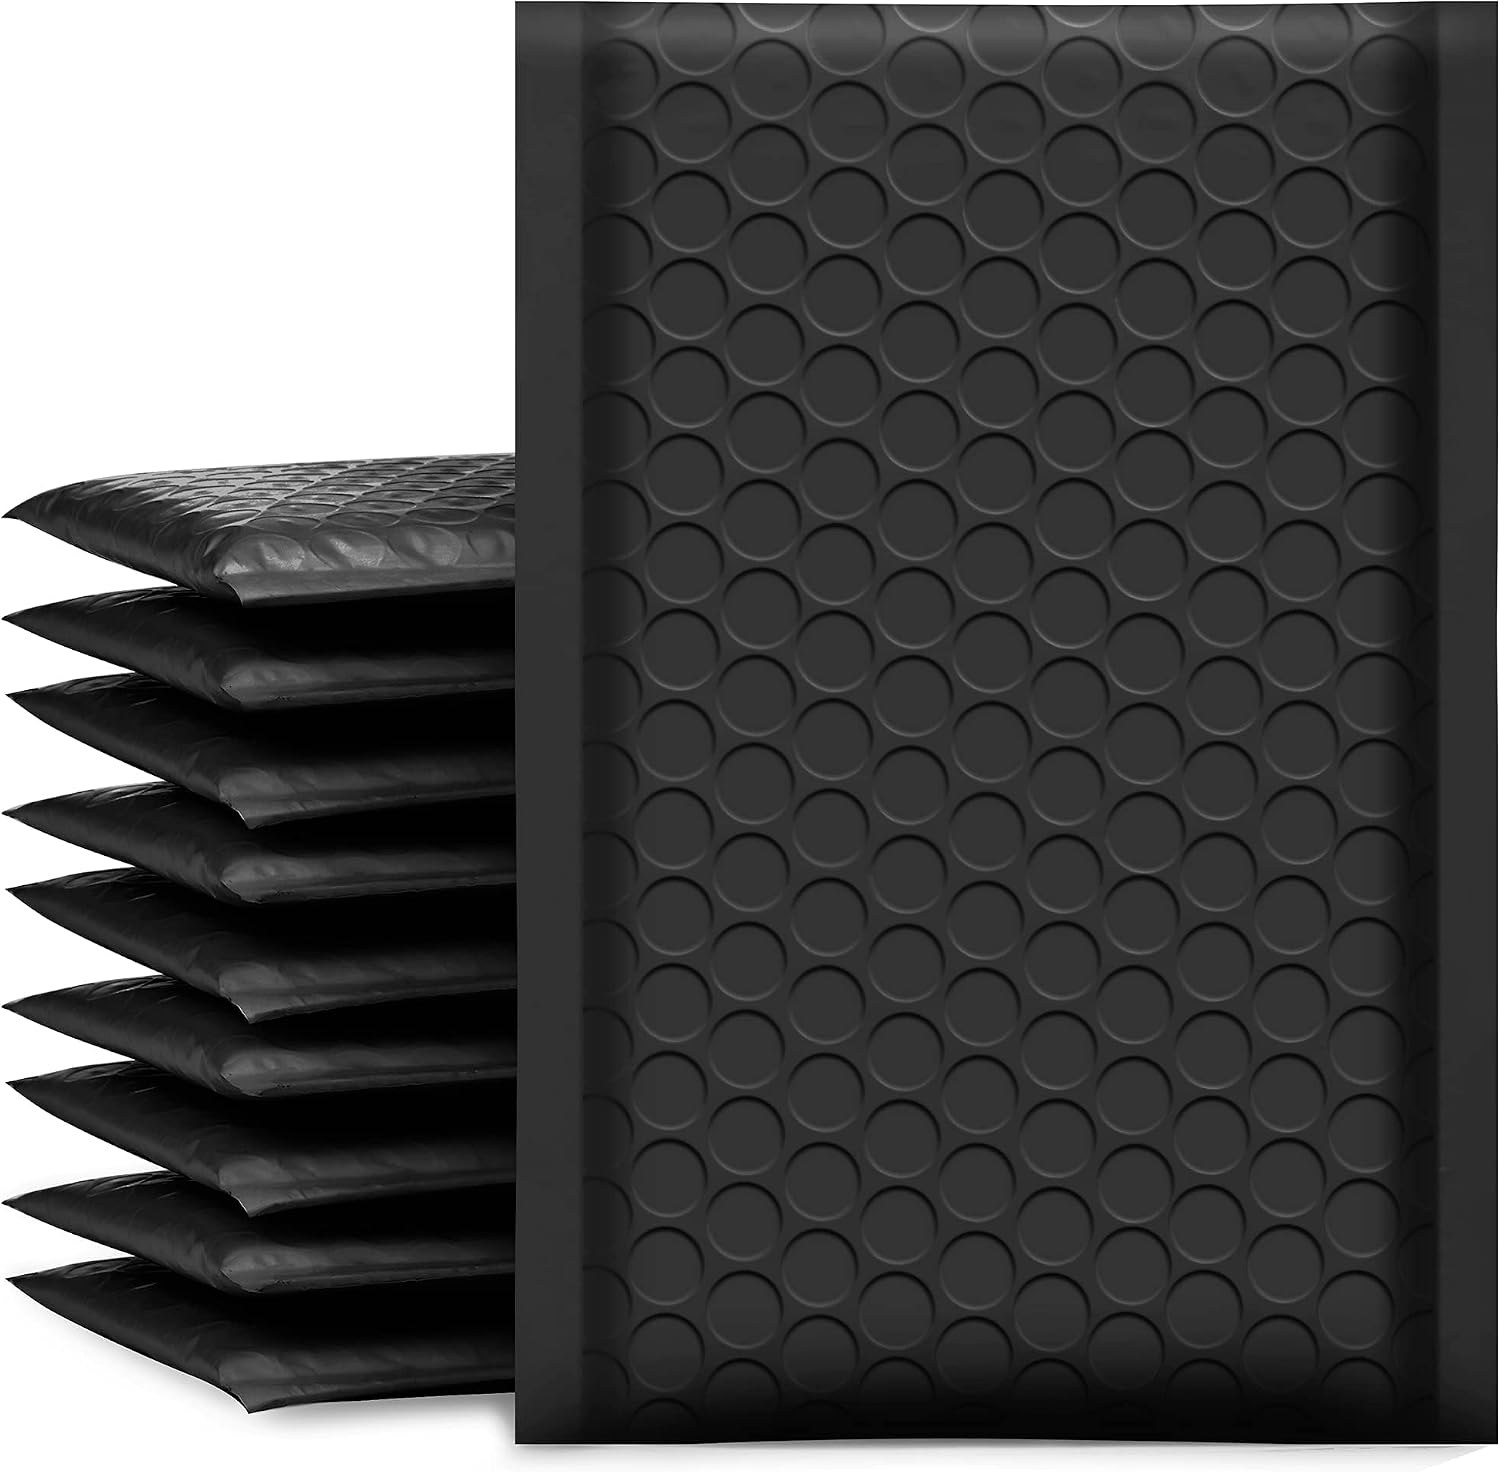
Ship small accessories back in padded mailers when a store accepts mail returns, keeping each piece protected in transit.
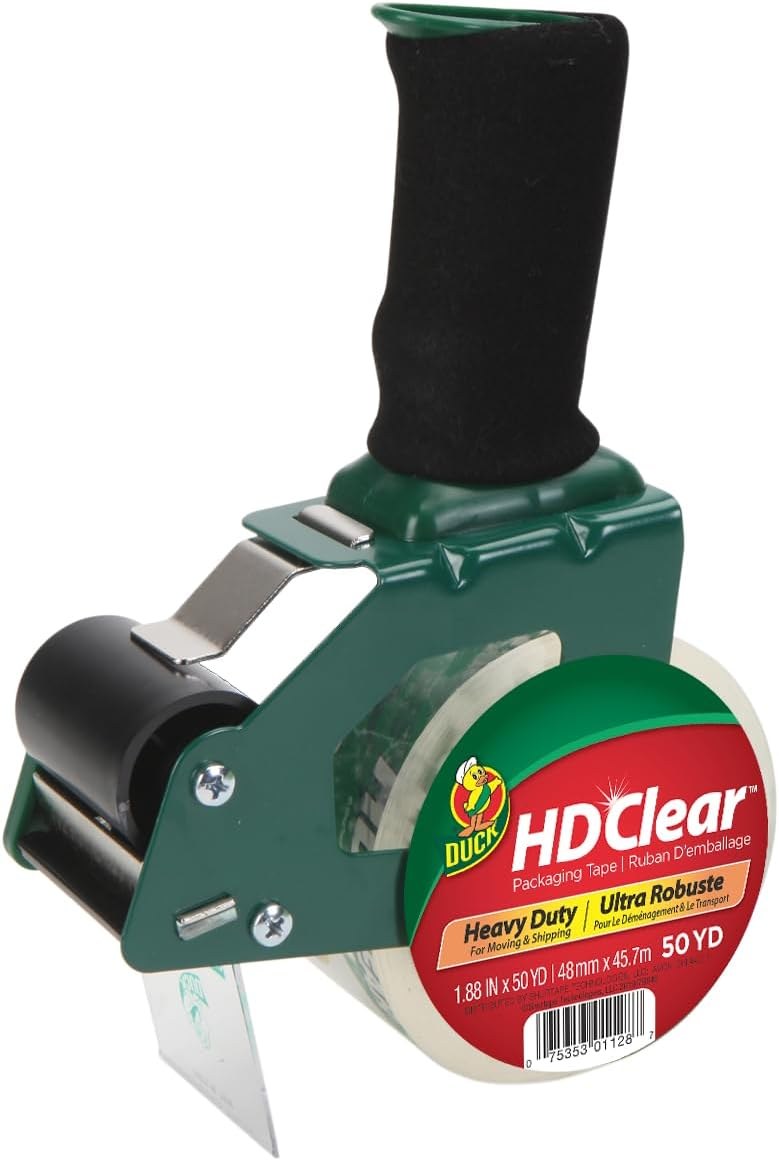
Seal return boxes quickly at the end of a long wrap, with tape that holds through courier handling.
Deadlines, extensions and late returns
Deadlines are the part of the return that lenders remember longest. The due date on a loan form reflects the brand’s next commitment. That might be another shoot, a press day or the end of a sales season. So build your timeline backward from the earliest due date on the sheet. Leave a day of margin for courier delays. When a shoot moves or a client wants a second look, ask for an extension before the original date. Never wait until after it. A short email that names the pieces, the reason and the new date gives the coordinator something to approve. Most lenders can work with a request made early. However, very few can work with silence. A quiet late return reads as carelessness, even when it was not.
Sometimes a piece runs late through no fault of yours. A carrier delay or a client who left town with a coat can do it. In that case, tell the lender what happened and what you are doing about it. Say when they will hear from you next. Then follow through on that update, even if the news has not changed. Keep the tone factual and brief, because a long apology reads as anxiety rather than control. Meanwhile, search every channel for the missing item: the client’s assistant, the car service, the hotel and the set. If the item never turns up, the conversation shifts to replacement cost. The value on the pull sheet becomes the starting point. That is the moment your records from the first day pay for themselves.

The cost no invoice shows
Late returns also have a cost that never appears on an invoice. A coordinator who chases you twice for one jacket will think twice about your next request. That hesitation can follow you to other brands the same agency represents. So treat every deadline as a small promise to a specific person, not a date in a system. When you finish a job early, send pieces back early. An early return frees stock for the next borrower and earns quiet goodwill. Also, keep a short log of lenders and how each loan ended. Note whether it came back on time or late, clean or flagged. Over a year, that log tells you where your process breaks down. It also shows which relationships need a little more care.

Returns day etiquette that keeps lenders saying yes
Etiquette on returns day itself is simple, but it is visible. Return clothes steamed or at least hung neatly, never balled into a tote. Give back the brand’s hangers, bags and tissue. Arrive at the time you agreed, with the packing list ready. Stay while someone counts if they want to count. Thank the coordinator by name. If the shoot will publish, tell them roughly when and where. Then send the credit or tear sheet once the work runs, since that outcome is the reason for the loan. These details take little time. Still, they separate a stylist who borrows from a stylist who partners. Coordinators notice the difference across a season of requests, and they remember it at the next market week.
If you work with assistants, give them a written returns day routine rather than a verbal brief. It should cover the order of stops and the paperwork for each lender. It should also name the one person to call when a count does not match. Decide in advance who can sign for what and who sends the final confirmation email. An assistant who returns forty pieces without a record has done half the job, however tidy the bags looked. Meanwhile, build a weekly rhythm if you shoot often. Set one fixed morning for courier returns and drop-offs. Then set one afternoon for reconciling the sheet. A steady schedule keeps returns from piling up behind new pulls. That pile-up is how a manageable rack turns into a backlog.
The quiet half of the work
Returns are the least glamorous hour of styling, and they are also the hour that earns trust. Nobody credits you for a clean check-in or a matched pair of condition photos. Yet those records let a showroom lend you its strongest pieces. They help a store manager welcome your next purchase. They let an assistant work without guessing. Your income benefits too, because a single unresolved claim can erase the fee from a shoot. So treat the return as part of the booking, and budget time for it in your quote. Keep the system the same on every job. Over a few seasons, that consistency becomes a reputation. In turn, a reputation makes the next pull letter easier to write and quicker to approve.
Tools and library

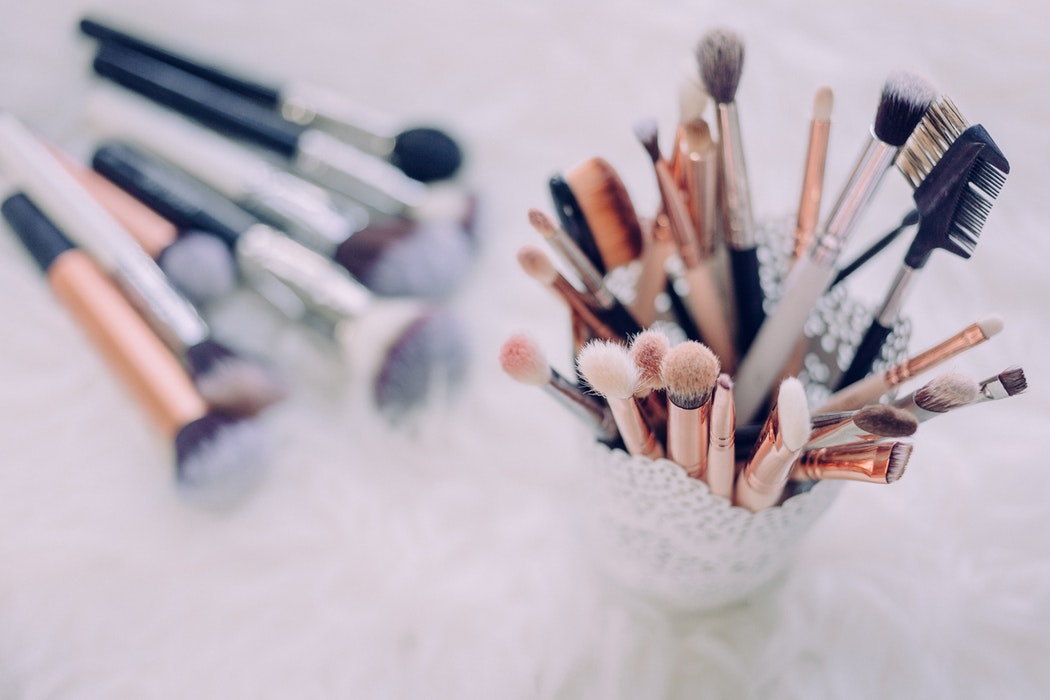
The tools above handle the physical side of a return, from labels to light to file folders. The business side asks for the same care. Time spent on check-in, condition photos and courier runs is real working time. Many stylists absorb it without billing for it. That habit adds up across a busy season, and it quietly lowers your effective day rate. So when you quote a job with a large pull, consider listing prep and returns as their own line. Keep the pull sheet as evidence of the hours involved. Clear records also help at tax time and in any dispute with a lender. For a fuller framework on pricing, client terms and the business habits that sustain a styling career, the Artist Library collects that work in one place.
From the Artist Library
The career guide in the Artist Library was written for makeup artists, yet its chapters on pricing, contracts, agencies and the first five clients translate directly to styling work. Read it alongside your rate sheet and loan paperwork, and it will help you ask sharper questions before your next booking.
Questions worth asking
What is returns day for a stylist?
It is the day a stylist sends or carries borrowed and purchased pieces back after a shoot. The recipients are showrooms, PR agencies and stores. The work covers matching items to the pull sheet, photographing condition, packing by lender, keeping courier proof and meeting each due date.
How long do stylists usually have to return pulls?
There is no single industry deadline. Each showroom or agency sets a due date on its loan form. Retail stores follow their own written return policies, which vary by retailer. Treat the earliest date on your pull sheet as the real deadline, and ask for any extension before it passes.
What should a pull sheet include?
At minimum, list each item with its color, size and style number. Add the lender, the stated value, the dates out and due, and the contact who approved the loan. Then add condition notes with photo references. Once the piece goes back, add the return method and the tracking or signature record.
Is a tracking number enough proof that a return arrived?
Often it is not. Standard tracking shows a delivery date and time, but it does not show who accepted the box. For high-value samples, choose a service with a signature record. Insure to the item’s actual value, photograph the sealed box and keep the receipt with the pull sheet.
Can stylists return clothes bought at retail after a shoot?
Only within the store’s own written policy. Policies differ on time limits, tags, condition and where items go back. Some retailers say they may refuse returns they consider excessive. Read the policy before buying, keep tags on, protect the garments on set and return with the original receipt.
What should you do if a borrowed piece is damaged or missing?
Tell the lender promptly and plainly: the item, what happened and your next step. Share your check-in and return photos, search every likely location, and keep updates regular. If the piece never turns up, the value on the loan form usually becomes the basis for any replacement discussion.
