
The Artist · Character
The actor is thirty-five, the character is seventy-eight and call time is in two hours. Old age makeup is one of the oldest skills in character work, and one of the easiest to get wrong. Too much, and the face looks drawn on. Too little, and the camera sees a young person in a gray wig. This guide is part of our guide for working makeup artists. It explains how faces actually age, then covers paint, stretch-and-stipple latex and prosthetics, with the kit for each.
The short answer
Old age makeup works by recreating how a face changes with time: hollows where volume is lost, highlights where bone shows, and wrinkles that follow the person’s own expression lines. Artists use three methods, alone or together: highlight and shadow paint, stretch-and-stipple latex for real texture, and prosthetics for the most dramatic aging.
In this guide
How a face really ages
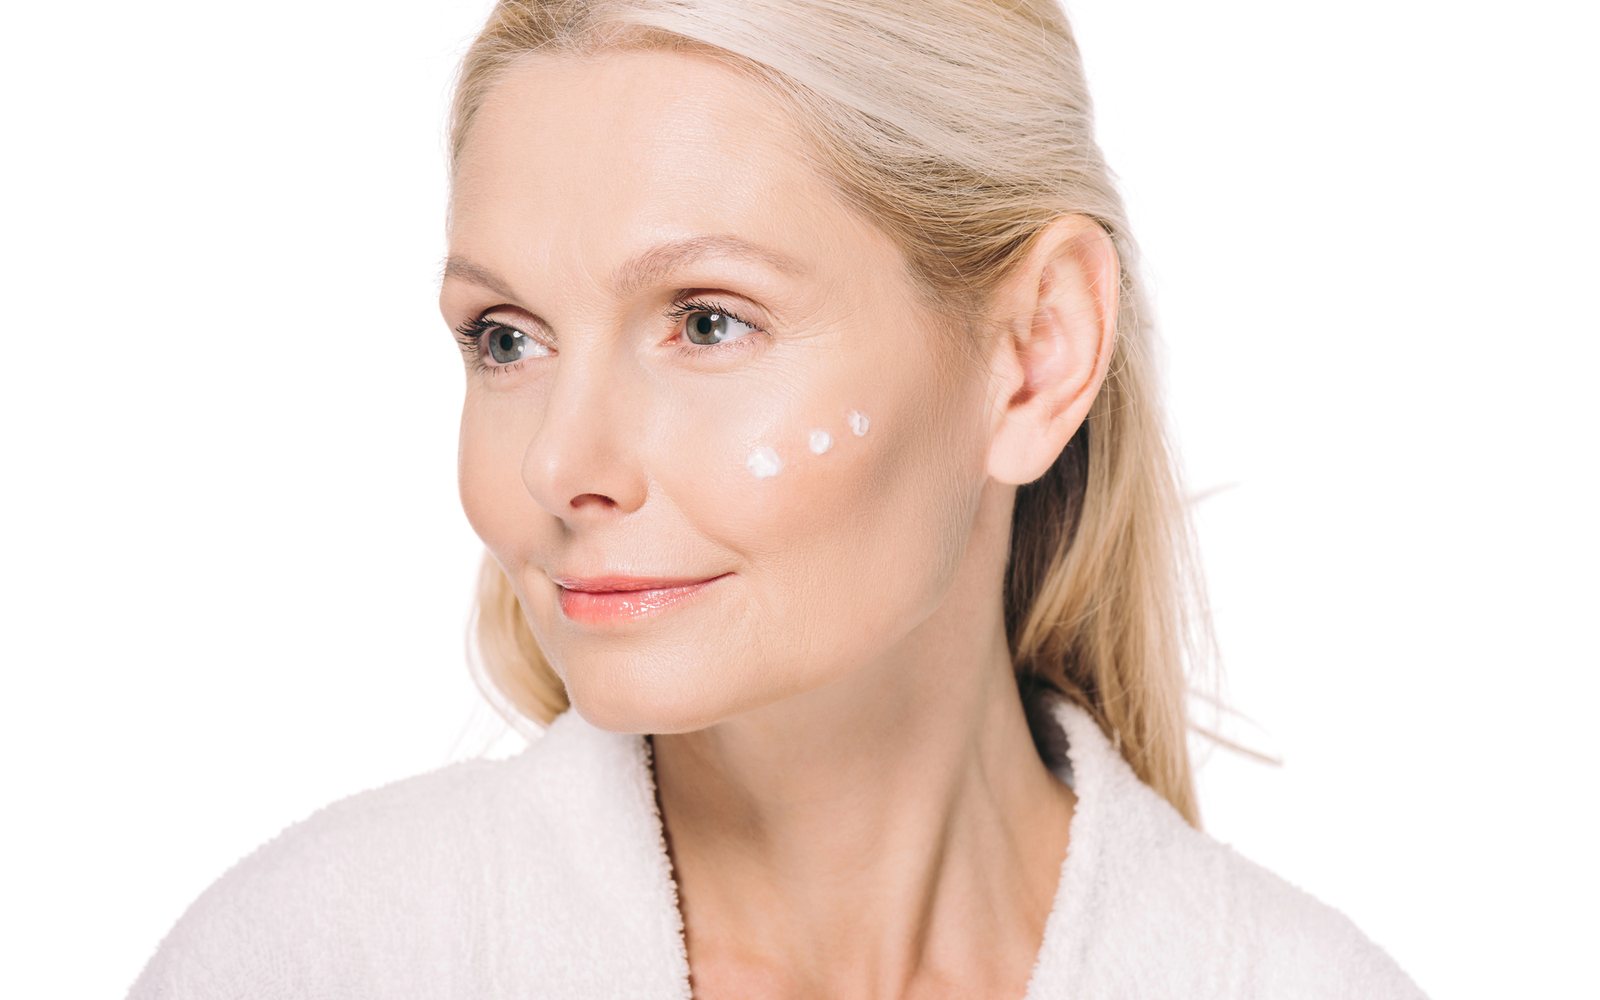
Convincing aging starts with anatomy, not with wrinkles. A review in Aesthetic Surgery Journal, “The Facial Aging Process From the Inside Out,” describes aging layer by layer, from bone to skin. Bone changes come first. The rim of the eye socket recedes, so the eyes look deeper set and the tear troughs darken. The upper jaw recedes too, which flattens the midface. Meanwhile, the lower jaw loses volume, which softens the jawline. These changes are slow, but they reshape the whole face. For a makeup artist, they explain why older faces look hollow in places that young faces look full. They also explain why simply drawing lines rarely looks real.
The same review describes how fat and skin change on top of that structure. Deep fat pads shrink and stop supporting the tissue above them. Superficial fat pads, by contrast, tend to slide downward. That deepens the hollows under the eyes and in the cheeks and builds jowls along the jaw. Fat loss at the temples is also significant. The ligaments that hold everything in place weaken. Around the mouth, the lips thin and flatten as the muscle beneath them thins. Finally, the skin itself thins, loses collagen and elastin and wrinkles more easily. Sun exposure speeds all of this up, adding coarse wrinkles and uneven pigment. Each of these changes gives you a specific place to work.
What this means for your makeup
All of that translates into a simple, repeatable plan for old age makeup. Shadow the places where volume is lost: temples, eye sockets, under the cheekbones, beside the nose and below the jawline. Highlight the structures that become more visible: the brow bone, cheekbone, bridge of the nose and the edges of each fold. Then add wrinkles that follow the person’s own expression lines, so they move naturally. In other words, you are not drawing an old face onto a young one. Instead, you are revealing the older face that is already there, by working with the actor’s bone structure and their real creases. Reference photos of real older people make every step easier, so gather them before the first test.
Three ways to age a face
Working artists choose between three methods, and many looks combine them. The first is paint: highlight, shadow and color applied with brushes and sponges. It is fast, cheap and easy to remove, and it works well on stage and for moderate aging on camera. The second is stretch-and-stipple, in which a thin latex product is applied to stretched skin and dried, creating real texture when the skin relaxes. It adds believable fine wrinkles that paint cannot imitate. The third is prosthetics: sculpted, molded appliances glued to the face for dramatic aging in film and television. Our guide to prosthetics for beginners covers silicone, foam latex and gelatin in detail. Each method can be learned on its own and combined later.
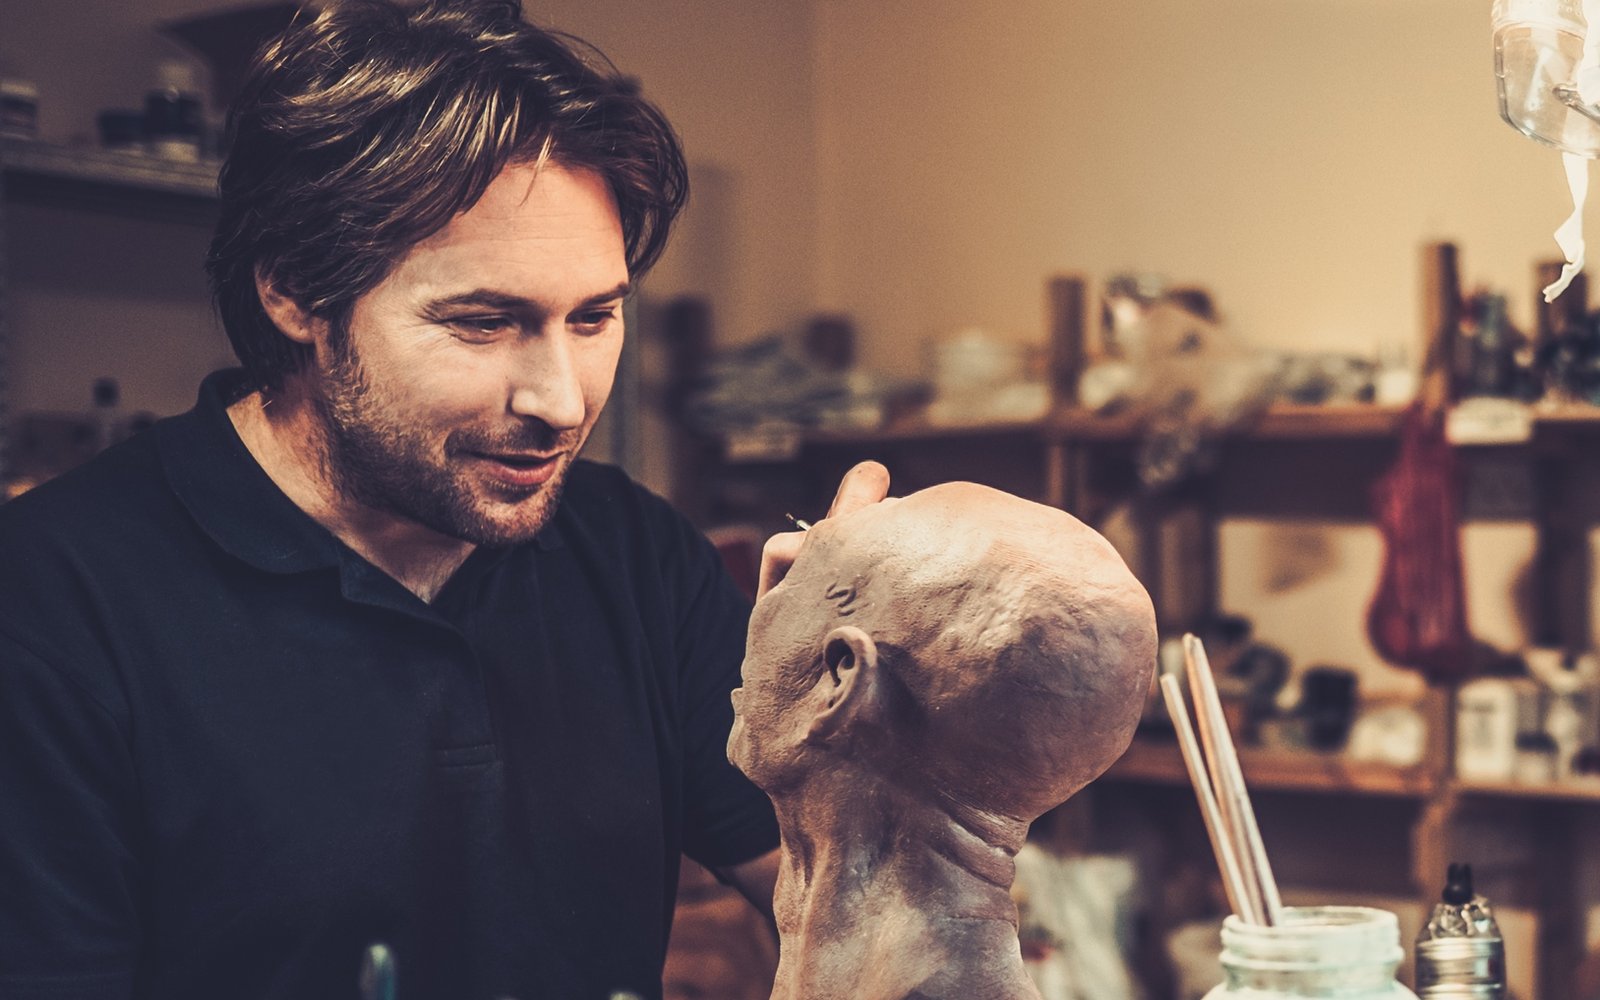
Your choice depends on the medium, the amount of aging, the time in the chair and the budget. A school play can often rely on paint alone. For a short film where the character ages twenty years, paint plus stretch-and-stipple on the forehead, eyes and neck usually reads well. For a lead character aged forty years in close-up, productions often use prosthetics, which require sculpting, molds and a specialist team. Meanwhile, consider the actor: some skin reacts to latex, and some actors find long applications difficult. Discuss the plan with the director and the actor before the test day, and photograph the test under the real lighting. Good old age makeup is planned on paper first, with a face chart for every stage of aging the story needs.
Old age makeup with paint, step by step
Read and map the face
Start by studying the actor’s face without makeup. Ask them to frown, raise their eyebrows, squint and smile, and watch where the skin folds. Those folds are where the character’s wrinkles should go, because they will move naturally with every expression. Next, find the hollows: press gently at the temples, under the cheekbones and around the eye sockets to feel the bone. Mark the key lines lightly with a brown pencil, then step back and check the map from a distance. Meanwhile, decide how many years you are adding, because ten years and forty years need very different amounts of shadow. Write the plan down for continuity, with a quick sketch on a face chart. That chart will save time on every later day of the shoot.
Ben Nye F/X Old Character Wheel — shadow, highlight and age tones in one palette
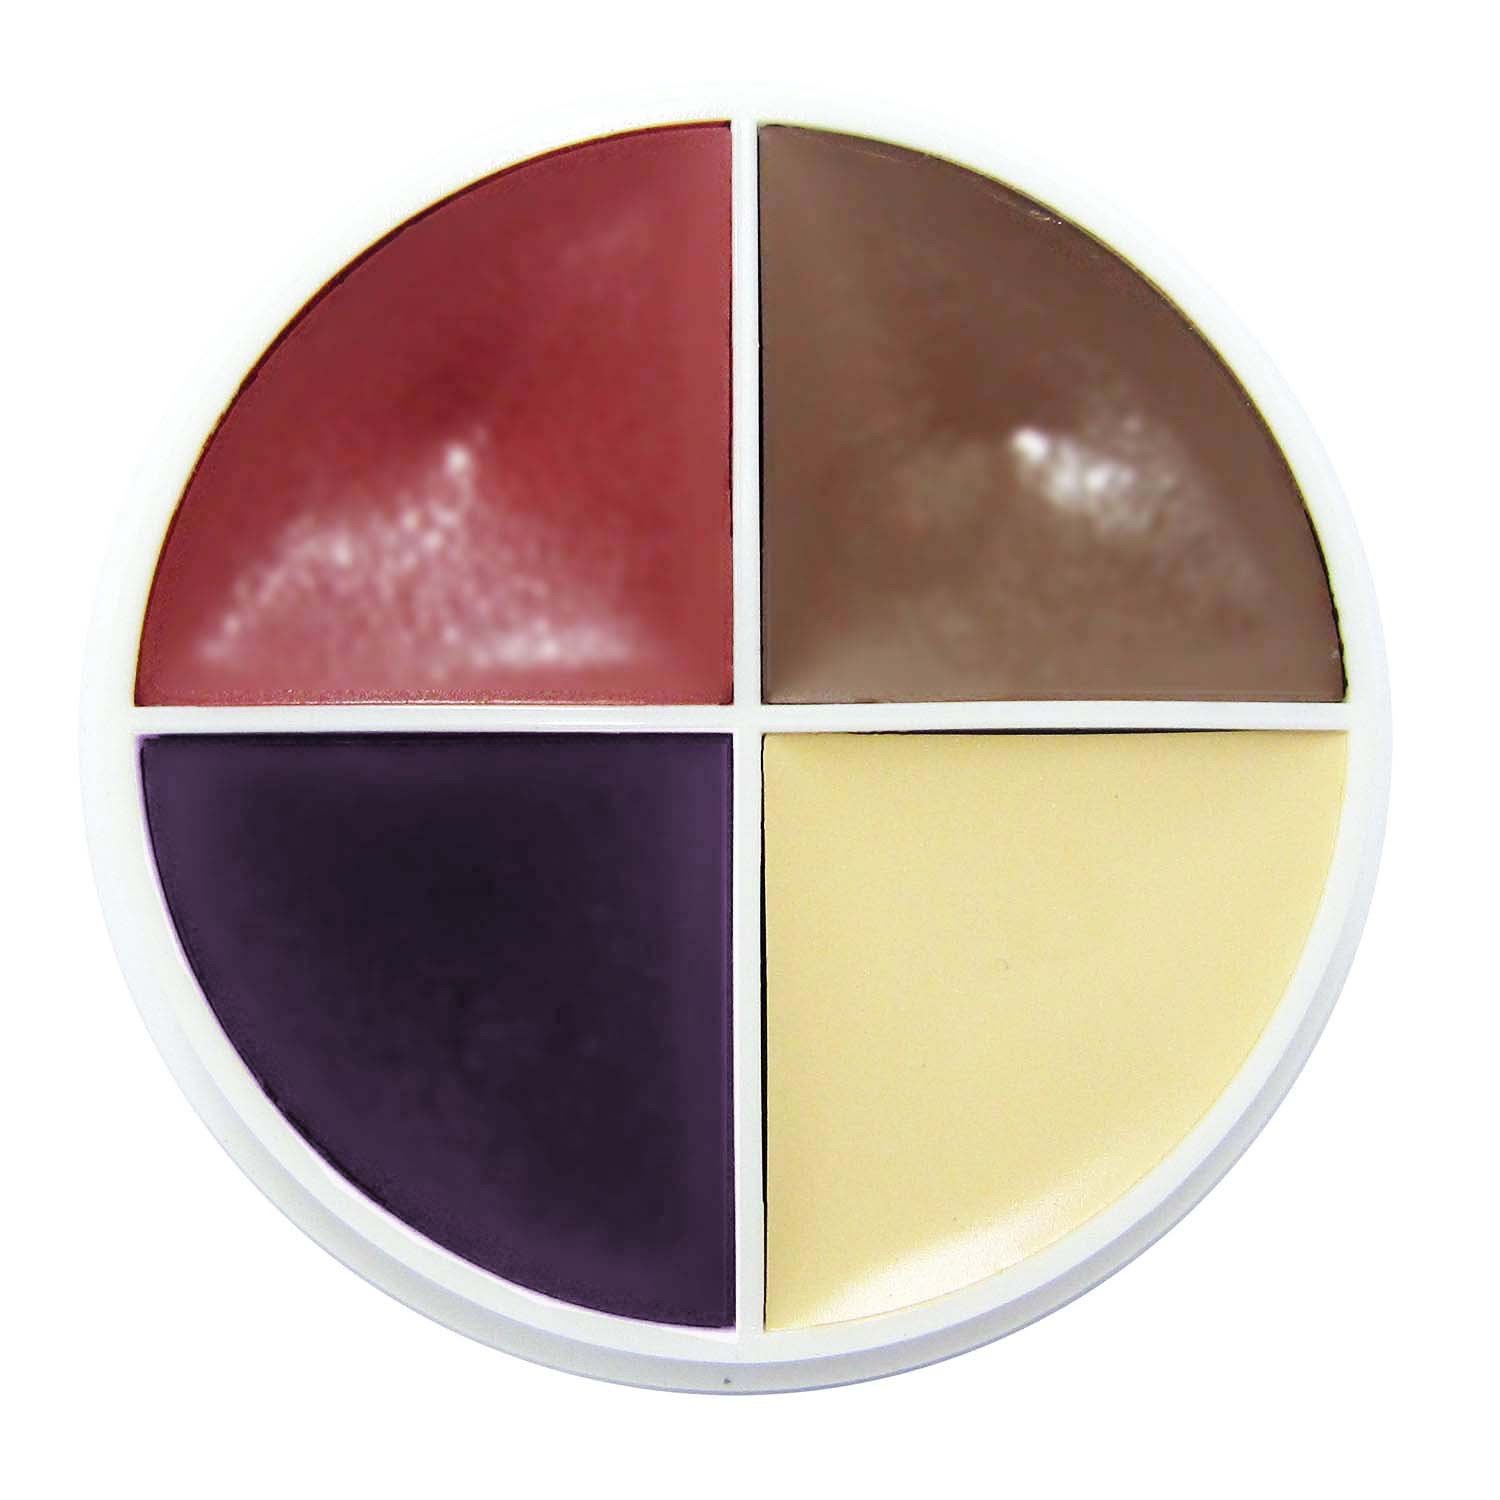
A creme color wheel built for character aging, with shadow, highlight and complexion tones in one compact palette. Mix the shadow shades to match the actor’s skin, then use the lighter tones to lift the ridges beside each fold. Creme textures blend into skin and can be set with powder. Take product from the wheel with a clean spatula onto a palette for each actor.
Shadow and highlight
Shadows for aging should be cool and slightly gray, not warm brown, because hollows on older faces read as recessed and slightly desaturated. Apply shadow in the temples, the eye sockets, under the cheekbones and along the folds beside the nose and mouth. Soften the shadow on one edge and keep the other edge a little firmer, so it reads as a fold rather than a smudge. Then place a highlight directly beside each shadow, on the side where the skin rises. That pairing of shadow and highlight is what creates depth. In addition, check every step from the camera or audience distance. Aging that looks strong close up can disappear from ten feet away. Adjust the contrast until it reads at the distance that matters.
Wrinkles, texture and color
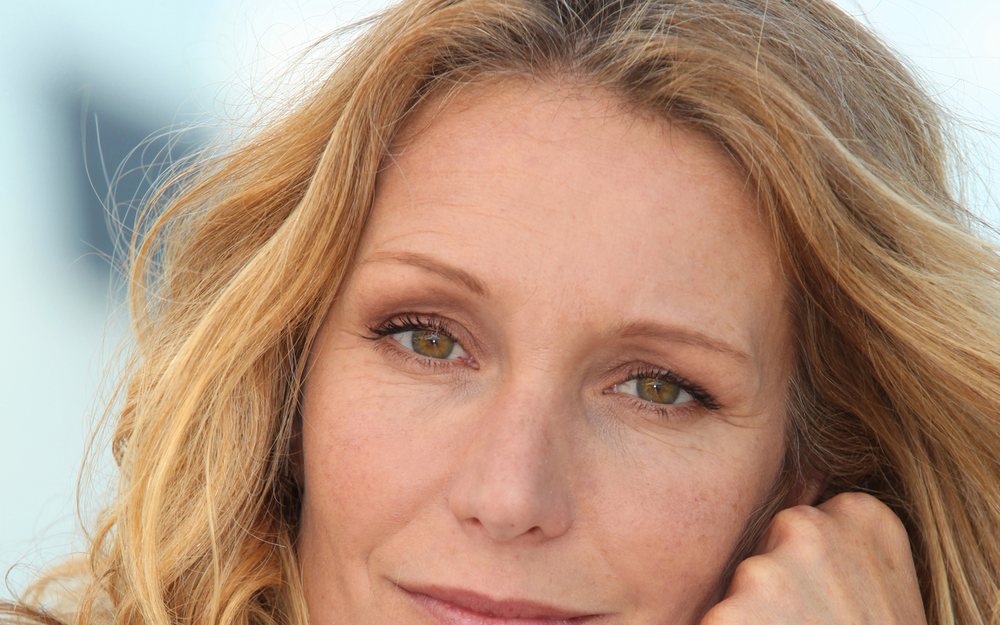
Draw wrinkles only where the actor’s face actually creases. For each one, paint a thin line of shadow in the fold, then a fine highlight just above or below it, and blend the outer edges. Vary the lengths and depths, because real wrinkles are never even. Forehead lines, crow’s feet and the lines around the mouth carry most of the effect, so start there. Then use a stipple sponge to add broken capillaries on the cheeks and nose and scattered age spots on the forehead and temples. Meanwhile, cool and desaturate the lips with a little foundation, and soften the lip line, because lips thin with age. Less is usually more, so stop and review the face before you add another line. Then step back once more.
MEICOLY Stipple Sponges — for capillaries, spots and texture
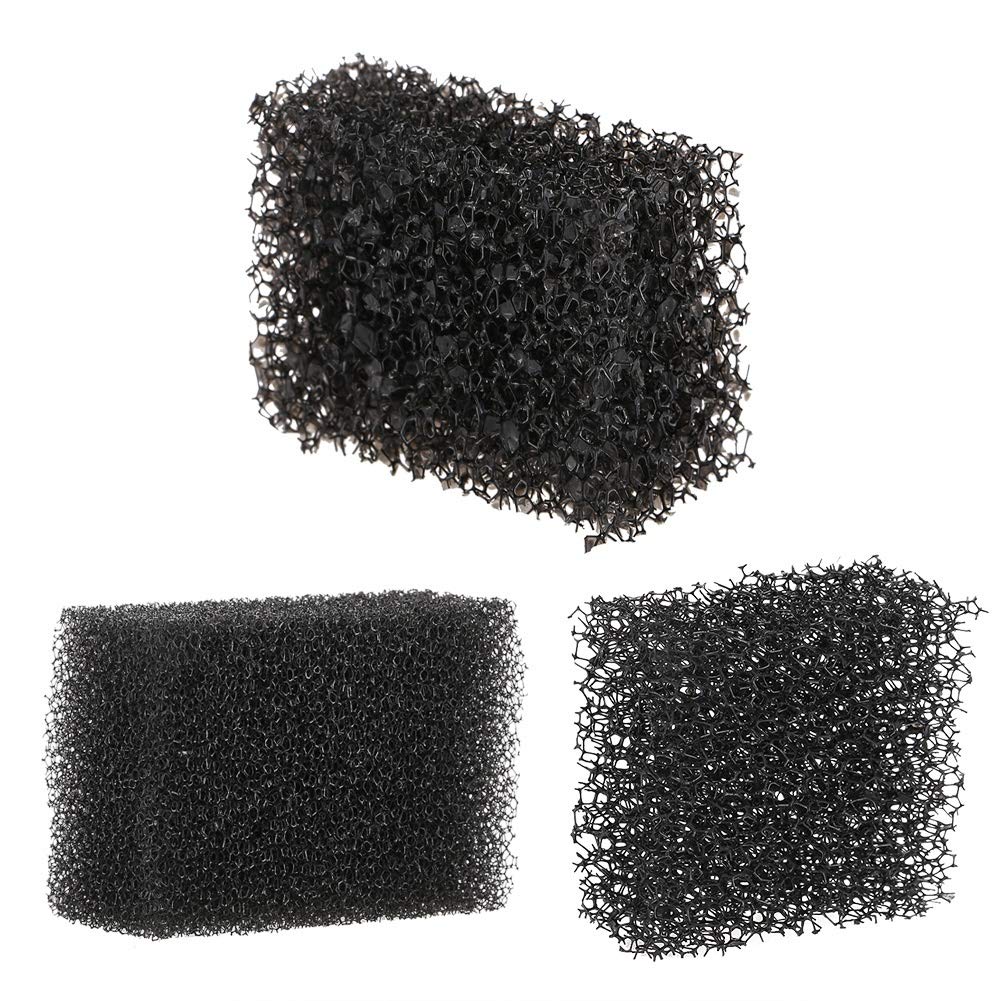
Open-cell stipple sponges that print an uneven, broken texture onto the skin. Dab a little red or purple creme on the sponge, blot most of it off, then press lightly on the cheeks and nose for broken capillaries. The same sponge adds mottled age spots with a pale brown. Use a fresh piece for each actor, because these sponges cannot be fully sanitized.
Color finishes the illusion. Older skin often looks a little sallow or uneven, with more redness around the nose and cheeks and less color in the lips. A slightly lighter, more neutral foundation can help, followed by a thin wash of a yellow or olive tone where the character needs it. Age spots should be few, soft and uneven in size, never neat, even circles. Meanwhile, thin the eyebrows slightly with a little concealer at the outer ends, and gray them with a cream product or hair paint. Finally, look at the whole face in a mirror from across the room. If one feature stands out, soften it until the whole face reads as one age.
Graftobian Old Age Makeup Kit — a starter kit for character aging
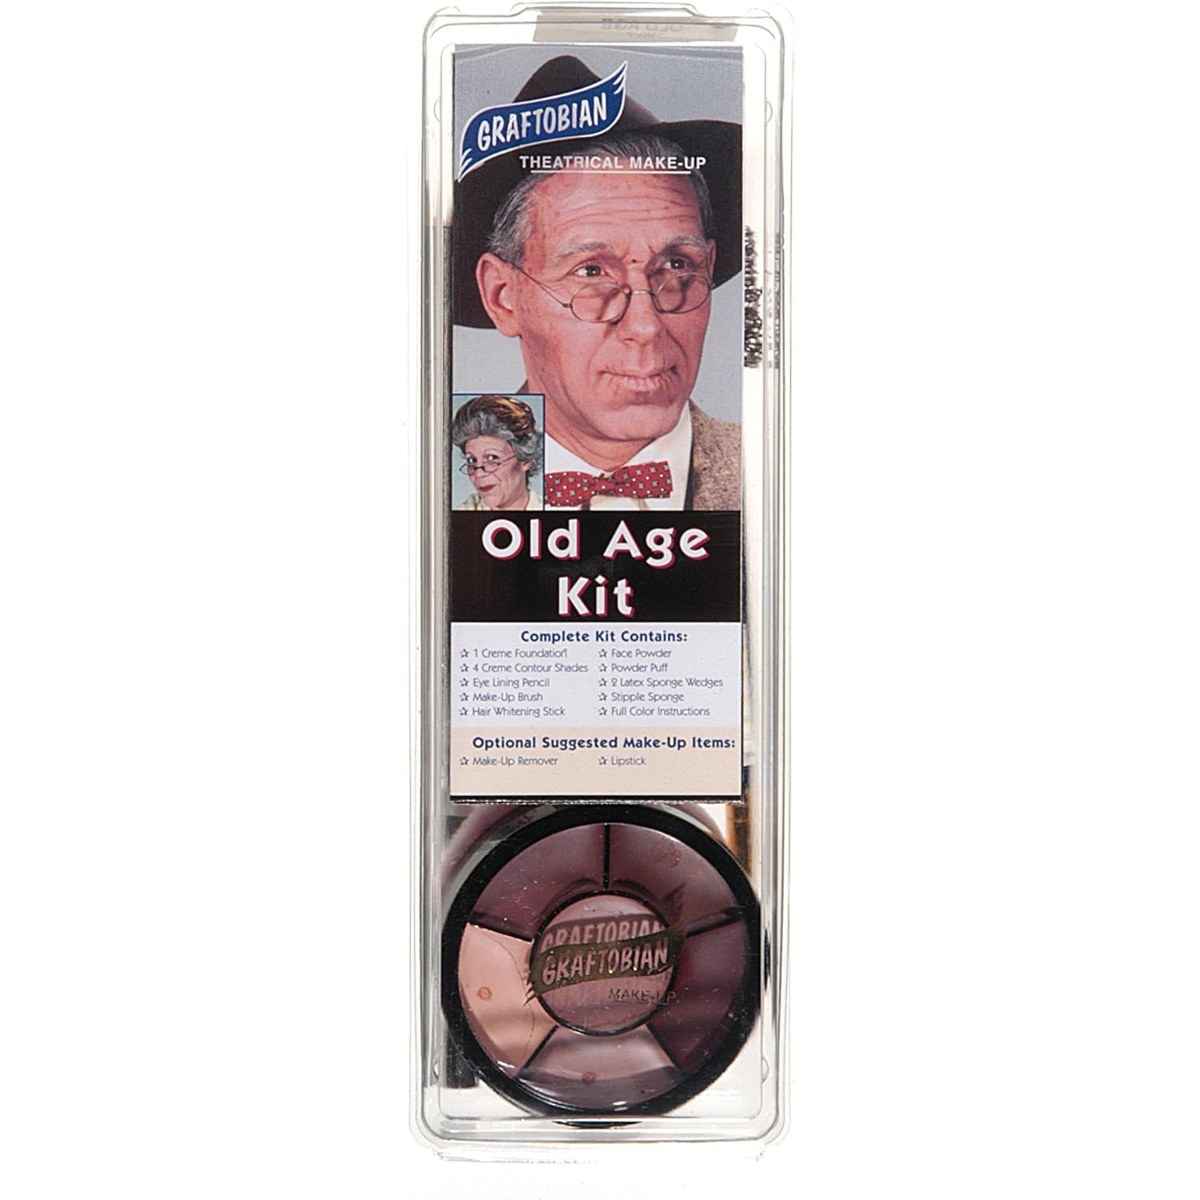
A theatrical kit designed for aging, with creme colors for shadows, highlights and age tones, plus application tools. It suits students, school productions and artists building their first character kit. Practice the shadow-and-highlight pairing on a friend, then photograph the result under stage and camera lighting. Replace the included sponges with fresh ones for each actor.
Stretch-and-stipple latex aging
Stretch-and-stipple creates real wrinkles that move with the face. Gently stretch a small area of skin, such as the outer corner of the eye, and hold it taut. Then stipple a thin layer of latex-based aging liquid onto the stretched skin with a sponge. Dry it with cool air from a hair dryer. Powder the area lightly while it is still stretched, then release. As the skin relaxes, the dried layer wrinkles into fine, natural texture. Repeat the process in small sections, adding a second or third layer for deeper texture. Avoid the eyelids, eyebrows and hairline, because latex is painful to remove from hair. Work in a well-ventilated room, and keep the dryer on a cool setting throughout.
Latex needs care, because some people are allergic to it. NIOSH, the US federal workplace safety agency, explains in its latex allergy prevention guide that latex allergy is a reaction to certain proteins in natural rubber latex. It lists milder signs such as redness, rash, hives and itching. More serious signs include sneezing, eye irritation and asthma-like symptoms. For that reason, ask every actor about latex allergy before you start, and patch test a small area of the inner arm the day before. The same guide notes that some synthetic rubbers called latex do not release the proteins that cause allergic reactions. That distinction matters when you choose products for a sensitive actor.
Wrinkle Effects Liquid Age Stipple — latex-based stretch-and-stipple aging
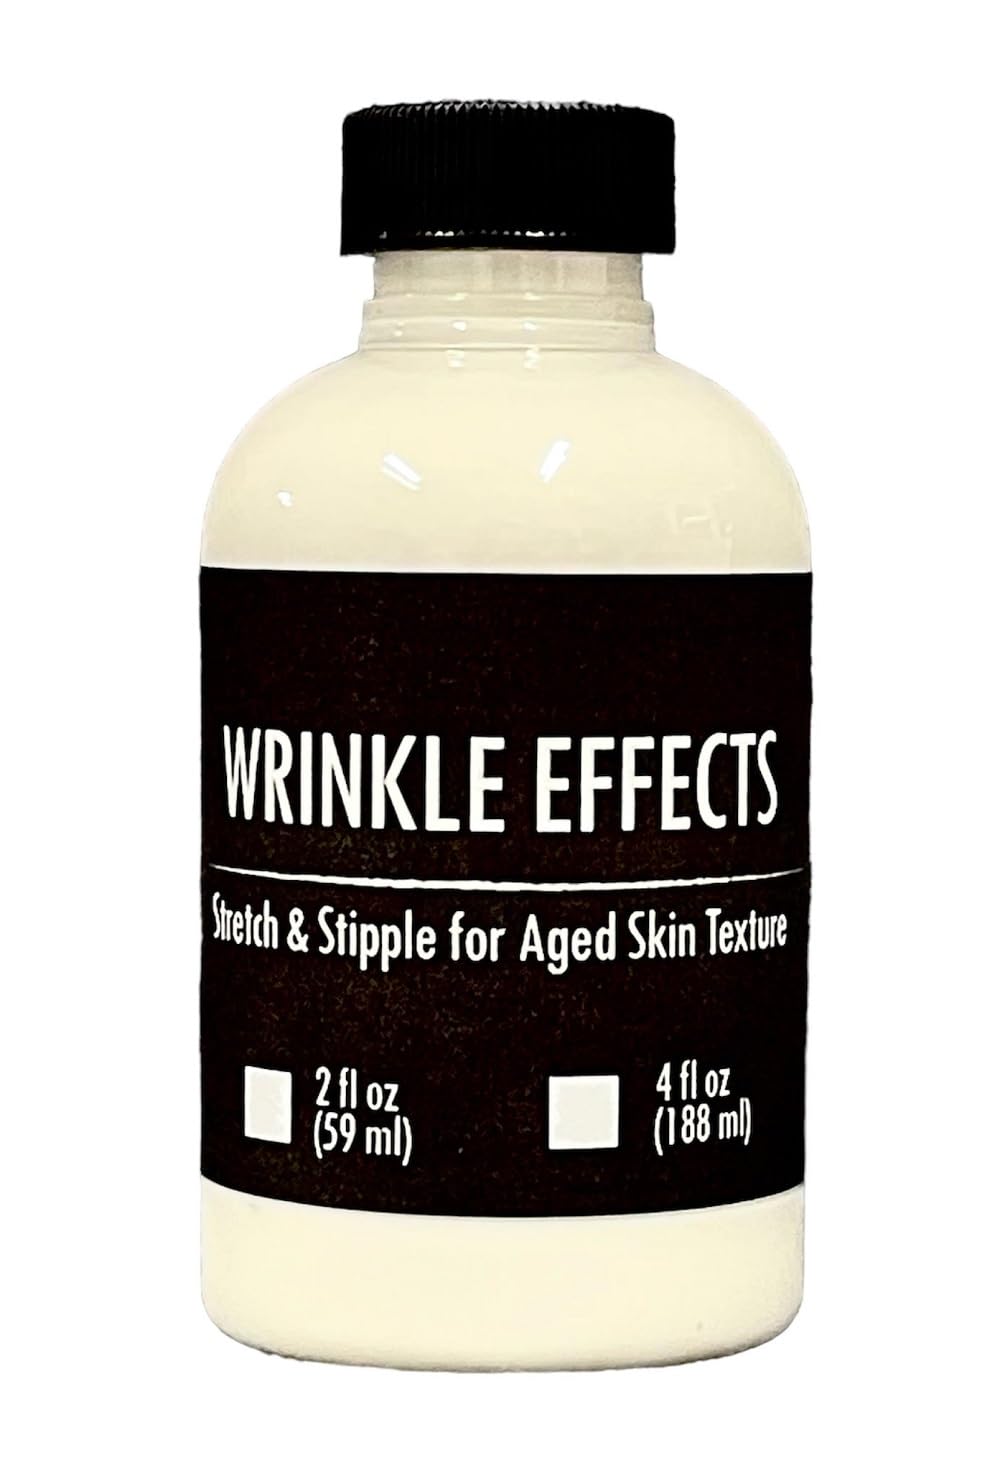
A liquid latex aging product made for stretch-and-stipple wrinkles. Apply it in thin layers to stretched skin with a stipple sponge, dry each layer with cool air and powder before releasing. Build two or three layers for deeper texture. Ask about latex allergy and patch test before every use, and keep it away from eyelids and hair.
Coloring and setting latex
Coloring over latex takes a different approach from coloring bare skin. Many cream foundations slide on latex or look shiny. For that reason, artists often use products designed for rubber, such as rubber-mask greasepaints or alcohol-activated colors. Apply color in thin, stippled layers rather than wiping it on, so the texture stays visible. Then blend the edges of the latex into the surrounding skin with the same color, so there is no visible line at all. Meanwhile, keep the latex areas small and connected to the actor’s real creases. Large, flat patches of latex read as a mask on camera. By contrast, small, well-placed sections read as real, living skin.
Setting the whole face keeps the aging in place through long days. Once the paint and any latex are finished, press a fine, neutral setting powder over the face with a puff, then brush away the excess. A powder with a slight yellow tone can also help balance any redness and add the faint sallowness of older skin. On camera, avoid heavy powder in the wrinkles, because it settles and exaggerates them unevenly. Instead, set the creases lightly and check them in a test frame. For long shoots, keep a small touch-up kit with powder, the main shadow shade and a fine brush beside the set. Check the face after every break.
Ben Nye Neutral Set Powder — a neutral setting powder for character work
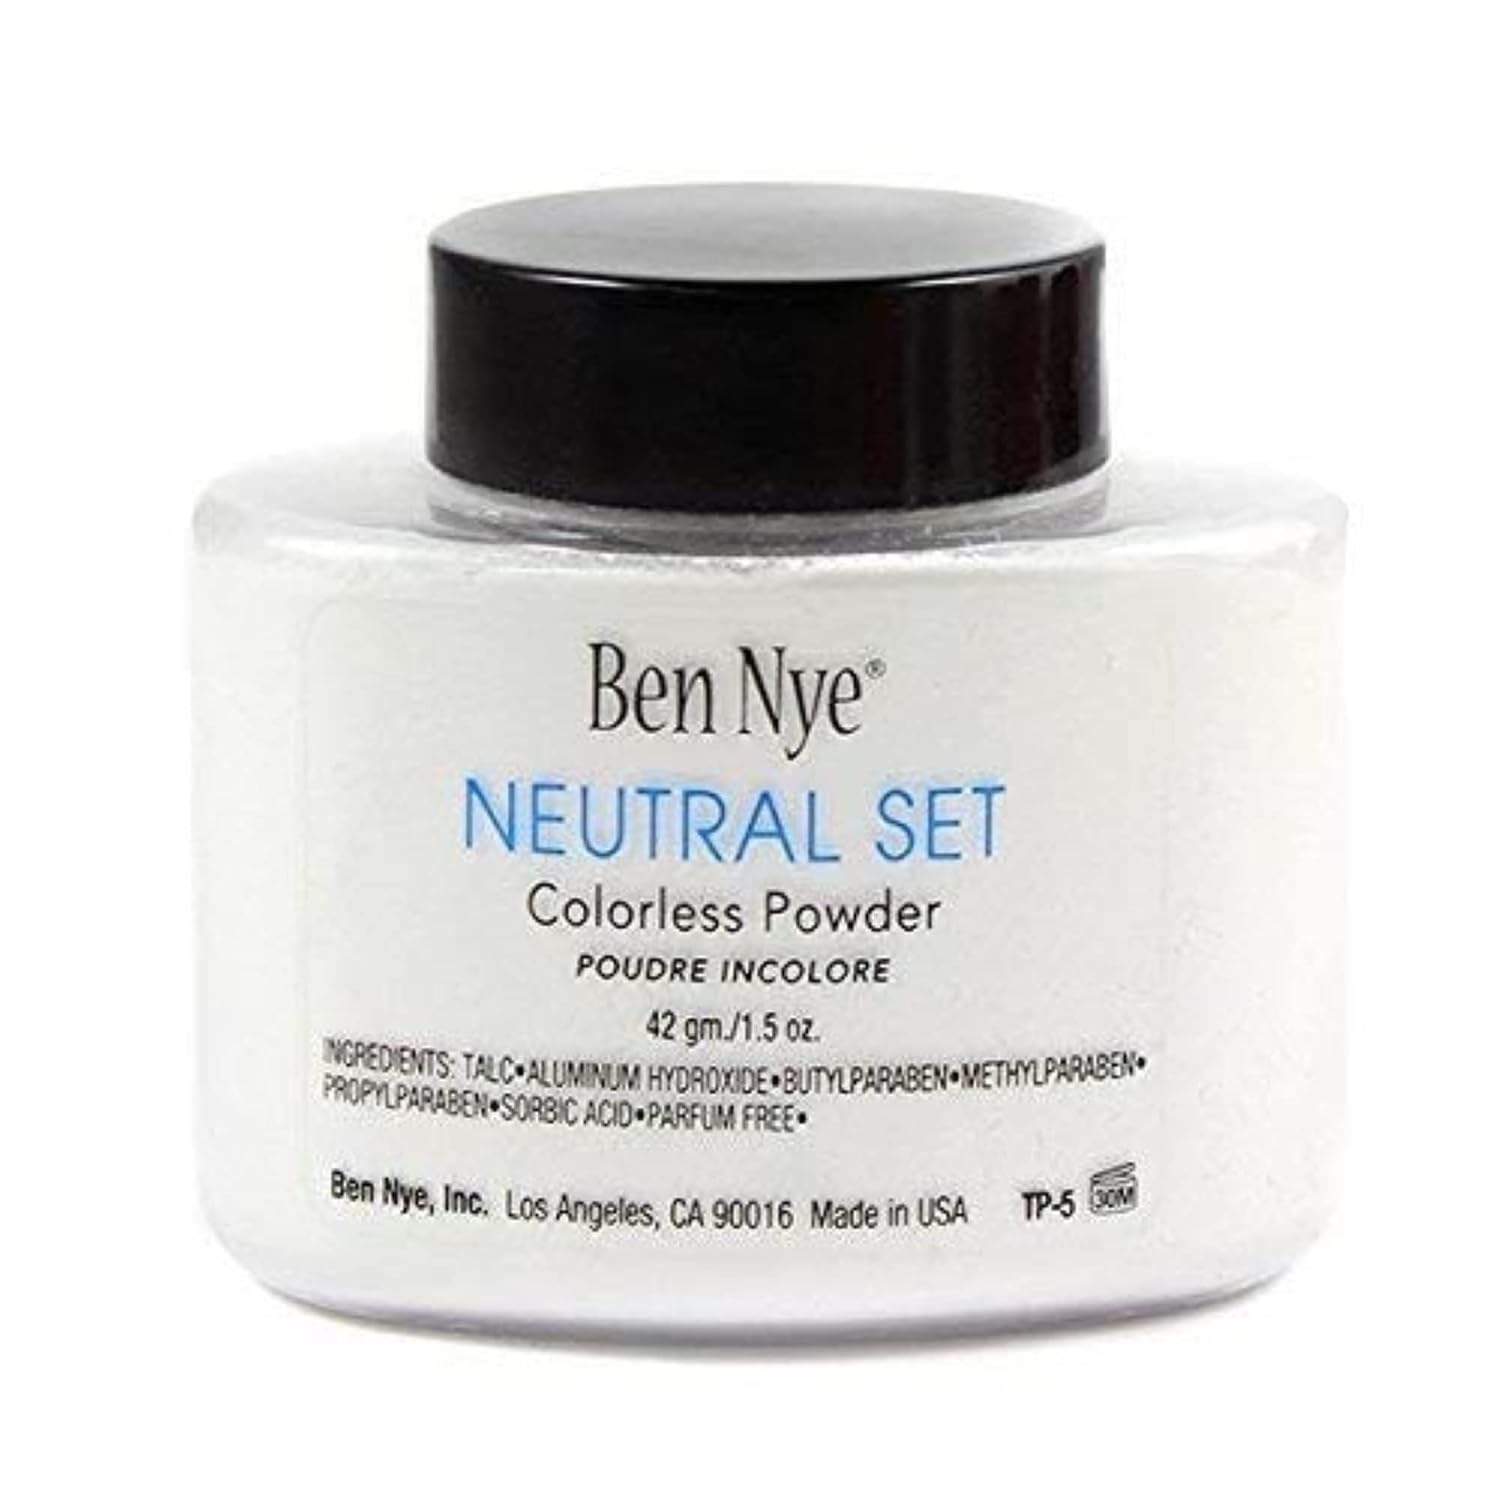
A fine setting powder with a soft yellow tone that neutralizes redness and sets creme makeup. It suits aging work, because it adds a faint sallowness while keeping shadows in place. Press it on with a clean puff, then dust off the excess. Use a light hand in deep creases so the powder does not settle.
Hair, hands and neck
Hair is often the first thing an audience reads. Gray naturally starts at the temples and the hairline, then spreads, so begin there rather than coloring the whole head evenly. Temporary hair paints and creams let you comb gray or white into the hair in thin streaks. Work with a toothbrush or a mascara spoolie for fine strands, and add a little to the eyebrows, sideburns and any facial hair. Meanwhile, consider thinning: a little matching powder or shadow at the part can suggest thinner hair. If the character needs a full change, a wig fitted by a hair specialist is usually the better choice. Agree on the plan with the hair department early.
Mehron Hair White — temporary white for graying hair
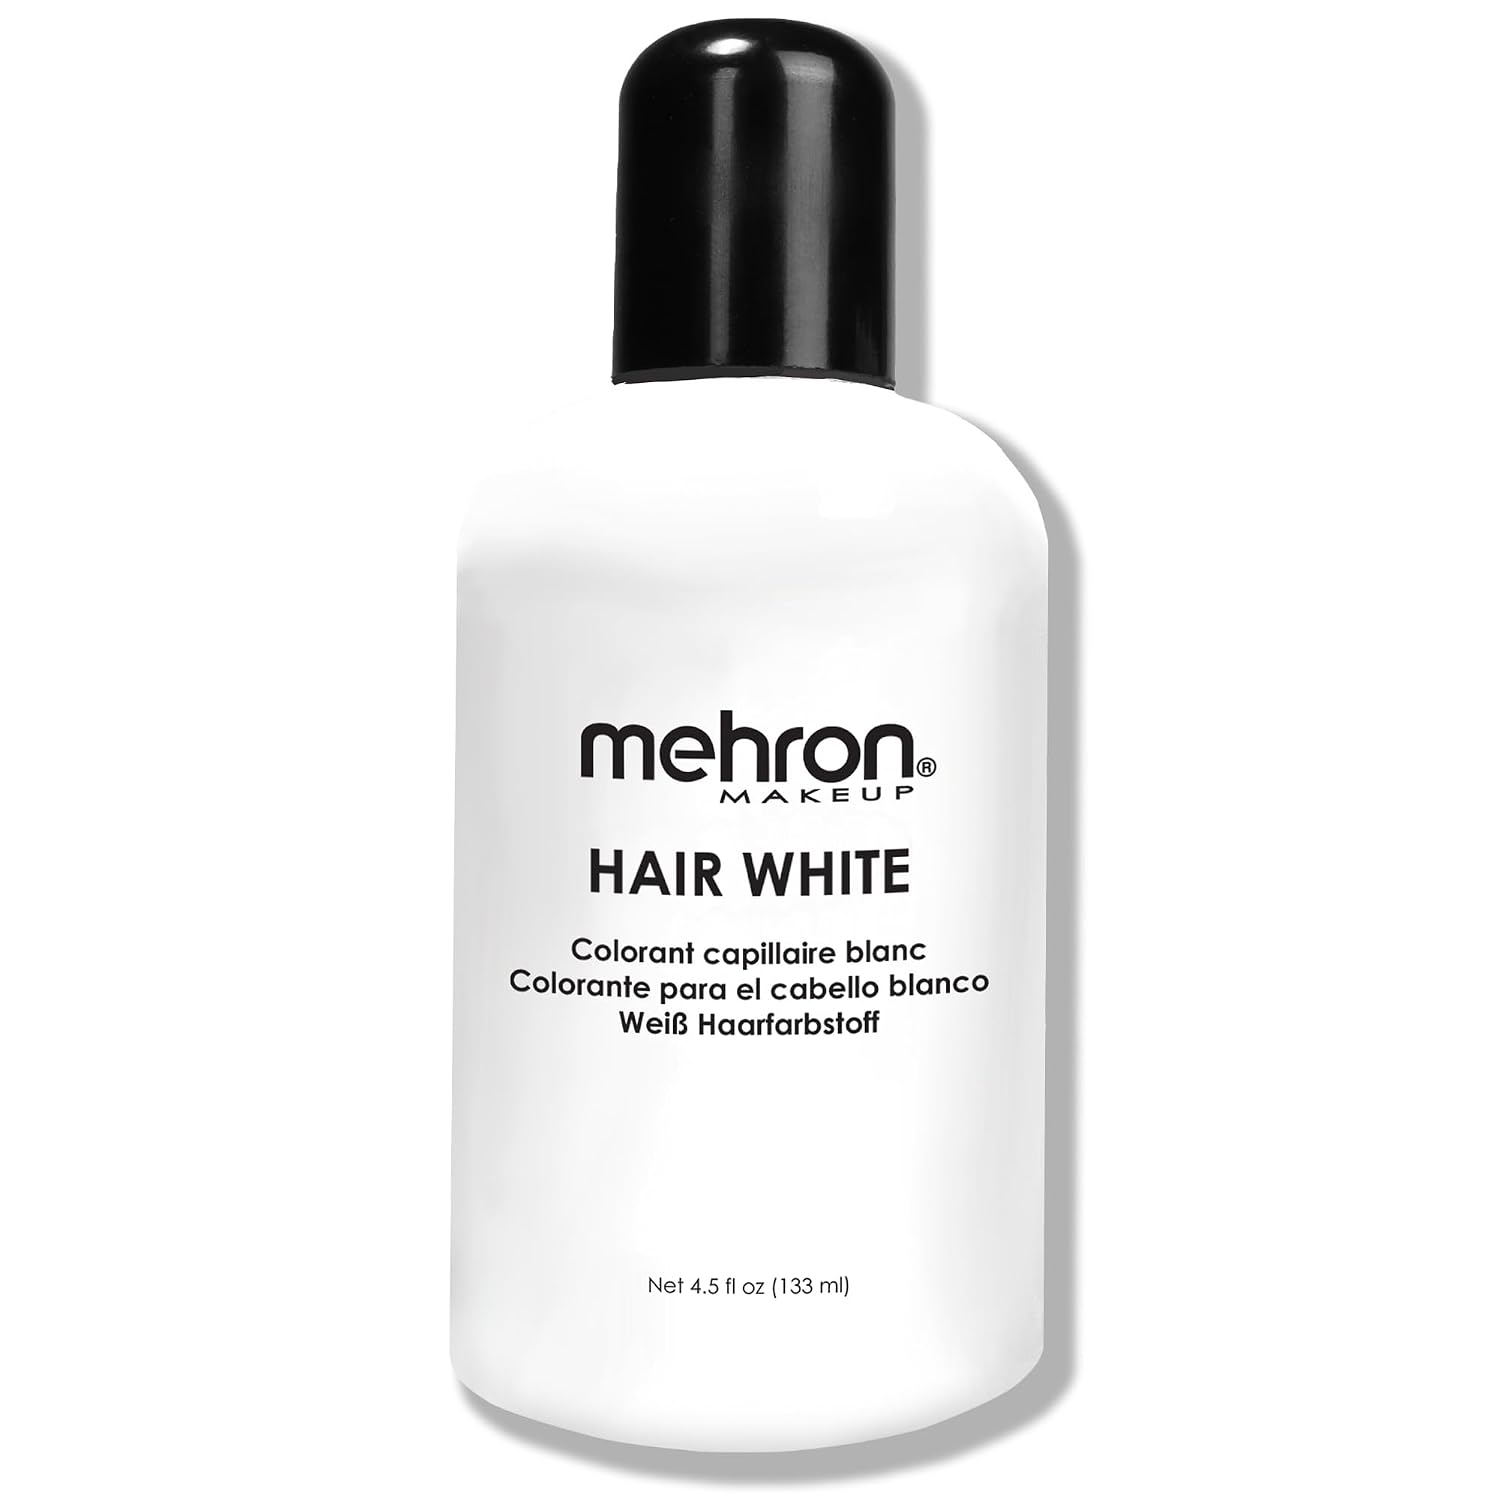
A temporary hair paint that brushes white or silver into hair, brows and facial hair, then washes out. Comb it through in thin streaks, starting at the temples, so the gray looks natural. Apply it with a spoolie for brows. Patch test on a small section of hair first, and shampoo it out at the end of the day.
Hands and necks give away a young actor faster than almost anything. On the backs of the hands, shadow between the tendons and around the knuckles. Then highlight the raised veins and the bones. Add a few soft age spots with a stipple sponge. On the neck, shadow the vertical bands below the jaw and the hollow at the base of the throat, and blend carefully into the collar line. Stretch-and-stipple works well on the backs of the hands, too. Meanwhile, plan wardrobe with the costume team, because gloves, collars and scarves can save time on long days. Check everything in the camera frame, including hands that hold props close to the lens.
Old age makeup for camera and for stage
The same character needs different makeup on camera and on stage. High-definition cameras see every edge, so aging for film and television must be subtle, well blended and textured rather than drawn. Stretch-and-stipple and prosthetics are common on camera for that reason. Our guide to on-camera makeup explains how cameras read skin and light. On stage, by contrast, the audience may sit fifty feet away under strong lighting. Shadows and highlights need more contrast, and lines can be firmer, or the aging disappears. For that reason, always test old age makeup from the farthest seat or through the camera, not only in the mirror. Ask the director of photography or the lighting designer to look at the test with you.
Small effects that add history
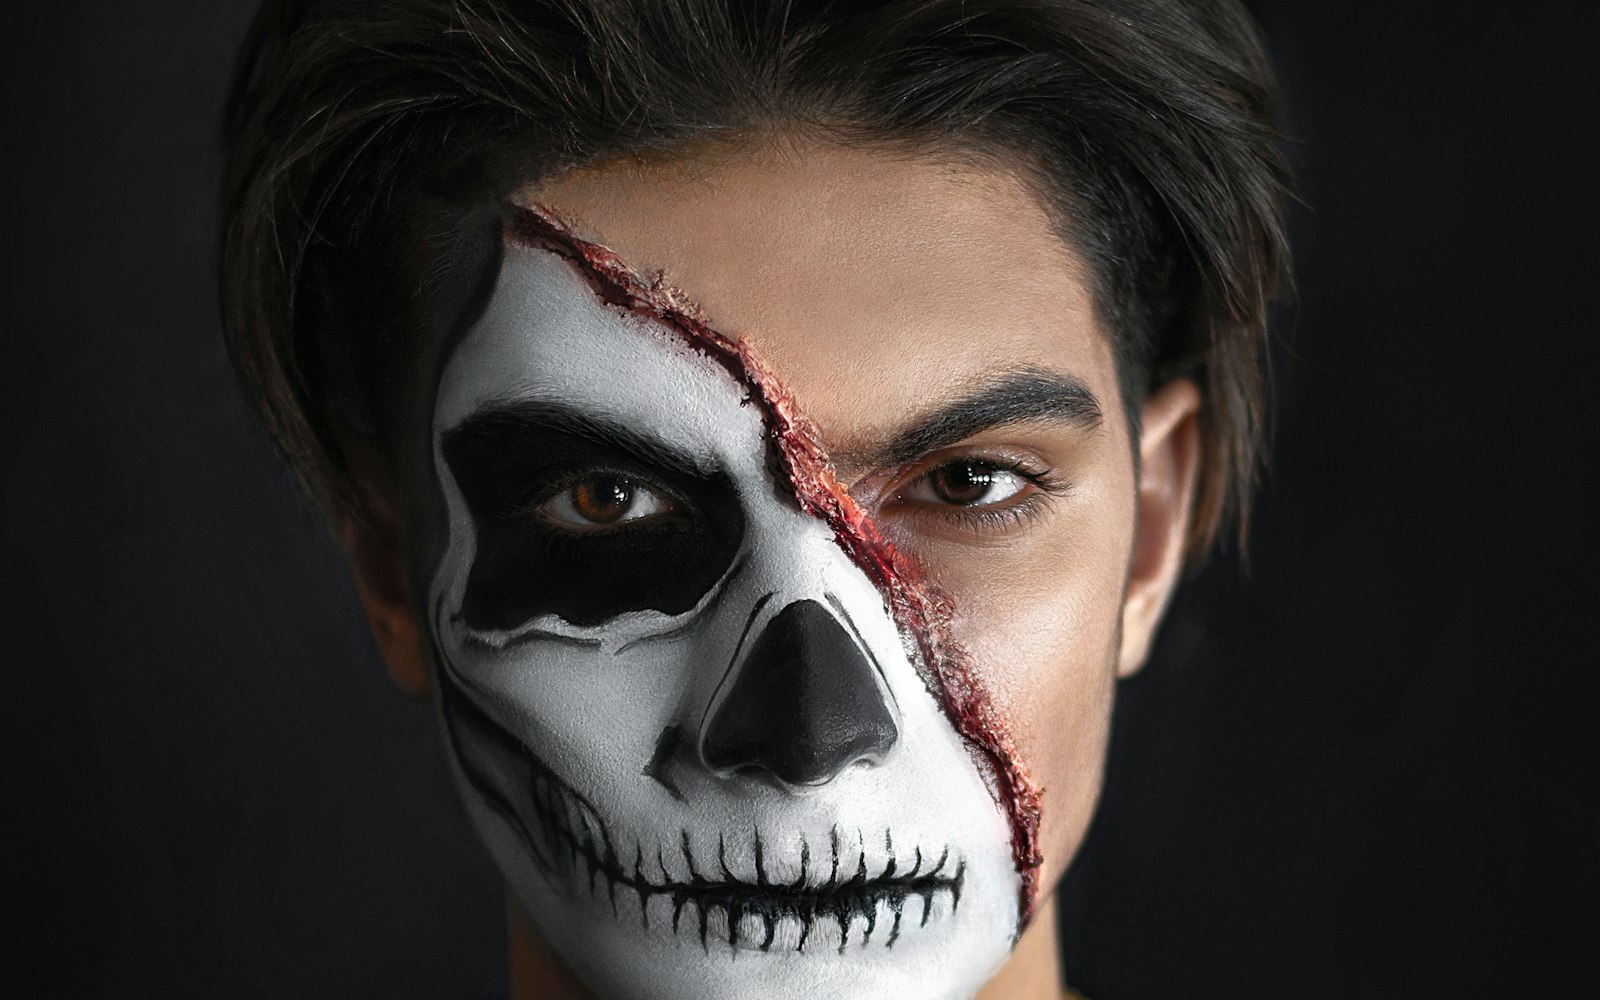
Many old age makeup looks also include small effects: a healed scar, a bruise on fragile skin or a liver spot. These details add history to a character and make the aging feel lived-in. Keep them consistent with the character’s story, and note them in your continuity photos. Our guide to realistic wound and bruise effects covers the techniques. Meanwhile, if you are interested in the history of aging makeup in film, our feature on movie makeup transformations and the artists behind them shows how the best artists have aged actors on screen. Study their reference work as closely as the final images, because the planning tells you more than the result.
Fine detail work needs the right brushes, and they deserve as much thought as the colors you choose. Wrinkles, crow’s feet and the fine lines around the lips call for small, firm brushes with a precise tip, while larger soft brushes blend shadows. Keep a set reserved for character work, so the bristles stay shaped for fine lines and never get softened by powder. Clean them with brush cleaner between actors and let them dry flat. Meanwhile, use a separate brush for each color family, so shadows stay cool and highlights stay clean. In addition, keep a small mirror nearby so the actor can see the process. Seeing the work helps them adjust their expressions once the aging is finished.
Maitys Fine-Point Liner Brushes, 6 Pack — for wrinkles and fine detail
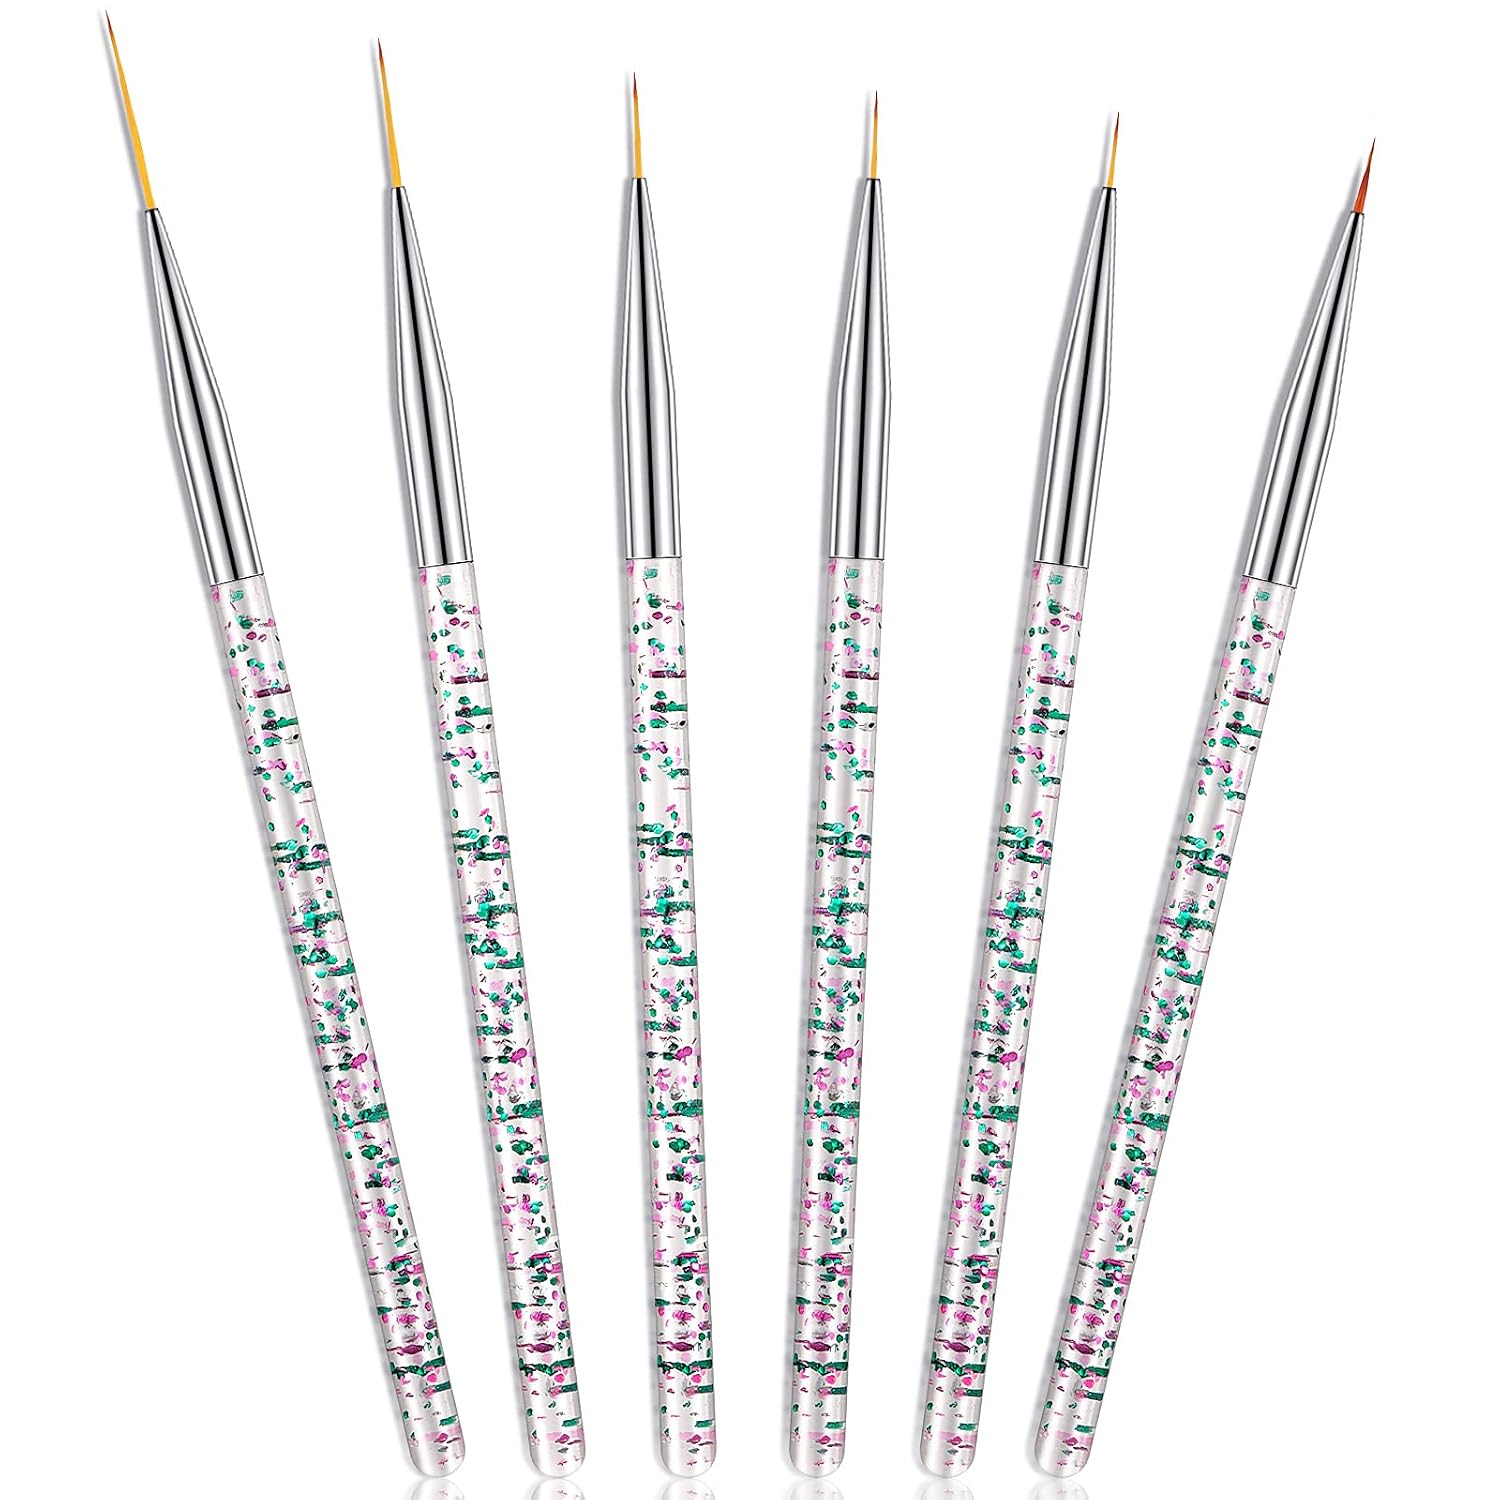
A set of six small brushes with fine and angled tips, made for detailed lines. Use the finest tips for crow’s feet and lip lines, and the angled ones for forehead creases. Keep this set for character work only, so the tips stay sharp. Clean them between actors and dry them flat.
Practicing and removing aging makeup
The fastest way to improve is to study real faces. Collect reference photos of older people, with permission if they are family or friends, and note where shadows, folds and spots fall. Then practice aging in stages: ten years, twenty years and forty years on the same model, photographing each stage. This teaches restraint, because most artists overdo their first old age makeup attempts. In addition, practice on different face shapes and skin tones, because shadows and highlights must be mixed to suit each one. Over time, keep a folder of your tests with notes on products and timing. It becomes your most useful reference for future bookings and for training assistants.
Removal deserves exactly the same care as application, every single time. Latex should be peeled away slowly, starting at an edge, with a little oil or remover underneath. Never pull it quickly from the skin. Then dissolve the remaining creme makeup with a professional remover or a gentle cleansing oil, and cleanse the skin fully. Finish with a light, fragrance-free moisturizer, because latex and powder can dry the skin, especially around the eyes. Meanwhile, ask the actor how their skin feels after removal, and note any redness, itching or irritation in your records. For multi-day shoots, a gentle routine each night protects the skin for the next application. Record any reactions in the actor’s notes, so the next artist knows.
Graftobian Makeup Remover — for creme and theatrical makeup
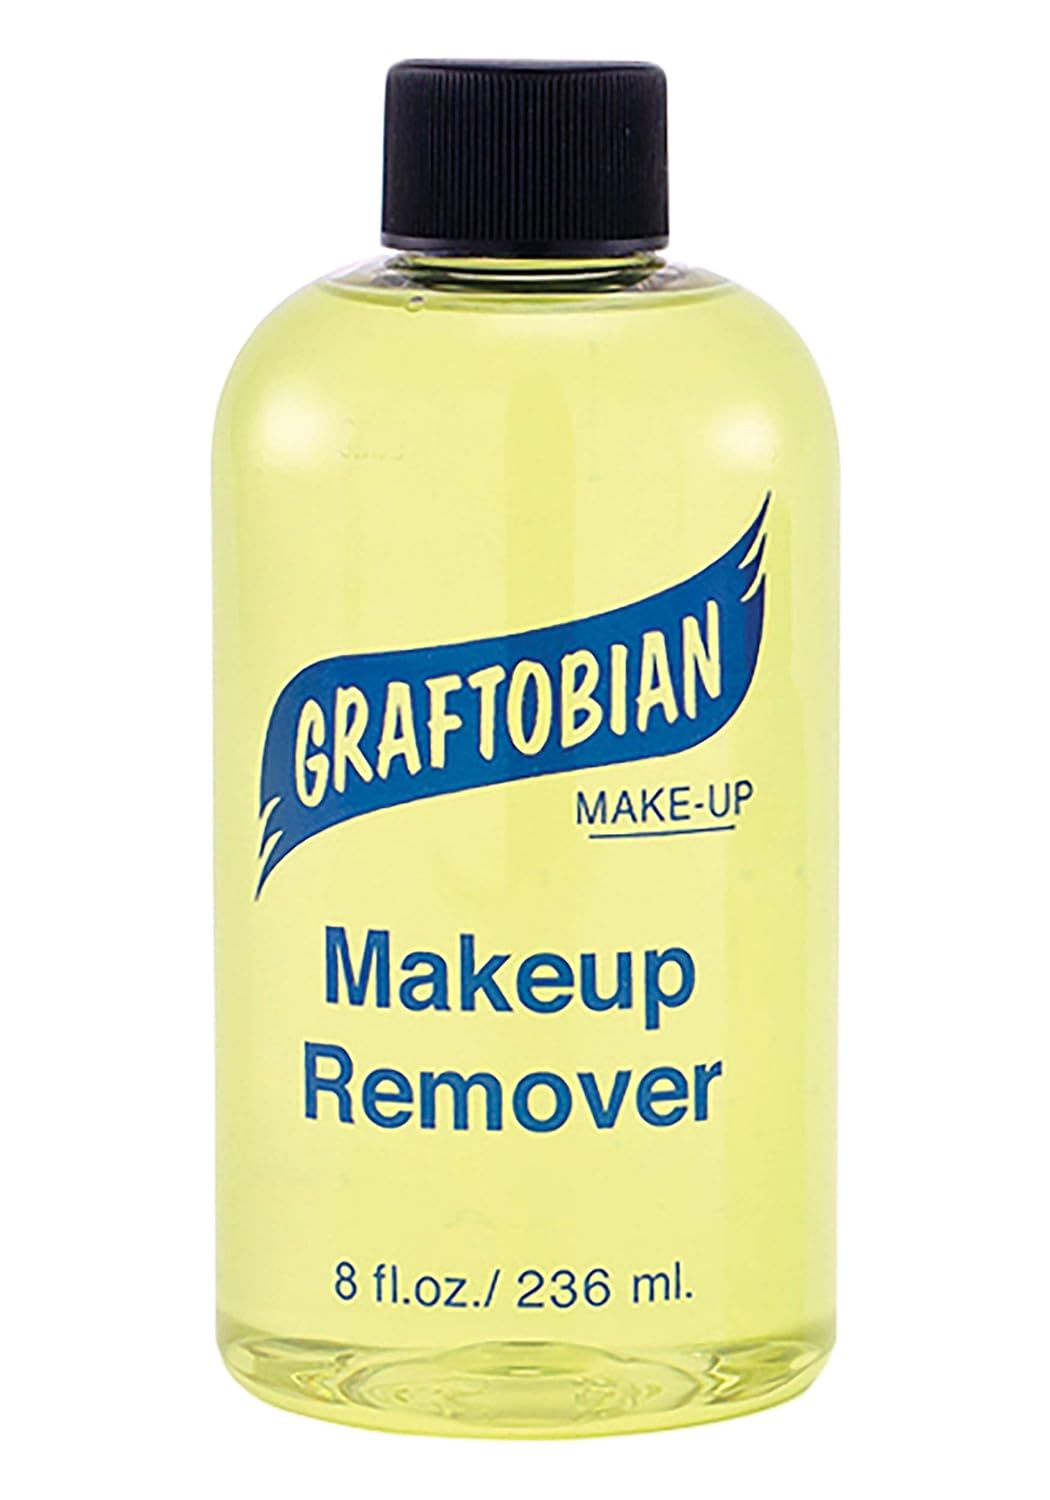
A professional remover designed to dissolve creme, greasepaint and theatrical makeup. Massage a little over the skin, wipe away with soft cotton and follow with a gentle cleanser. It also helps loosen latex edges during removal. Patch test first on sensitive skin.
Sources
Sources checked October 2026
Aging a face with respect
Old age makeup is ultimately about observation. The best aging looks come from artists who have studied real older faces closely and recreate them with restraint. Start with the anatomy, map the actor’s own creases and build shadow and highlight in pairs. Then add texture with stretch-and-stipple where the camera is close, and keep everything softer than you think it should be. Above all, treat the character and the actor with respect. Older faces carry character and history, and the goal is a believable person, not a caricature. Practice in stages, keep notes and test under real lighting every time. With patience and practice, the work becomes faster and far more convincing.
Where to go from here
If you want to specialize in character work, build a small portfolio of aging tests before you look for paid bookings. Photograph each stage in good light, with a neutral background and the same angles every time. Then offer your skills to student films, community theater and independent productions, where aging characters are common and budgets are small. Those credits lead to assisting roles on larger productions, where you can learn prosthetic aging from specialists. Meanwhile, keep studying anatomy and real faces, because every new project will ask for a different age, skin tone and story. Keep your kit stocked, labeled and clean between jobs, ready for short-notice calls from productions.
Tools and library

The three tools above support the business side of character work. The calculator helps you price long character applications, test days and kit costs, so specialist work is paid properly. Meanwhile, the quiz helps you decide whether film, stage, editorial or bridal work suits you best, which shapes the techniques worth practicing first. The library gathers the career guide, notebooks and workbooks, including pages for face charts and continuity notes. Start with the quiz if you are still choosing a direction between stage, film and other work. If you are already working, start with the calculator. Revisit all three as your career grows, because the right tools change with your work.
From the Artist Library
Film, stage and editorial work each follow their own path. The guide covers training, portfolios and pricing, in plain terms.
Questions worth asking
How do you make someone look old with makeup?
Shadow the hollows where volume is lost, highlight the bone structure beside each shadow, draw wrinkles along the person’s own creases and add texture, spots and gray hair.
What is stretch-and-stipple?
A technique in which a thin latex aging product is stippled onto stretched skin, dried and powdered, so it wrinkles naturally when the skin relaxes.
Is latex safe for old age makeup?
Not for everyone. NIOSH explains that latex allergy is a reaction to proteins in natural rubber latex. Ask about allergies and patch test before use.
How do you make hair look gray for a play?
Comb a temporary hair paint or cream through the hair in thin streaks, starting at the temples, and add a little to the brows.
What colors are used for old age makeup?
Cool, slightly gray shadows for hollows, lighter tones for highlights, soft browns for age spots and a little red or purple for broken capillaries.
How is aging makeup different for film and stage?
Film needs subtle, textured aging that survives close-ups. Stage needs stronger contrast so the aging reads from the back of the theater.
