The Artist · Craft
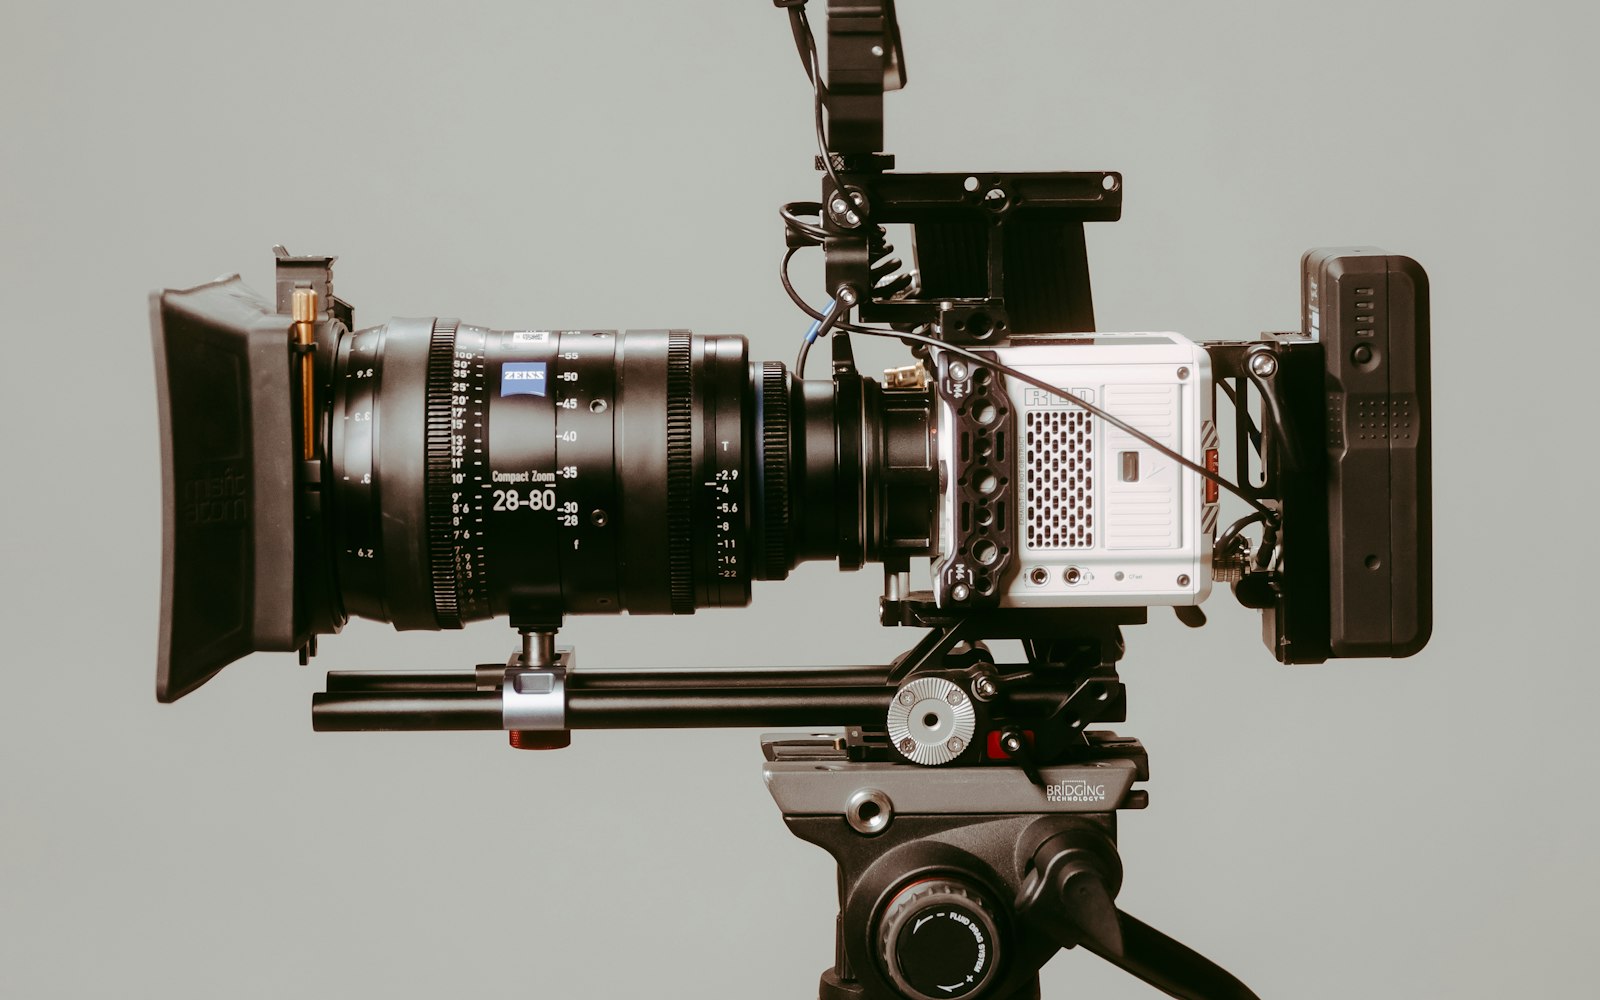
Makeup that looks flawless across a room can fall apart in front of a lens. Cameras see texture the eye forgives, flatten shapes the eye reads as depth and catch shine that nobody noticed in person. On camera makeup is the craft of designing for that lens, whether it belongs to a cinema camera, a television studio, a photographer or a phone. This guide, part of the hub for professional makeup artists, covers how cameras change makeup and how working artists adapt.
It is for artists working on film, television, commercial, editorial and content shoots in the US.
The short answer
On camera makeup is makeup designed for how a lens sees skin. High-resolution cameras show texture and edges, light and flash change color and shine, and flash can turn some powders white. Work in thin, well-blended layers, control shine with blotting rather than heavy powder, match foundation in the light you will shoot in and check every look on the monitor or the photographer’s screen.
In this guide
- On camera makeup vs real life
- What HD and 4K cameras change
- Skin prep and base for the camera
- Powder, shine and flashback
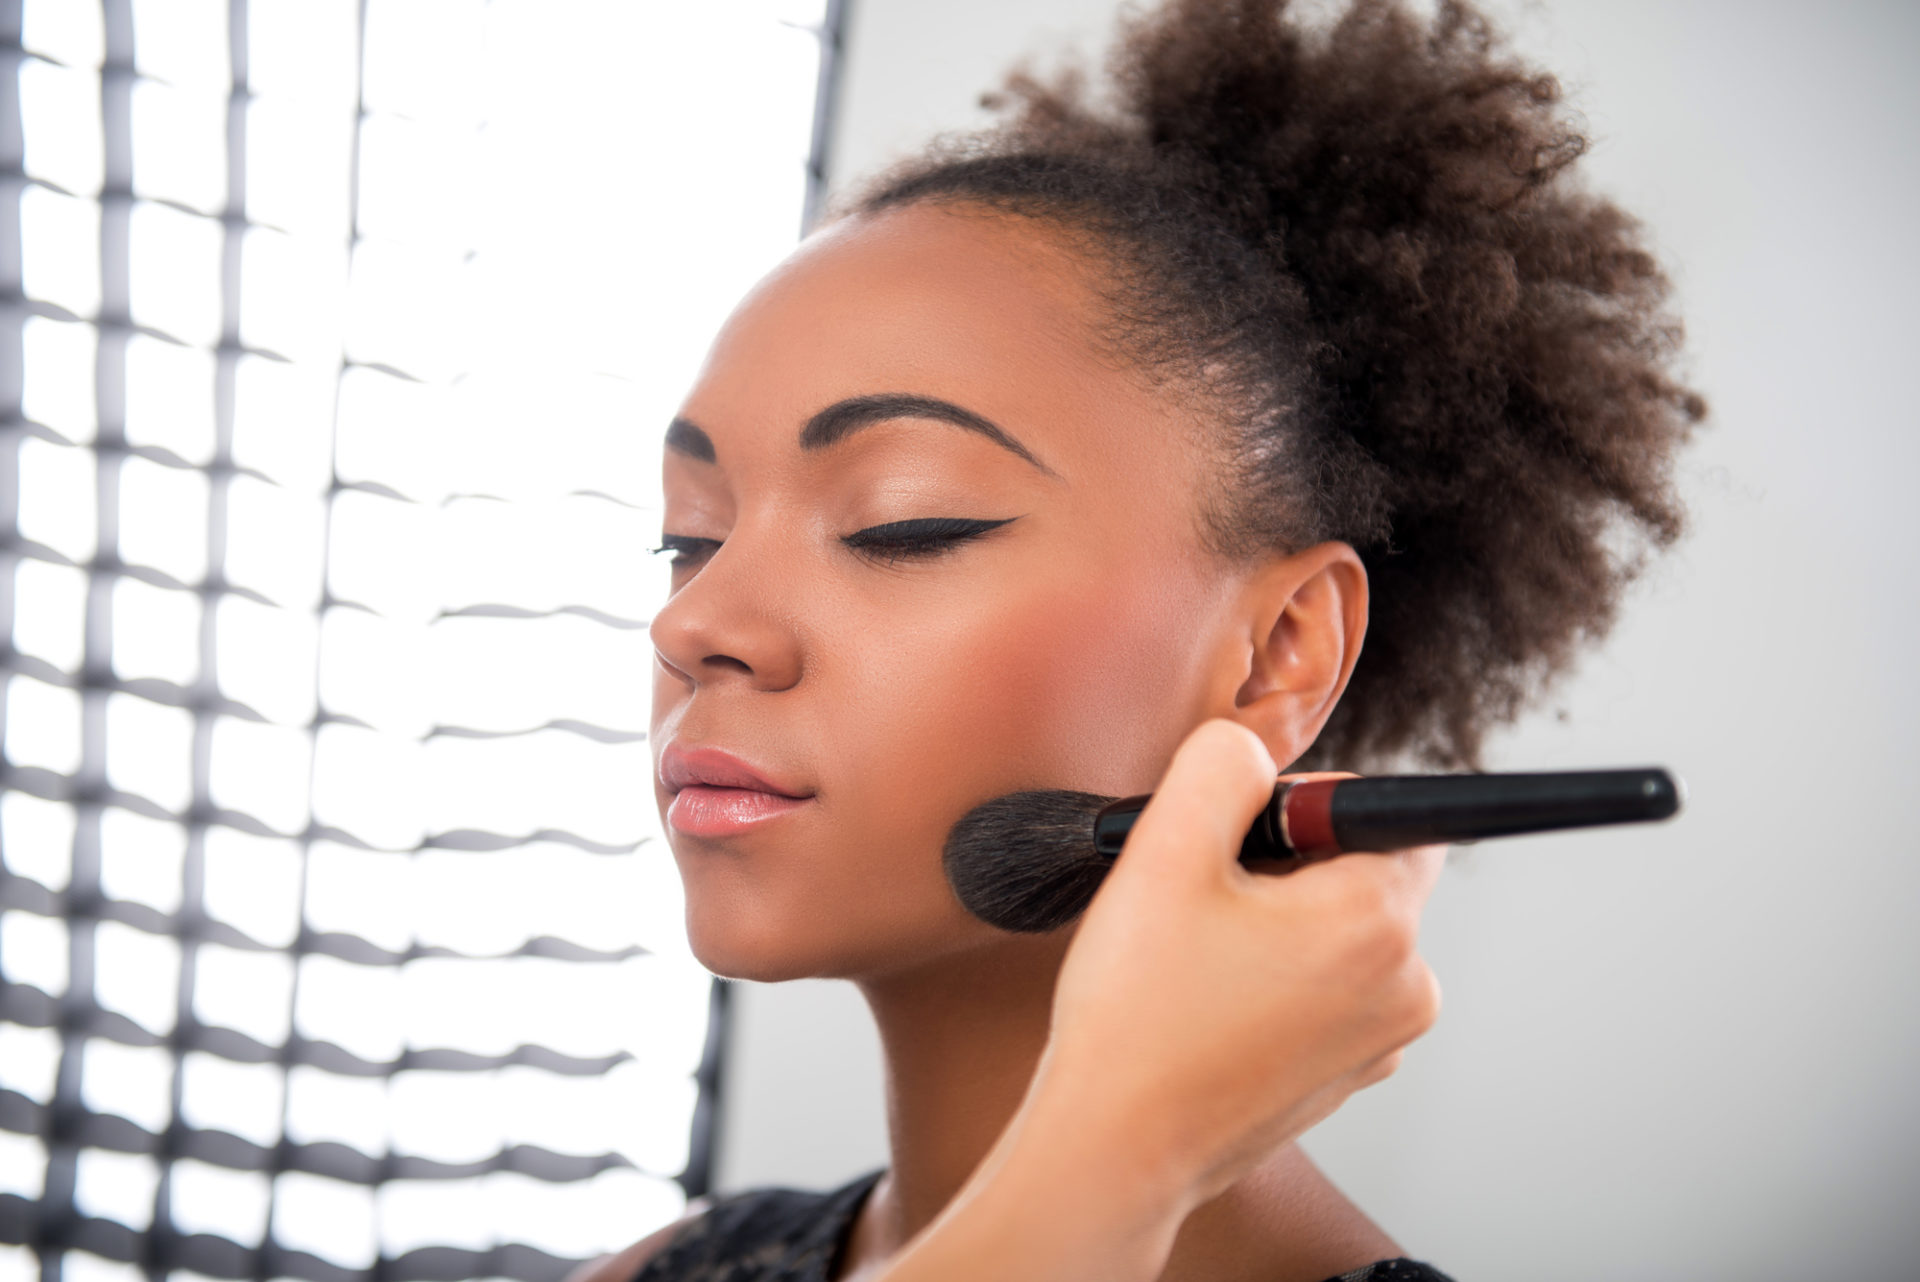
- Makeup for photography
- Makeup for film and television
- HD makeup vs airbrush
- Eyes, brows and lips on camera
- Working with the camera and lighting teams
- Designing for the lens
- Questions worth asking
On camera makeup vs real life
In person, the eye reads a face in three dimensions, adjusts to the light and forgives small flaws because it sees the person moving and talking. A camera does none of that. It records a flat image in the light it receives, and audiences can view it again and again, often enlarged on a large screen. As a result, makeup that reads as soft and natural in a mirror can look patchy, shiny or flat on screen. Contour that disappears in person may be invisible on camera, while a missed edge of foundation can be obvious in a close-up. Meanwhile, color shifts with the light and with the camera’s white balance, so a close match in the trailer may look pink or yellow on the monitor. In short, artists design on camera makeup for the image, not for the mirror.
The good news is that the camera is predictable once you understand it. Most problems fall into four groups: texture, shine, color and shape. Texture is about how much detail the camera resolves, from pores to powder. Shine is about how skin and products reflect light. Color is about the light source and the camera’s settings. Shape is about how lighting flattens or sculpts the face. If you learn to diagnose a problem as one of those four, you can usually fix it in seconds. Over time, that diagnostic habit becomes the core skill of camera work. It is what separates artists whom directors and photographers rebook from those they do not.
What HD and 4K cameras change
Resolution is the first thing that changed camera makeup. As television and film moved from standard definition to high definition and then to ultra-high definition, cameras began to record far more detail. The international standard for ultra-high definition production is ITU-R Recommendation BT.2020. For makeup artists, the practical result is simple. Heavy foundation, visible powder, harsh contour edges and lash glue all show up more clearly than they once did. At the same time, natural skin texture is visible too, which is why modern camera makeup aims for real-looking skin rather than a mask. Consequently, the best HD work uses less product, placed precisely and blended thoroughly.
Large screens add another layer. A face in close-up may fill a cinema screen or a large television, so the screen magnifies every detail many times. For that reason, artists working on high-end productions check their work on the monitor, often in close-up, before the camera rolls. Meanwhile, streaming services and digital cinema mean audiences can pause and zoom, which raises the standard further. Photography has followed the same path: high-resolution cameras and retouching screens show texture in detail. In practice, the rule is the same whatever the medium: if it would bother you at arm’s length in good light, it will show on camera. Fix it before the first frame.

You may also like
Breaking Into Film and TV Makeup: IATSE Local 798 and Local 706
You may also like
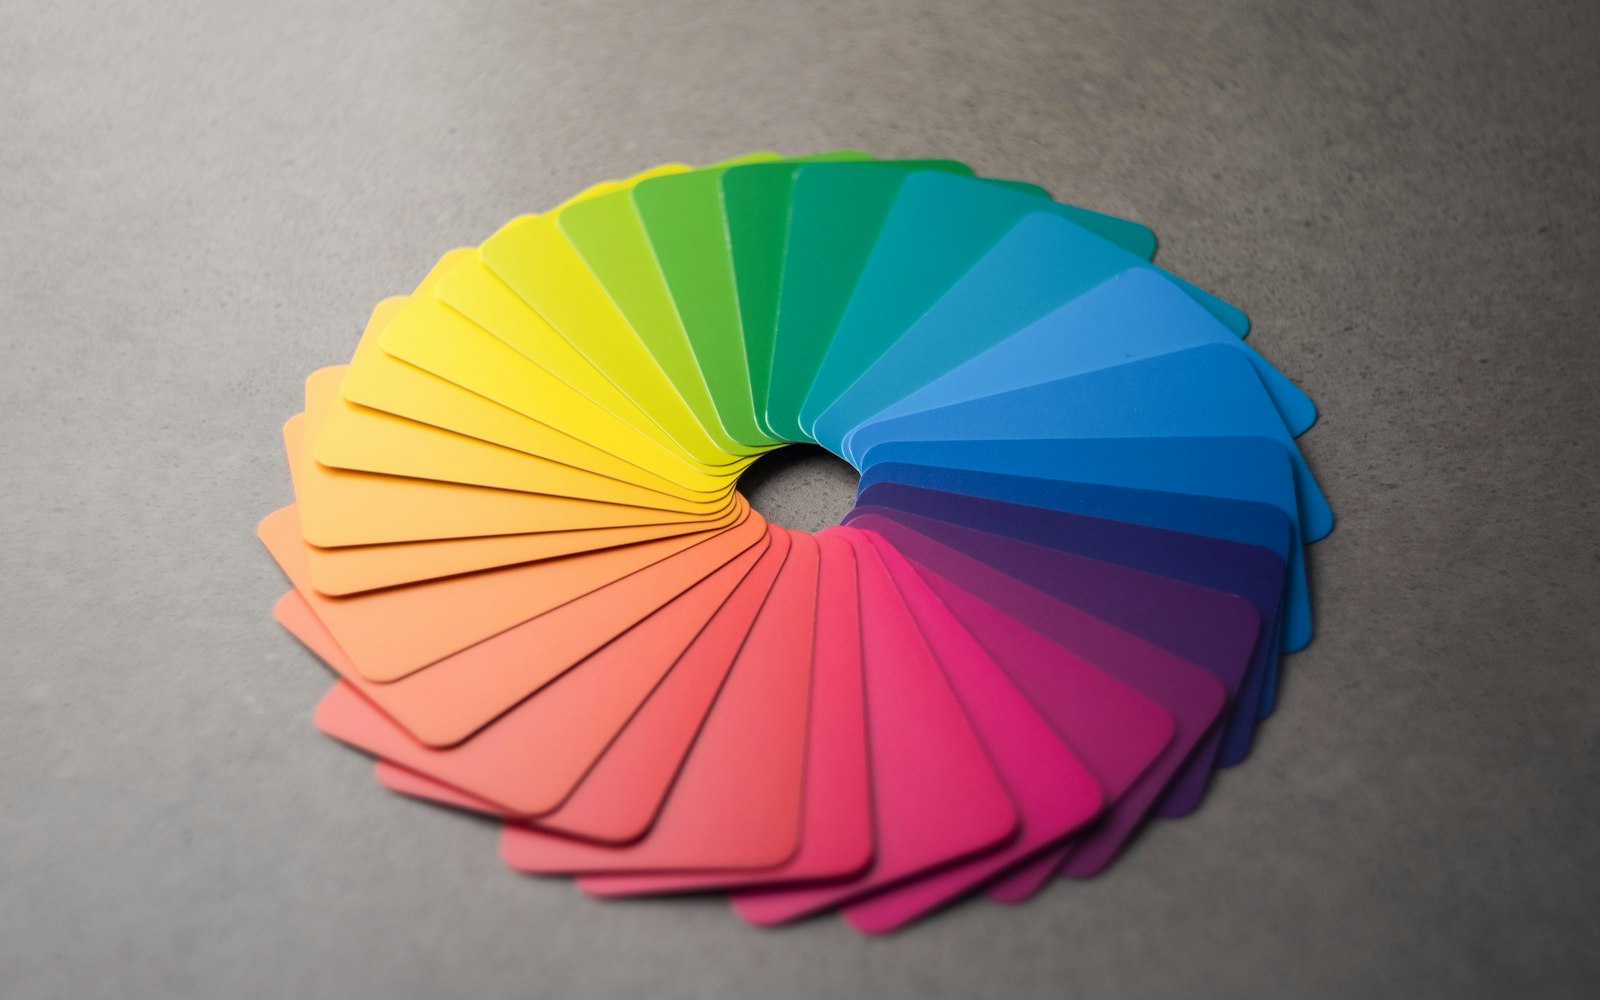
Color Theory for Makeup Artists: Undertones, Correcting and Light
What HD makeup means
Many products carry an HD label. In practice, it usually describes products designed to look natural under high-resolution cameras: fine-milled powders, lightweight foundations and formulas that blur rather than coat. The label is marketing rather than a technical standard, so judge each product on camera yourself. Some HD powders help on video but cause problems under flash, as the next section explains. Meanwhile, many products without the label perform just as well. The real test is simple: apply it, photograph it in the light you will use and look closely at the result. Your own tests are more reliable than any label.
Skin prep and base for the camera
Camera makeup starts with skin, because every layer that follows depends on it. Cleanse, hydrate and prime according to the skin type, and give each product time to settle before the next. Dry patches catch light and break up foundation, while excess oil turns to shine under hot lights. For that reason, balance the skin first: hydrate dry areas, mattify oily ones and leave normal skin alone. Our guide to color theory for makeup artists explains how to correct redness and shadows before the base. Then apply foundation in thin layers, only where the skin needs it, and blend the edges into the hairline, ears and neck, because cameras see the whole face.
Matching foundation in the right light
Match foundation in light that resembles the shooting light, not in the trailer or bathroom. Studio lights, daylight and practical lamps can all shift how foundation reads. Check the neck and chest as well as the face, because a mismatch shows clearly in wide shots and on talk shows. If possible, look at the match on the monitor or a test photograph before the shoot. Mix shades if needed, and note the ratio for continuity. Above all, trust the camera over the mirror, since the camera is what the audience will see.
Powder, shine and flashback
Shine is the most common on-camera problem, and powder is the most common fix. Used carefully, a light layer of finely milled powder controls shine without dulling the skin. Used heavily, it settles into texture and looks dry on camera. For that reason, many artists blot first and powder second, removing oil before adding product. Under flash, powder can create a different problem: flashback, a white cast on parts of the face. According to cosmetic scientist Michelle Wong of Lab Muffin Beauty Science, silica in many translucent powders, particularly those labelled HD, causes flashback. She also advises using zinc oxide, titanium dioxide, mica, shimmer and glitter sparingly when you expect direct flash.
In practice, test every powder you plan to use with flash before the shoot. Take a photograph with a phone flash in a dim room, which reproduces the problem quickly. If the powder flashes back, switch to a tinted powder or use less of it. Meanwhile, keep powder away from the under-eye area on flash shoots, where white patches are most noticeable. For video, where flash is not used, HD powders can work well because they diffuse light and blur texture. In other words, the right powder depends on the camera and the light. Keep both types in your kit, and choose on the day.
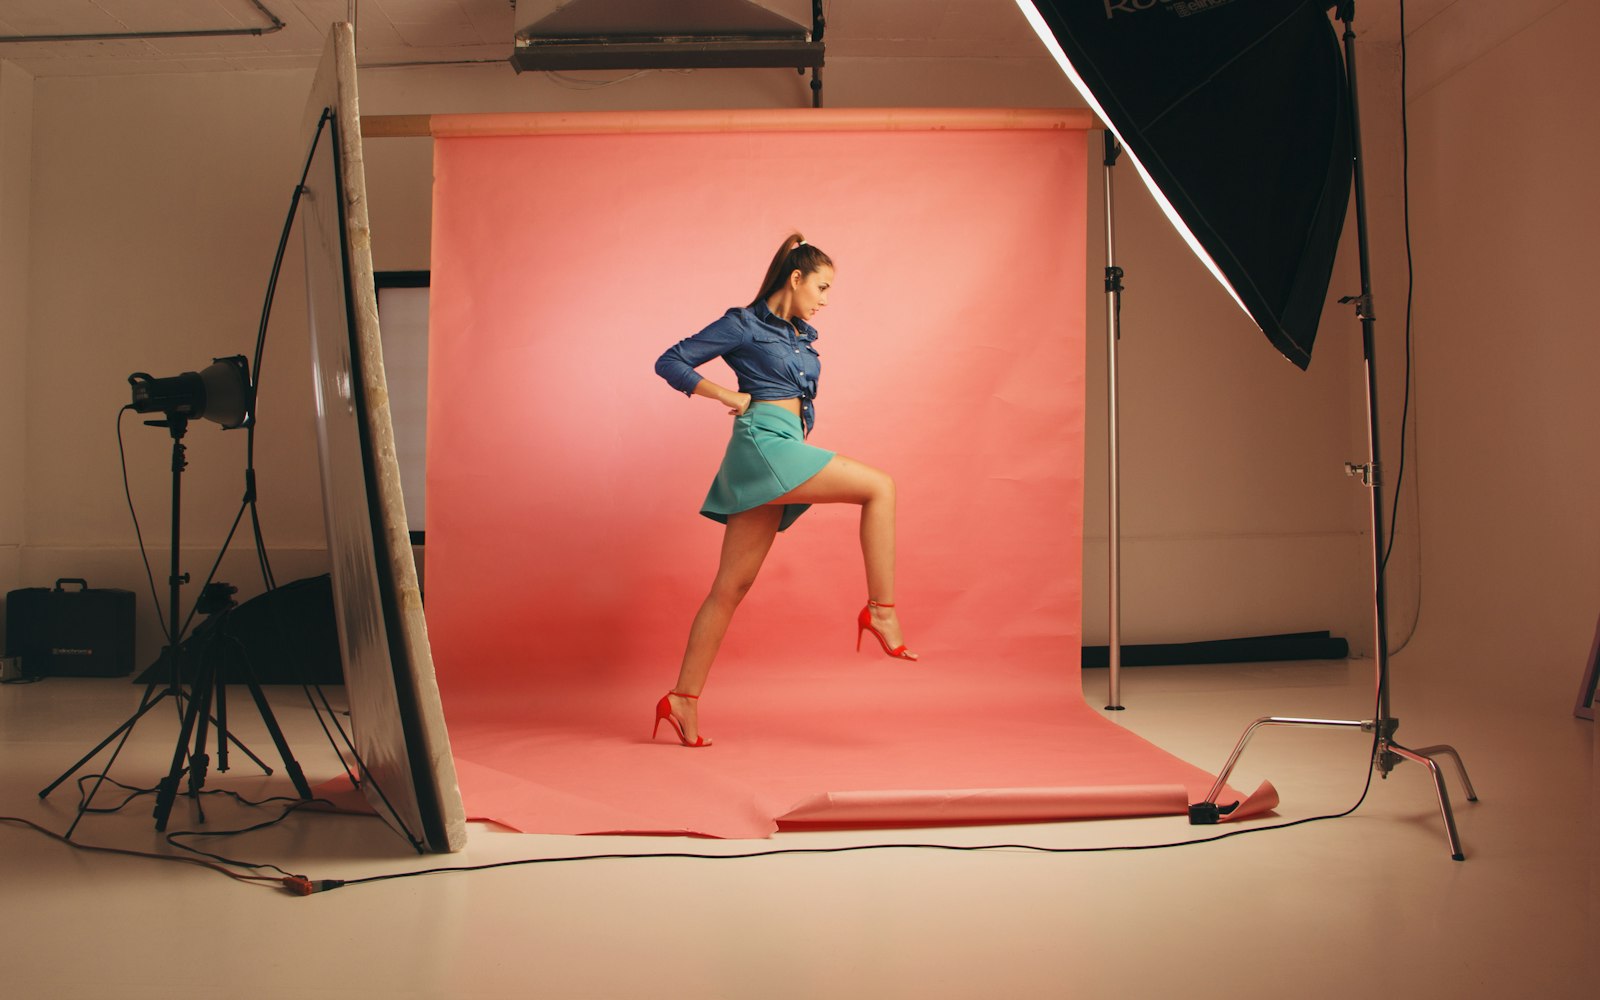
Makeup for photography
Still photography has its own demands. Viewers study a single image closely, and it is often retouched and printed large, so precision matters. Photographers usually light faces deliberately, which helps, but strong light can flatten features, so definition may need to be a little stronger than for an evening out. Meanwhile, the photographer’s screen is your best tool. Ask to see the first few frames, check the skin, the eyes and the lips, and adjust before the shoot continues. Our guide to building a makeup artist portfolio covers working with photographers in detail. Above all, communicate: ask about the lighting, the look and how much retouching the team plans.
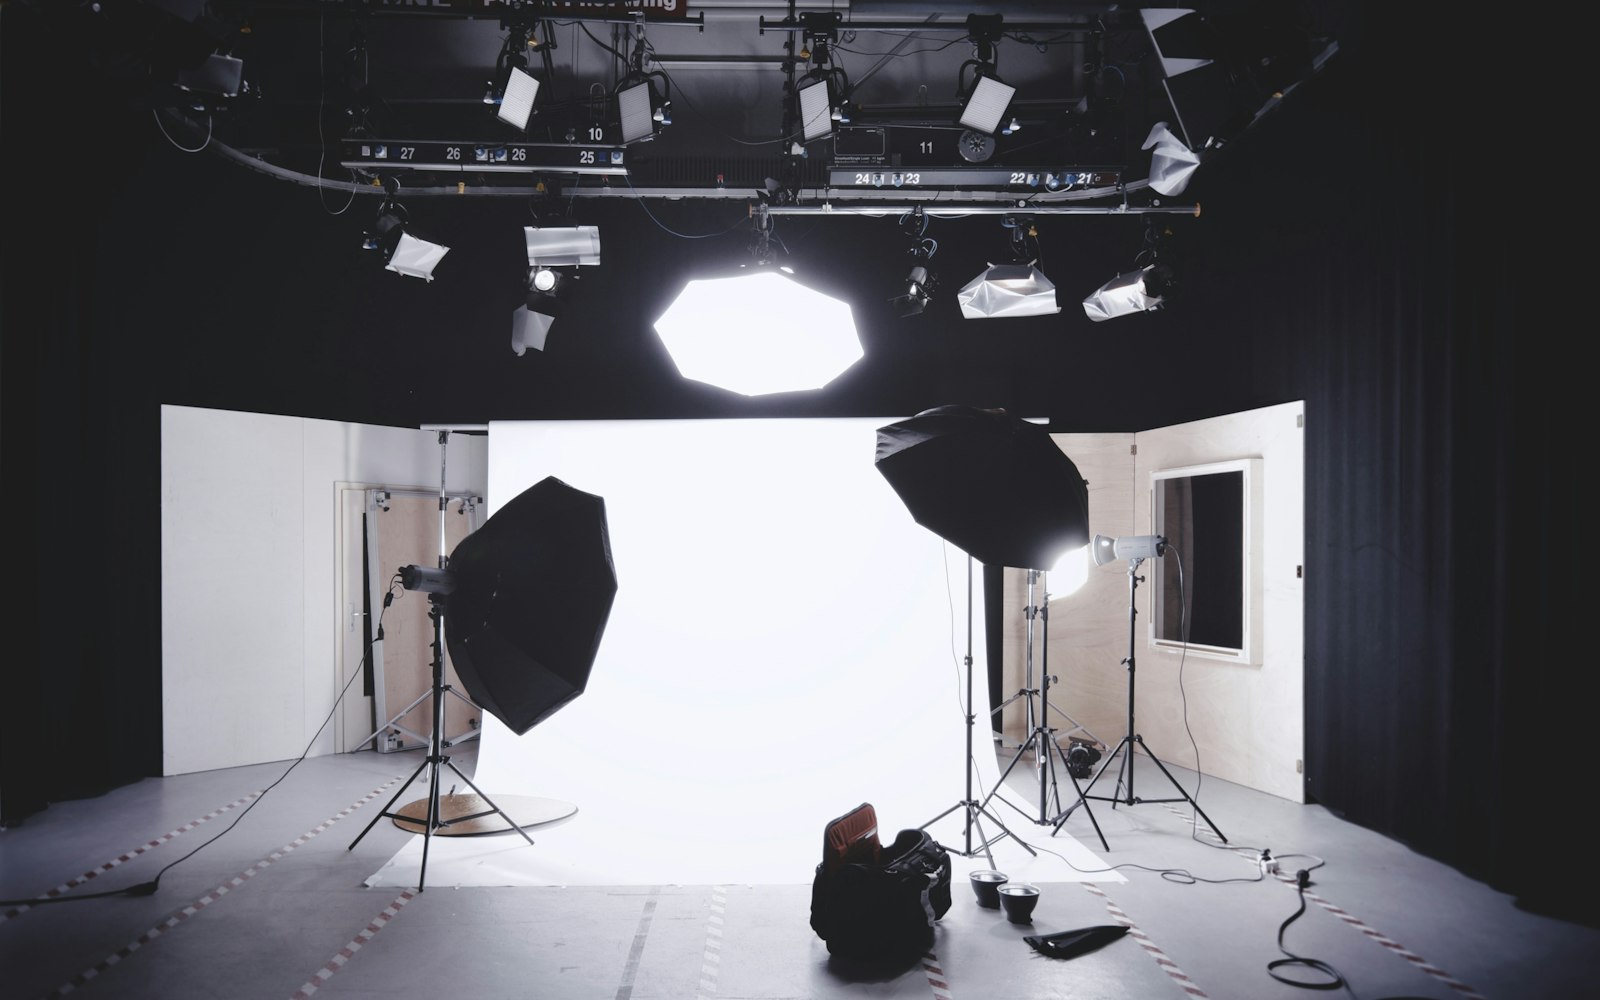
Flash and studio strobes
Direct flash bleaches color and reveals shine and flashback. Studio strobes through softboxes are kinder, but still powerful. Build color slightly stronger, avoid shimmer on the face and test powders under flash before the session.
Natural light
Daylight is honest. It shows true color and real texture, so blending and matching matter more than strength. Work near a window when you can, and match the light the photographer will use. On cloudy days, the light is softer and more forgiving; in direct sun, check for squinting and shine.
Working with retouchers
Retouchers work on much professional photography, but that is not a reason to leave problems for later. Retouchers can remove a stray hair or a blemish quickly, yet uneven foundation, visible edges and patchy color take far longer to fix and rarely look as good. For that reason, aim for makeup that needs only light cleanup. Ask the photographer how much retouching they plan, and adjust your approach. Meanwhile, avoid heavy blurring products on shoots where the retoucher will smooth the skin anyway, since the combination can look artificial. In short, the cleaner the makeup, the more natural the final image. Retouchers notice, too, and they recommend artists whose work is easy to finish.
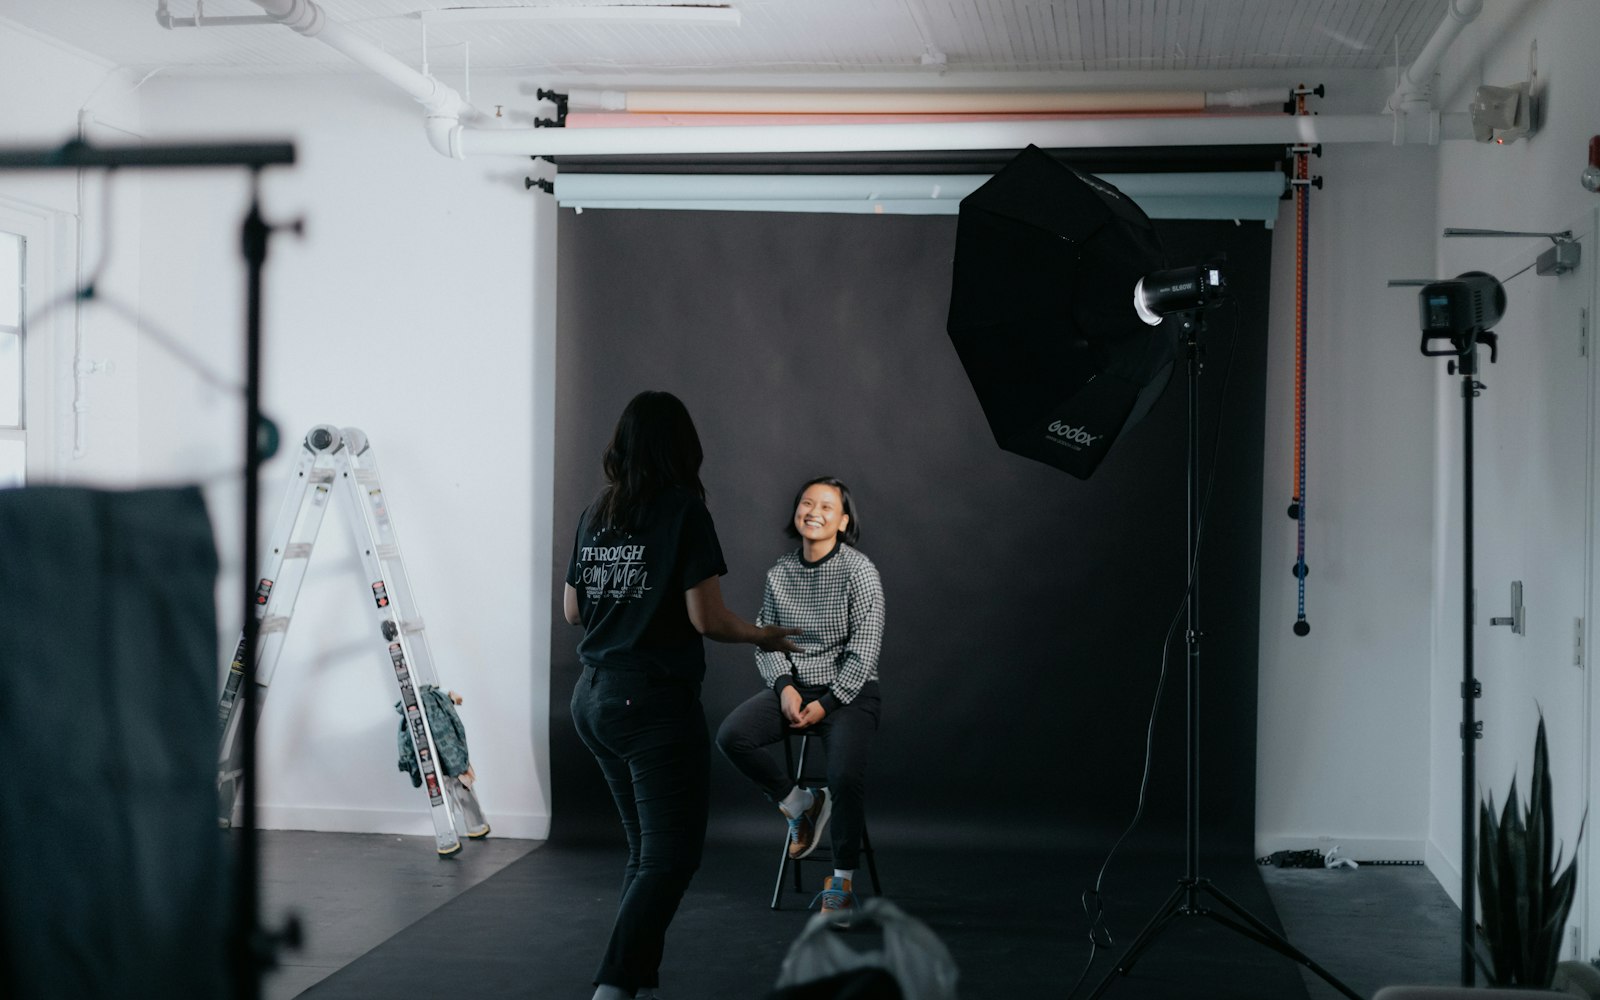
Makeup for film and television
Film and television add movement, long days and continuity. Makeup must survive heat from lights, hours of talking and repeated takes, and it must look identical from one scene to the next, even when they are shot weeks apart. For that reason, screen artists build durable bases, set strategically and carry a touch-up kit to the camera. They also photograph every look for continuity and keep detailed notes. Our guide to breaking into film and TV makeup explains how artists build careers on productions. Meanwhile, studio television often uses bright, even light, which flattens faces, so faces may need a little more definition than on a film set.
Continuity on set
Photograph each look from the front and both sides under neutral light as soon as the director approves it. Note every product, shade and placement. Then check the actor between takes, especially for shine and lipstick wear, and match the look exactly when the crew picks up a scene later. Many artists keep a printed continuity sheet as well as phone photos, in case a battery dies. Continuity mistakes are expensive to fix in post-production, so care here is part of the job.

Long days, heat and movement
Screen days are long, and makeup has to last through all of them. Hot lights, exterior heat and constant talking break down a base faster than most events do. For that reason, build durability into the application rather than relying on powder later. Use a primer suited to the skin, apply foundation in thin layers and set only where needed. Meanwhile, watch for areas that move a lot, such as the smile lines and the area around the mouth, because heavy product creases there quickly. Plan touch-ups around the schedule, especially before close-ups and after meal breaks. In addition, keep water and blotting sheets near the actor, because a little care between setups saves a full redo later.
Building a camera kit
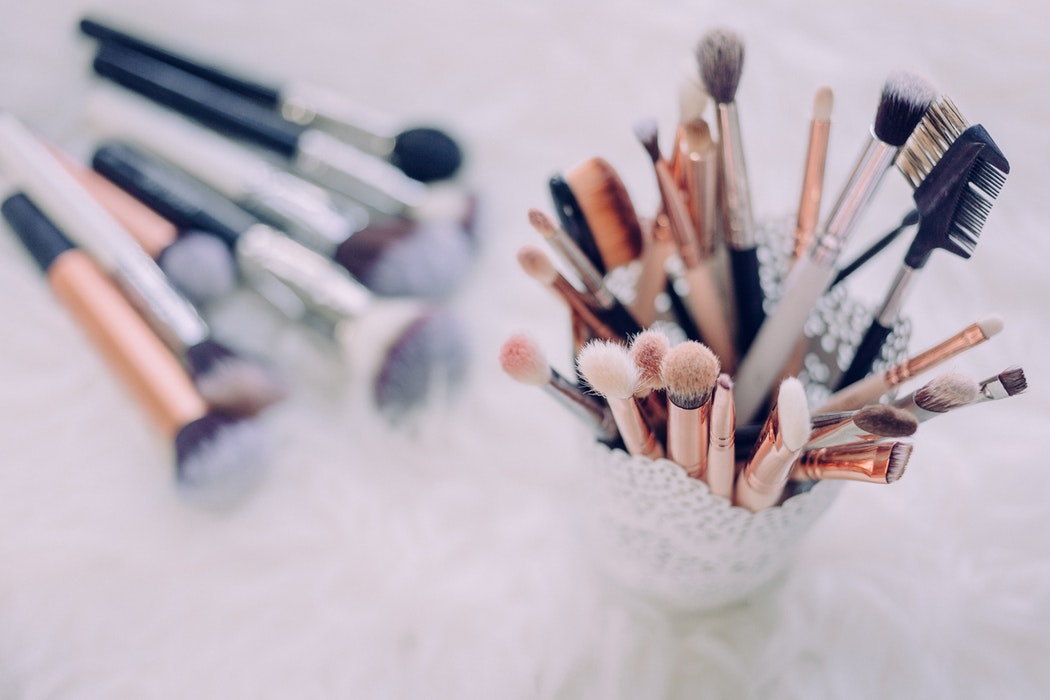
Control is the heart of a camera-ready kit. A multi-shade base palette lets you match and correct quickly in changing light, which matters when the schedule moves from an interior to an exterior. Meanwhile, a long-wear setting spray helps makeup survive heat and talking, and blotting sheets remove shine without adding more powder. Many artists also carry tinted powders for flash work and finely milled powders for video. Keep these in your set bag rather than the main kit, so you can reach them at the camera. Our guide to set bags and kit cases covers how to organize them. The three products below cover the essentials. Each was checked on Amazon on 28 October 2026, and each earns its place in a set bag.
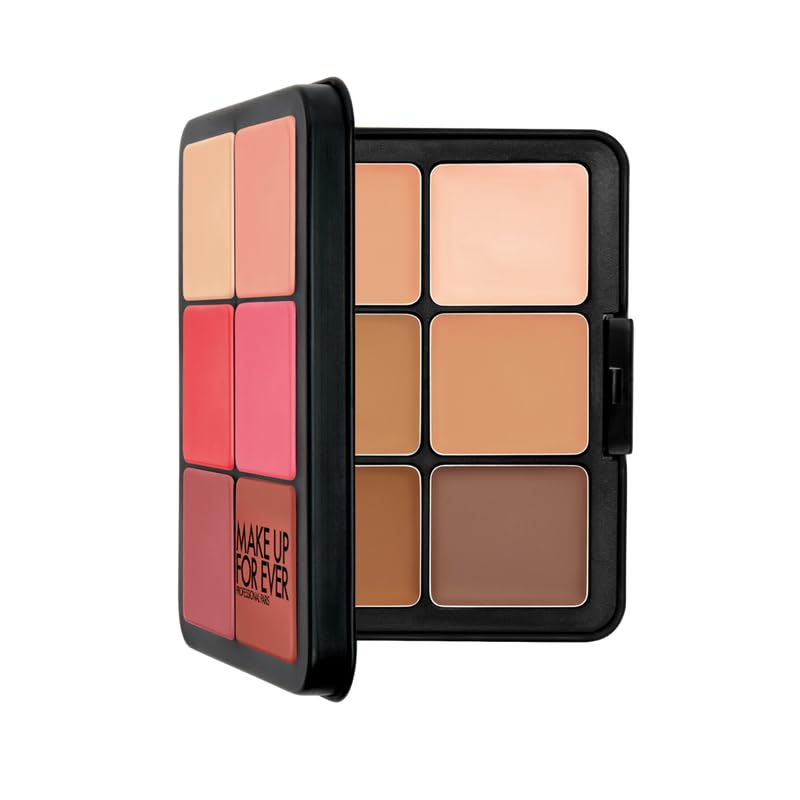
Base, correct and sculpt from one palette.
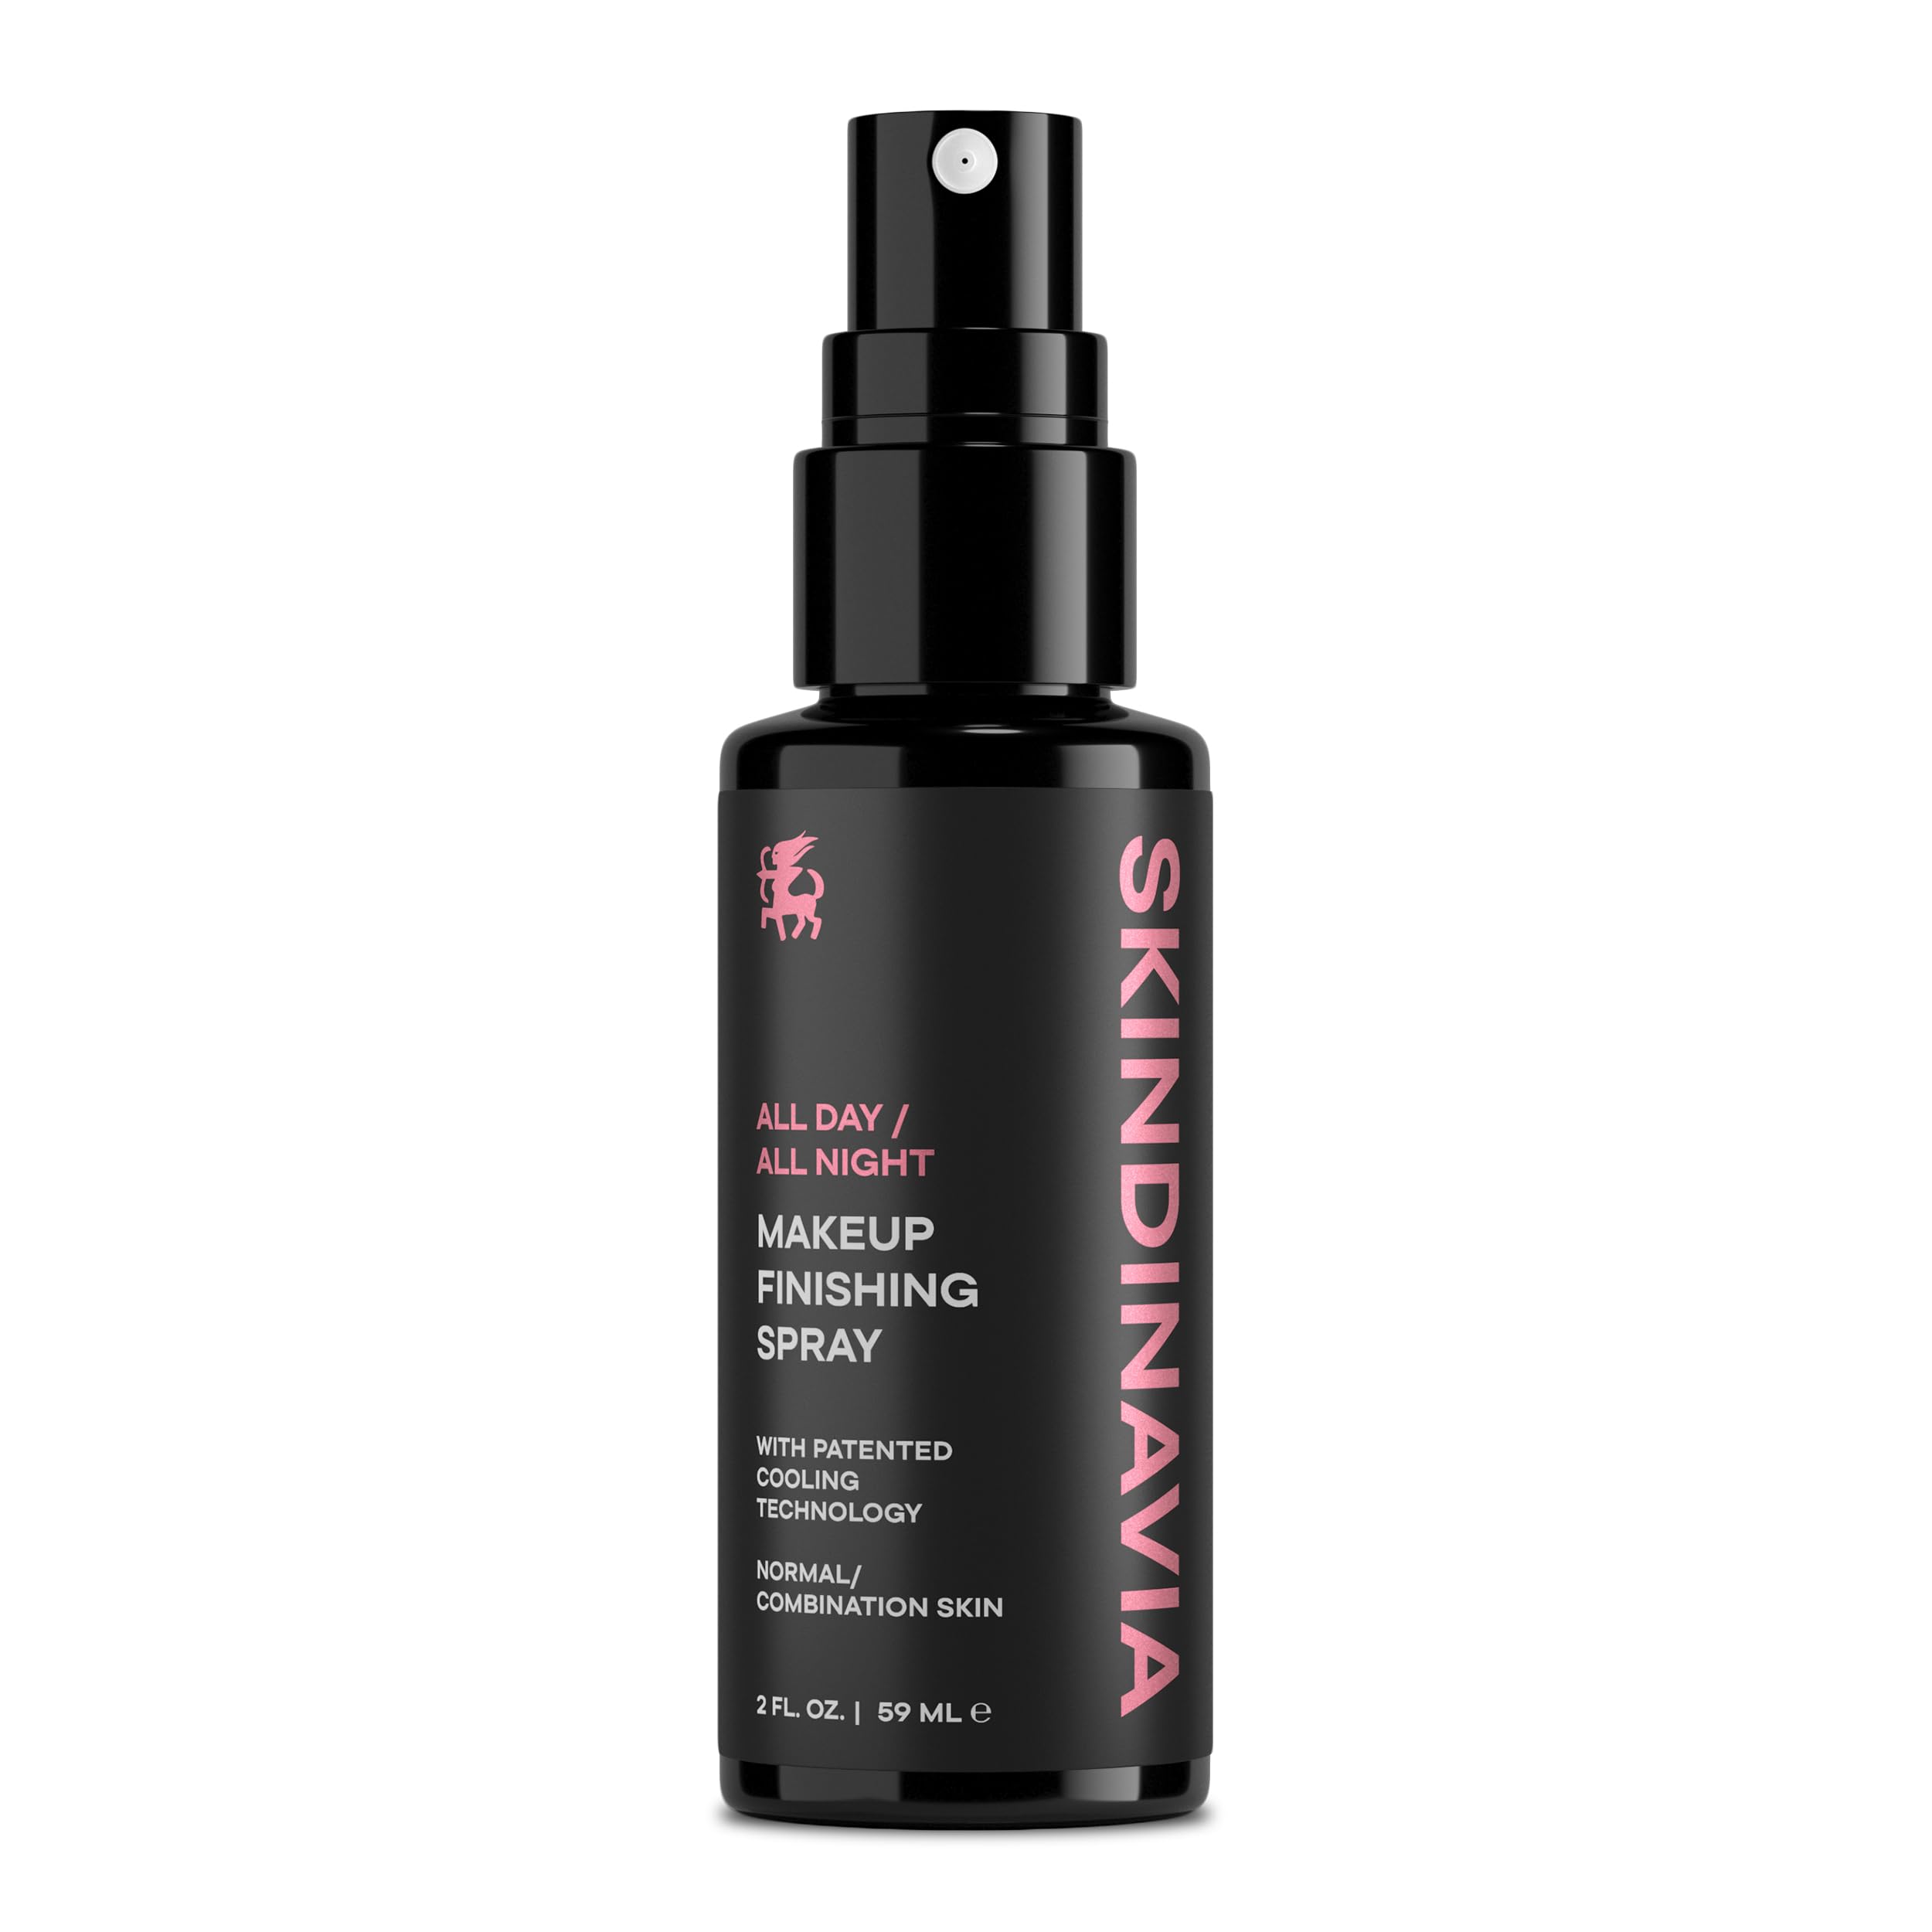
Helps makeup last through heat and long takes.

Even the best products need the right technique on set. Blot before you powder, and powder only where shine returns. Press rather than sweep, so you do not disturb the base underneath. Light pressure with a soft puff is usually enough. Meanwhile, keep a clean puff or sponge for each actor, both for hygiene and to avoid moving color from one face to another. Check lips and eyes as often as skin, because lipstick wears and mascara can smudge under hot lights. Above all, consistency matters more than any single product.
Watching the monitor
In addition, watch the monitor whenever you can, because it shows what the camera sees, not what you see from the side of the set. Finally, communicate with the director of photography about lighting changes, which often explain a sudden problem on screen. A quick question at the right moment can save a whole sequence from reshoots, and it shows the crew you understand their work. Over a long shoot, those small conversations build trust between departments. They also teach you how each camera and lighting setup treats skin, which makes every future job easier. Keep notes of what you learn, because the same problems tend to return on the next production.
HD makeup vs airbrush
Artists often ask whether airbrush or traditional application works better on camera. Both can look excellent, and both can look poor. Airbrush applies a very fine, even mist of foundation, which can look seamless in high resolution and lasts well on long days. Traditional application with brushes and sponges gives more control over coverage and texture and is easier to adjust quickly. Many screen artists use both: airbrush for bodies, tattoos and large areas, and traditional tools for faces and close-ups. The best choice depends on the skin, the look, the schedule and your own skill with each method. Whichever you choose, the same rules apply: thin layers, careful matching and constant checking on camera.

Eyes, brows and lips on camera
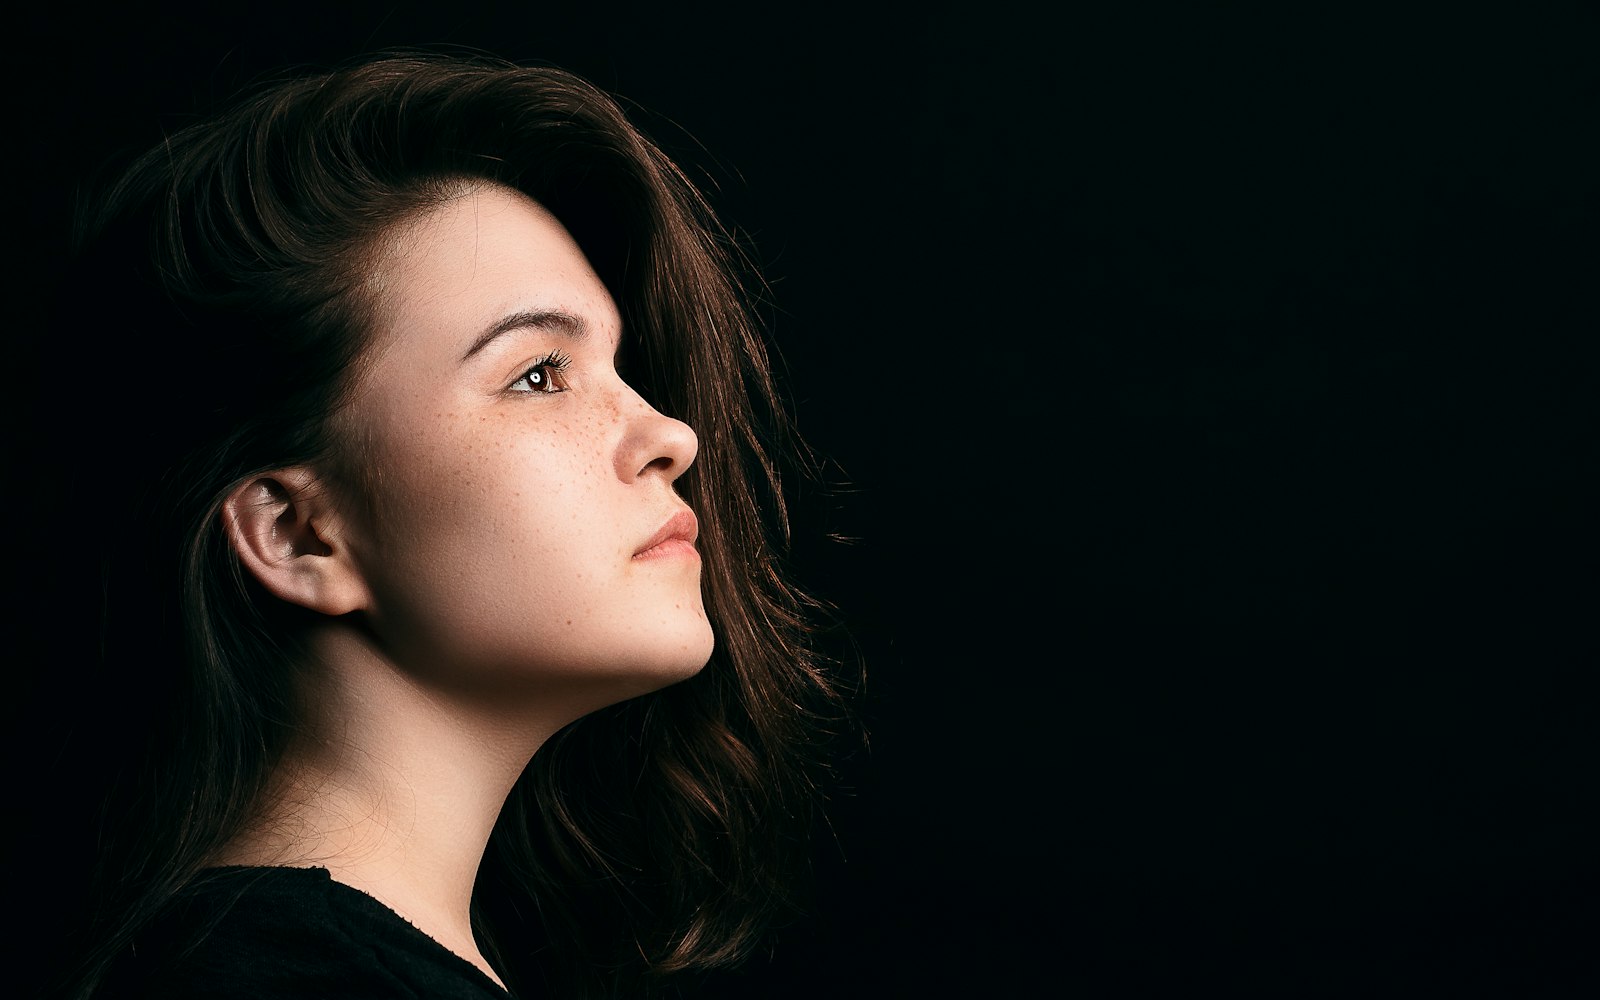
Features need a different balance on camera. Strong lighting can wash out brows and lashes, so a little more definition often helps, especially for presenters and talk-show guests. However, harsh lines show clearly in high resolution, so build definition with soft, blended color rather than sharp edges. Mascara should be clean and separated, because clumps are obvious in close-up, and lash glue must be invisible. Meanwhile, lips should be defined but natural. Very glossy lips can catch light distractingly, while very matte lips can look dry. A satin finish usually photographs best. Finally, check everything on the monitor or test photograph, because what reads as subtle in person may disappear on camera.
Brows
Fill sparse areas with fine, hair-like strokes and set them with a clear or tinted gel. Avoid solid blocks of color, which look flat on camera.
You may also like
Face Shape Makeup Theory: How Artists Read a Face Before Contouring
You may also like
Makeup Artist Portfolio: How to Build One That Books Work
Skin tone and age also shape on camera makeup. Deep skin can look ashy under some lights or with the wrong powder, so choose tinted powders and test under the shooting light. Fair skin can look washed out under bright studio light, so warmth and definition may need a gentle boost. Mature skin shows texture clearly in high resolution, so use creams, minimal powder and soft blending. Meanwhile, every skin type needs shine control under hot lights, but the amount varies widely. Our guide to reading a face before contouring explains how to place definition so it reads on camera. In short, adapt the technique to the skin in front of you, not to a single formula.
Working with the camera and lighting teams
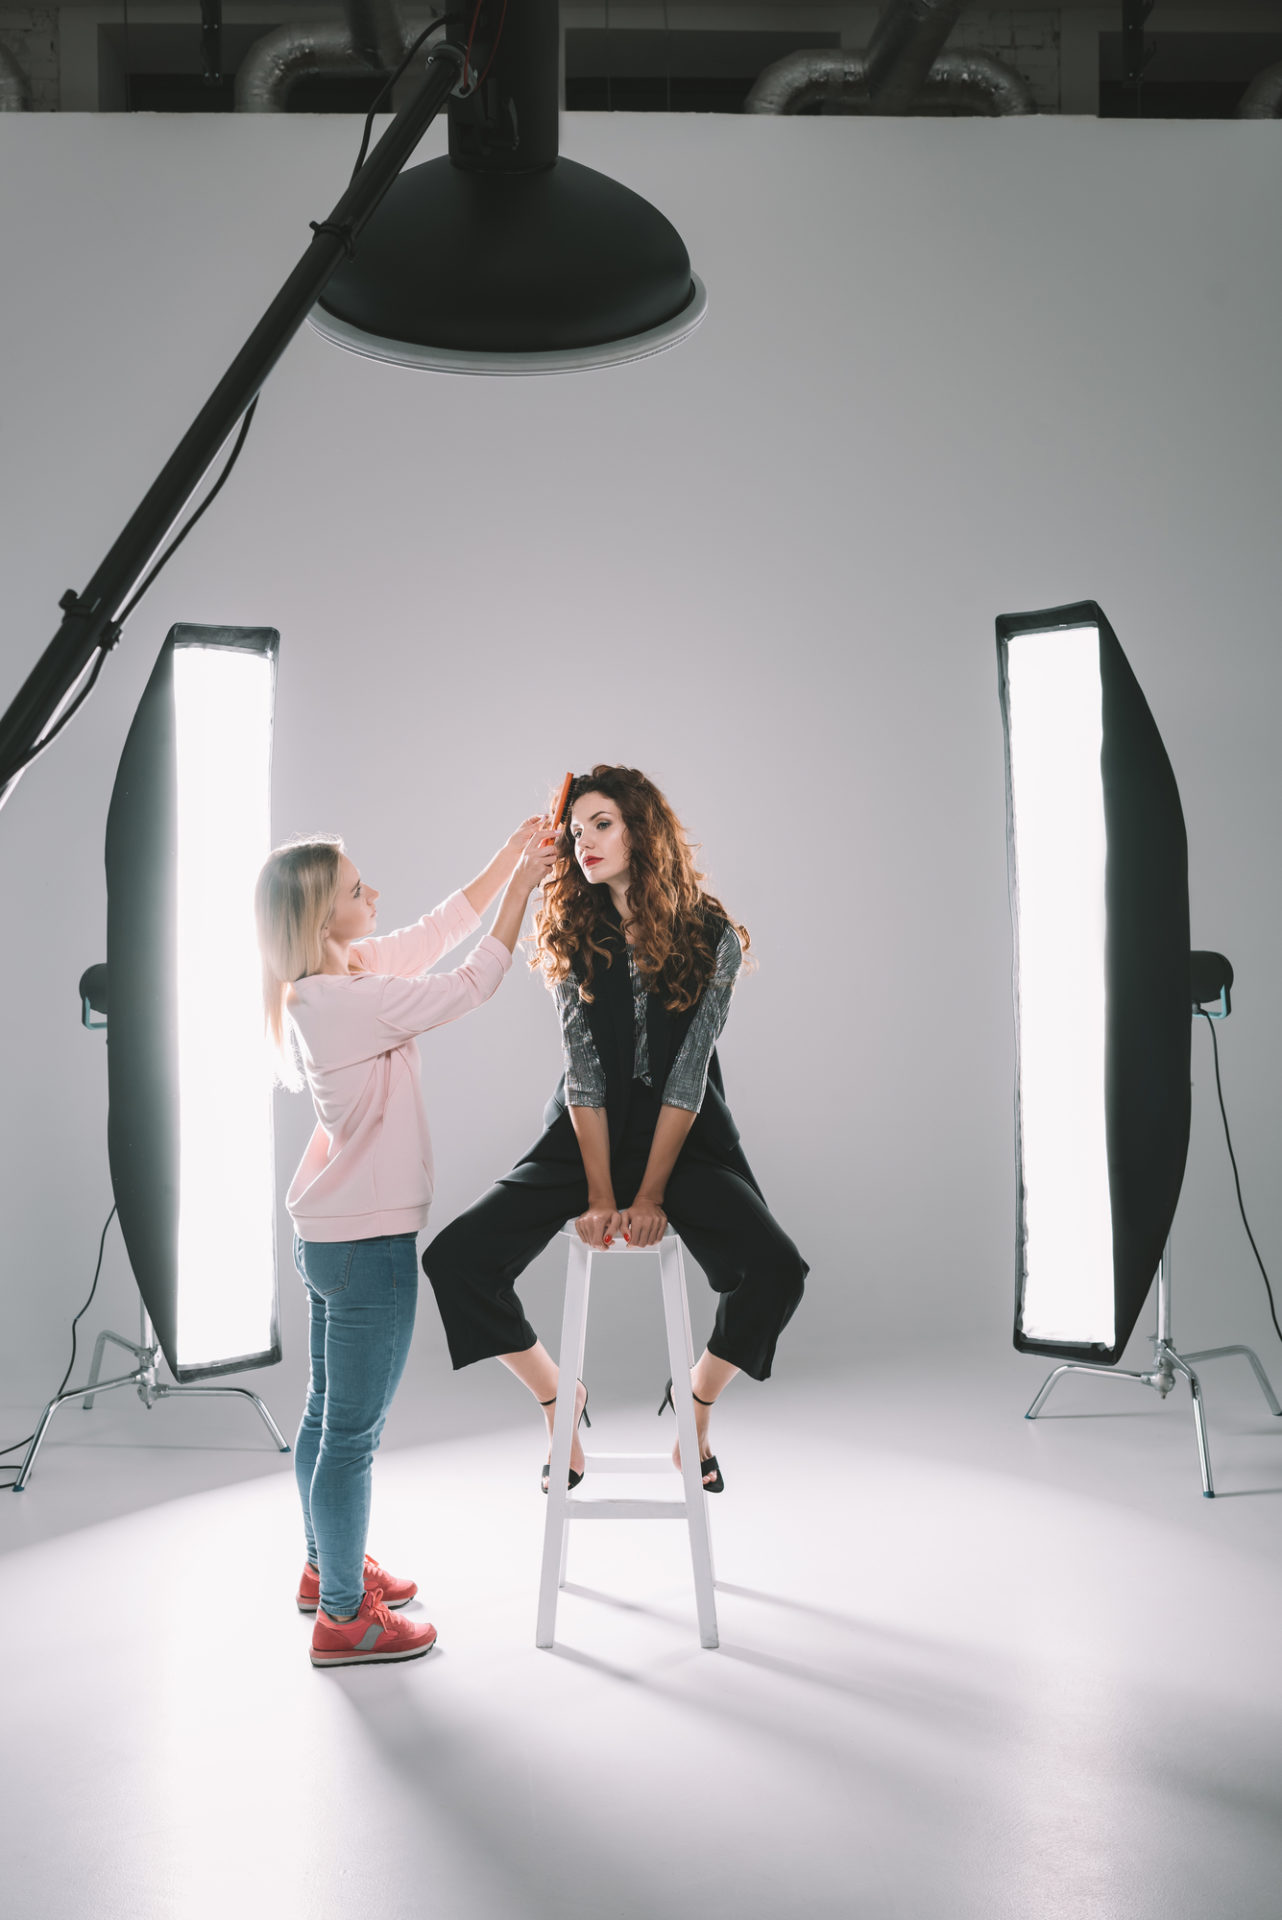
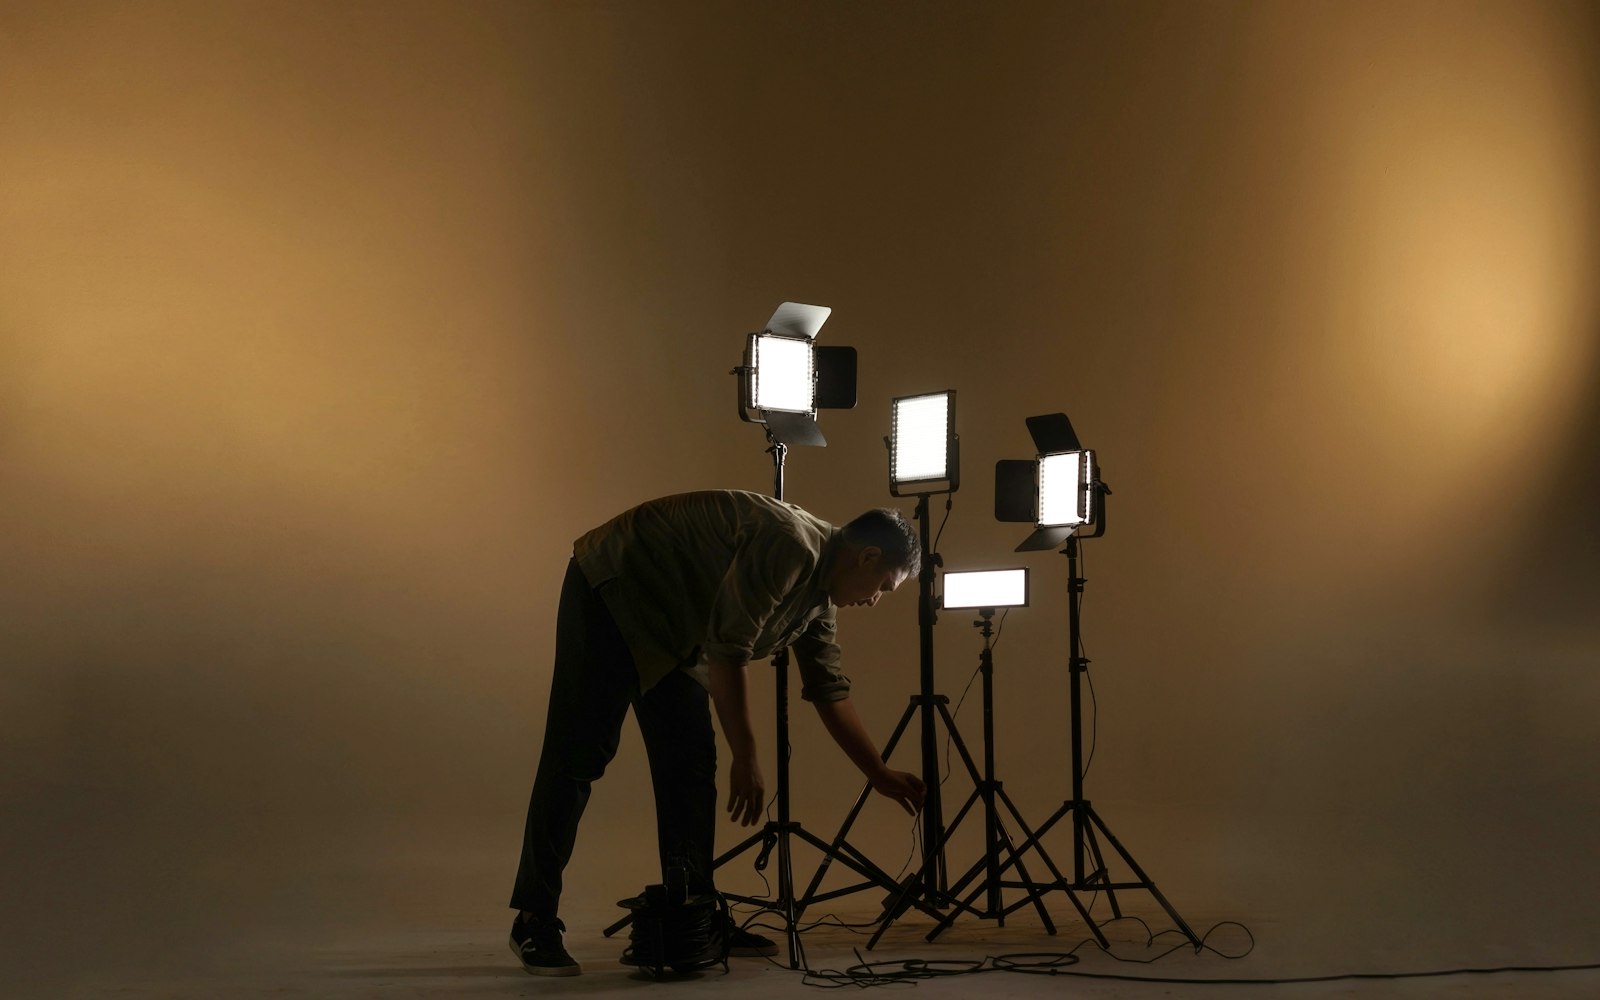
On camera makeup is a team effort. The director of photography or photographer decides how faces are lit, and that lighting changes everything you do. Introduce yourself early, ask what the lighting plan is and whether there are any concerns about skin, shine or color. Meanwhile, ask whether you can see the monitor during rehearsals, so you can spot problems before takes. If a look is not reading well, describe the issue in camera terms, such as shine on the forehead in the wide shot, so the team can help. Above all, respect the set. Move quickly, stay out of frame and let the crew work. Artists who make the camera team’s job easier are the ones they recommend.
Content shoots and phone cameras
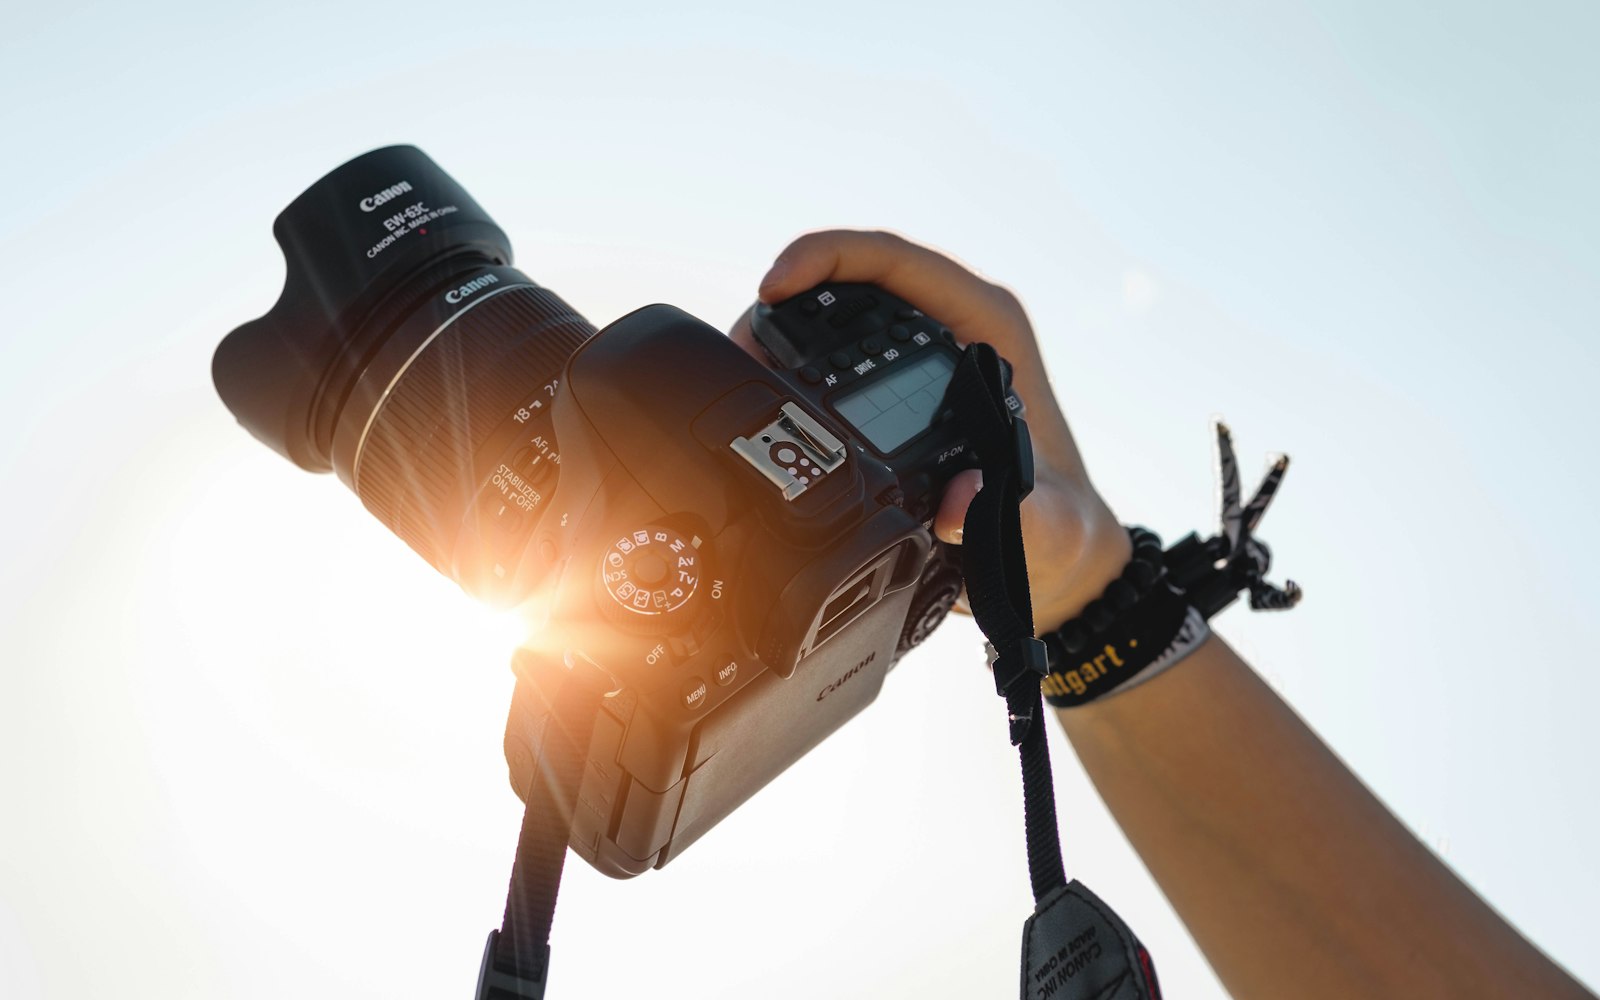
Much on camera makeup now happens for content: brand videos, social media and livestreams, often shot on phones or small cameras. These cameras usually apply their own sharpening and smoothing, and they are often used close to the face in mixed light. As a result, these cameras can exaggerate shine and uneven texture, while subtle color may disappear. For content work, test the makeup on the actual device before the shoot, in the actual light. Meanwhile, keep looks clean and defined, because small screens reward clarity. The principles in this guide apply just as much to a phone as to a cinema camera.
A short checklist keeps on-camera work consistent from job to job. Before the shoot, ask about the camera, the lighting and the shots planned. Next, prep and balance the skin, then match foundation in light close to the shooting light. After that, set strategically and test powders under flash if the shoot uses flash. Then check the first frames on the monitor or the photographer’s screen and adjust. During the day, blot, touch up and photograph each look for continuity. Finally, note what worked and what did not, so the next job starts from a stronger place.

Designing for the lens
On camera makeup is not a different craft so much as a different audience. The lens sees texture, shine, color and shape in its own way, and the best artists design for it deliberately. Work in thin layers, control shine with blotting, match foundation in the shooting light, test powders under flash and check every look on the monitor. Then keep notes, because each production teaches you something about cameras, lights and skin. Over time, that knowledge becomes the reason directors and photographers ask for you by name. Our list of memorable movie makeup transformations shows what the craft can achieve on screen. Start with the basics in this guide, and build from there.
Tools and library

The three tools above support a camera-led career. The quiz helps you decide whether film, television, editorial or commercial work suits you best, each with its own camera demands. Meanwhile, the calculator helps you price long set days, overtime and kit fees, which are common on camera jobs. The library gathers the career guide, notebooks and workbooks, including continuity and kit pages that suit production work. Start with the quiz if you are still choosing a direction. If you are already working on productions, use the library’s continuity pages on your next job. Either way, revisit all three as your camera work grows and your bookings change. Together, they keep the business side as polished as the makeup.
From the Artist Library
Camera skills open doors. The guide covers the working side of the craft: pricing, contracts, agencies, kit economics and the first five clients, in plain terms.
Questions worth asking
What is on camera makeup?
Makeup designed for how a lens sees skin: thin, well-blended layers, controlled shine, foundation matched in the shooting light and definition that reads on screen.
What does HD makeup mean?
Usually products designed to look natural under high-resolution cameras, such as fine-milled powders and lightweight foundations. It is a marketing term, not a technical standard.
Why does makeup look white in flash photos?
Flashback. According to cosmetic scientist Michelle Wong of Lab Muffin Beauty Science, silica in many translucent HD powders causes it; mineral sunscreen ingredients and shimmer can also reflect flash.
Is HD makeup better than airbrush?
Neither is always better. Airbrush gives a fine, even layer that lasts well; traditional tools give more control. Many screen artists use both.
How do you stop shine on camera?
Balance the skin first, blot before powdering, press a thin layer of powder only where needed and check the monitor between takes.
Does makeup look different on camera than in real life?
Yes. Cameras flatten shape, magnify texture and change color with the light, so camera makeup is designed for the image rather than the mirror.
