
The Artist · Craft
Every contour starts with a decision about the face in front of you. Where does light fall? Where does the bone sit? What does this client want to emphasize, and what would they rather soften? Face shape makeup theory gives artists a shared language for those decisions. It covers oval and round faces, as well as square, heart, diamond and long ones. This guide, part of the hub for professional makeup artists, explains the theory, its limits and a practical way to read any face before you place product.
It is written for working and training artists, not for self-contouring at home. The goal is judgment, not a chart to follow blindly.
The short answer
Face shape makeup theory sorts faces into broad shapes, such as oval, round, square, heart, diamond and long, and uses contour and highlight to shift how light falls on them. It traces back to classical art, but research shows real faces rarely match the old proportions. Professional artists therefore read each face directly: its width at the forehead, cheekbones and jaw, its length, its bone structure and its movement, then place shadow and light to suit that client.
In this guide
- What face shape makeup theory is
- Why real faces rarely fit the chart
- How to read a client’s face
- The six face shapes in face shape makeup theory
- Light, shadow and the right products
- Contour placement for different face shapes
- Beyond contour: brows, blush and lips
- Contouring across skin tones and ages
- A face-reading practice routine
- Theory as a starting point
- Questions worth asking

What face shape makeup theory is
Face shape makeup theory is a framework for describing faces and planning where shadow and light should go. It groups faces by their overall outline. Most often, it uses six shapes: oval, round, square, heart, diamond and long. Each shape comes with conventional advice. For example, artists add shadow under the cheekbones of a round face or soften the corners of a square jaw. For artists, the value lies less in the labels than in the questions they prompt. Which part of this face is widest? Where is the strongest bone? What would balance the features, if balance is what the client wants? Used that way, the theory becomes a starting point for observation rather than a set of rules. In short, it is a vocabulary, and good artists use it to think more clearly about each face.
The ideas behind it are old. A 2023 study in Plastic and Reconstructive Surgery Global Open notes that ideal facial geometry can be traced back to the art of ancient Egypt and Greece. It adds that Renaissance artists refined the concept into the neoclassical canons, dividing the face into equal horizontal thirds and vertical fifths. Those thirds and fifths still shape how makeup is taught today. The forehead, the midface and the lower face are often described as three equal sections, and the width of the face as five eye-widths. Meanwhile, contour charts in beauty magazines quietly assume that an oval face with balanced thirds is the ideal to aim for. For that reason, it is worth knowing where the ideal came from, and how well it actually fits real faces.
Why real faces rarely fit the chart
Research suggests the classical proportions are an artistic ideal rather than a description of most people. A 2022 study of 130 adults in Craniomaxillofacial Trauma and Reconstruction found that the neoclassical canons did not apply to the majority of participants. In that group, the vertical canon, which assumes equal thirds, did not apply to any participant at all. Other studies of different populations have reported similar gaps between the canons and real faces. For makeup artists, the lesson is important. A face that does not match the ideal is not a problem to be corrected. It is simply a face. Consequently, the best artists use face shape makeup theory to understand structure, then ask the client what they want, rather than contouring every face toward a single oval.

You may also like
Color Theory for Makeup Artists: Undertones, Correcting and Light

You may also like
Makeup Artist Portfolio: How to Build One That Books Work
This matters especially when you work across a wide range of clients. Faces vary with heritage, age, weight and bone structure, and many clients love the very features a chart would tell you to minimize. A strong jaw can be the point of a look. Full cheeks can read as youthful and warm. A long nose can be striking in profile. For that reason, start every consultation by asking what the client likes about their face and what, if anything, they want to soften. Then use the theory to achieve their goal, whether that is more definition, more softness or simply a camera-ready version of their own features. In practice, this approach also builds trust, because clients feel seen rather than corrected.
How to read a client’s face
Reading a face takes a few minutes and saves far more time during the application. Work in good, even light, ideally daylight from a window, with the client’s hair pulled back and their face relaxed. Look from the front, then from both sides and from a three-quarter angle. Many features only reveal themselves in profile. Meanwhile, ask the client to smile and talk, since movement changes where shadows fall. Take a quick reference photograph if the client agrees, which helps you check your read and plan the look. The steps below give a simple order to follow, so nothing is missed when you are working quickly.
- Compare widths: forehead, cheekbones and jaw. Use a brush handle held horizontally as a guide.
- Compare length with width: is the face noticeably longer than it is wide, or close to equal?
- Note the jawline: angular, softly curved or pointed at the chin.
- Find the bone: feel lightly, with permission, for the cheekbone, brow bone and jaw.
- Check the thirds: forehead, midface and lower face. Note which feels longest.
- Look for asymmetry: one brow higher, one cheek fuller, a nose that leans. Every face has some.
- Watch movement: how the cheeks lift in a smile and where expression lines form.
Reading features, not only outline
The outline is only part of the read. Features matter just as much. Note the distance between the eyes, the shape and depth of the eyelid, the width of the nose and the fullness of the lips. Look at where the brows sit relative to the eyes, and whether the brow bone is prominent or soft. Meanwhile, notice skin texture, because contour behaves differently on smooth skin and on skin with visible pores or fine lines. Each of these details changes where shadow and light will look natural. For example, deep-set eyes need little or no shadow in the crease, while a prominent brow bone may need softening rather than highlight. In short, read the features as carefully as the shape.
Agreeing the goal
Once you have read the face, decide on the goal with the client. Do they want definition for photographs, softness for a wedding, or a bold editorial shape? Then choose where to place shadow, where to add light and how strong each should be. Meanwhile, keep the camera in mind. Flash and high-definition video flatten the face, so contour for photographs often needs to be slightly stronger than contour for an evening out. Daylight, on the other hand, reveals every edge, so blending matters more than strength. In short, the read tells you what is there, and the brief tells you what to do with it.

The six face shapes in face shape makeup theory
The six classic shapes are described below with the traditional advice attached to each. Treat the advice as a set of options, not instructions. Many faces combine features of two shapes, such as a heart-shaped forehead with a squarer jaw, so read the parts as well as the whole. In addition, remember that hair, brows and even glasses change how a face shape reads, so consider the complete look. The table that follows the descriptions summarizes the common placements. Use it as a quick reference during consultations, then adapt it to the face and the brief.
Oval
Longer than wide, with a gently curved jaw and a forehead slightly wider than the chin. Traditionally treated as the balanced shape, so contour is used for definition rather than reshaping.
Round
Width and length close to equal, with full cheeks and a soft jaw. Shadow is often placed below the cheekbones and at the temples to add length.
Square
A strong, angular jaw with forehead, cheekbones and jaw of similar width. Artists may soften the corners of the jaw with light shadow, if the client wants a softer look.
Heart
A wider forehead and cheekbones narrowing to a pointed chin. Shadow at the temples and light at the jaw can balance the lower face.
Diamond
Cheekbones are the widest point, with a narrower forehead and jaw. Highlight at the forehead and chin and soft shadow on the outer cheekbone are common choices.
Long
Noticeably longer than wide, often with similar widths at forehead, cheeks and jaw. Shadow at the hairline and under the chin can shorten the face visually.
| Shape | Widest point | Common shadow | Common light |
|---|---|---|---|
| Oval | Cheekbones, gently | Under cheekbones for definition | Center of forehead, cheekbone tops |
| Round | Cheeks | Below cheekbones, temples | Center of face, down the nose |
| Square | Jaw, forehead and cheeks similar | Jaw corners, temples | Center of forehead and chin |
| Heart | Forehead | Temples, sides of forehead | Chin, center of jaw |
| Diamond | Cheekbones | Outer cheekbones | Forehead, chin |
| Long | Even along the length | Hairline, under chin | Cheekbones, outward |
Notice how often the same few principles repeat. Shadow makes an area recede, and light makes it advance. Placing shadow on the widest point narrows it visually, while light on a narrow area widens it. Once you understand that logic, you no longer need the chart, because you can work out the placement for any face, including faces that fit no category at all. Meanwhile, remember that contour can also emphasize rather than correct. Shadow under a strong cheekbone, for example, makes it even more striking. Ask which direction the client wants before you begin. In practice, many of the best looks celebrate a feature rather than hide it. Ask, then decide together.
Light, shadow and the right products
Contour works because the eye reads darker areas as further away and lighter areas as closer. That is why the color of your contour matters as much as its placement. Natural shadows on skin are usually cool or neutral and slightly gray. As a result, a contour shade that is too warm or orange reads as bronzer, not shadow. Meanwhile, highlight should be a little lighter than the skin and in the same undertone family, or it looks like a stripe. Our guide to color theory for makeup artists explains undertones and value in more depth. Cream products blend into skin most naturally, while powders set and soften the result. Many artists use both: cream to sculpt, powder to refine.
Building a contour kit
A professional kit usually carries contour in two forms and several depths. A cream palette lets you mix the exact shadow and highlight each client needs. Meanwhile, a powder palette with deeper shades covers medium and deep skin tones, where many off-the-shelf contour shades disappear. A cool-toned contour stick is useful for quick work and touch-ups, because it can be swiped on and blended in seconds. Choose products that build gradually, so you can add depth without creating hard edges. Test every shade on a range of skin tones before relying on it for a paid job. The three products below cover those needs.
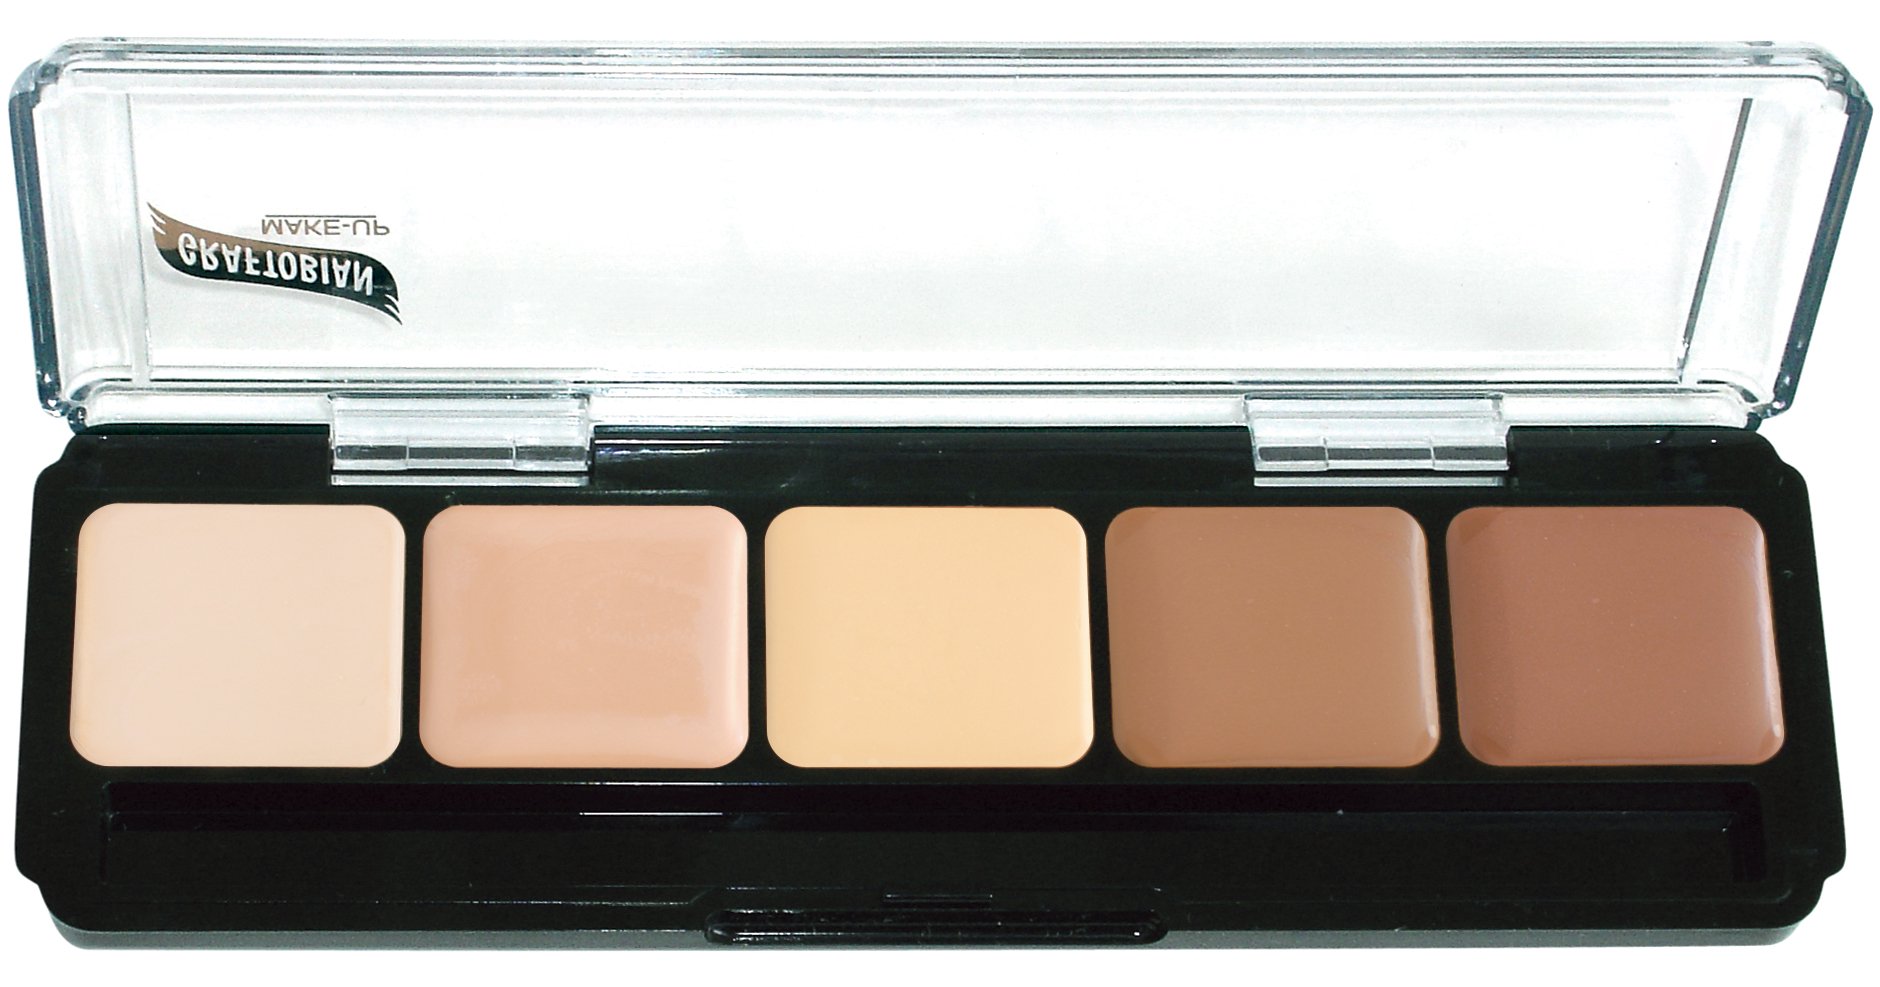
Mixable cream shadow and highlight for fair to light skin.
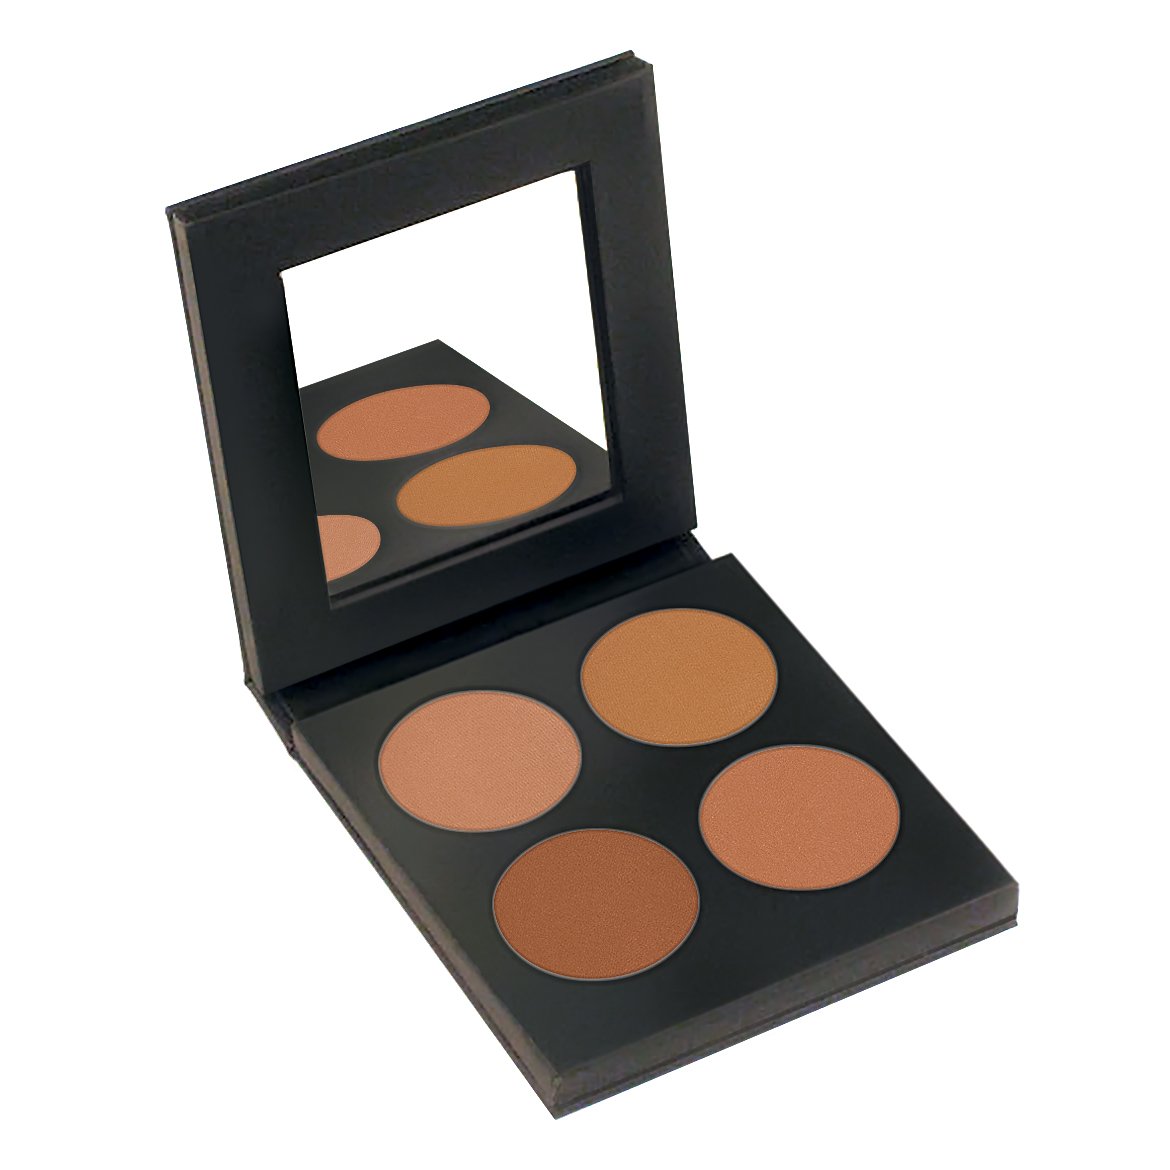
Deeper matte shades for medium and deep skin.
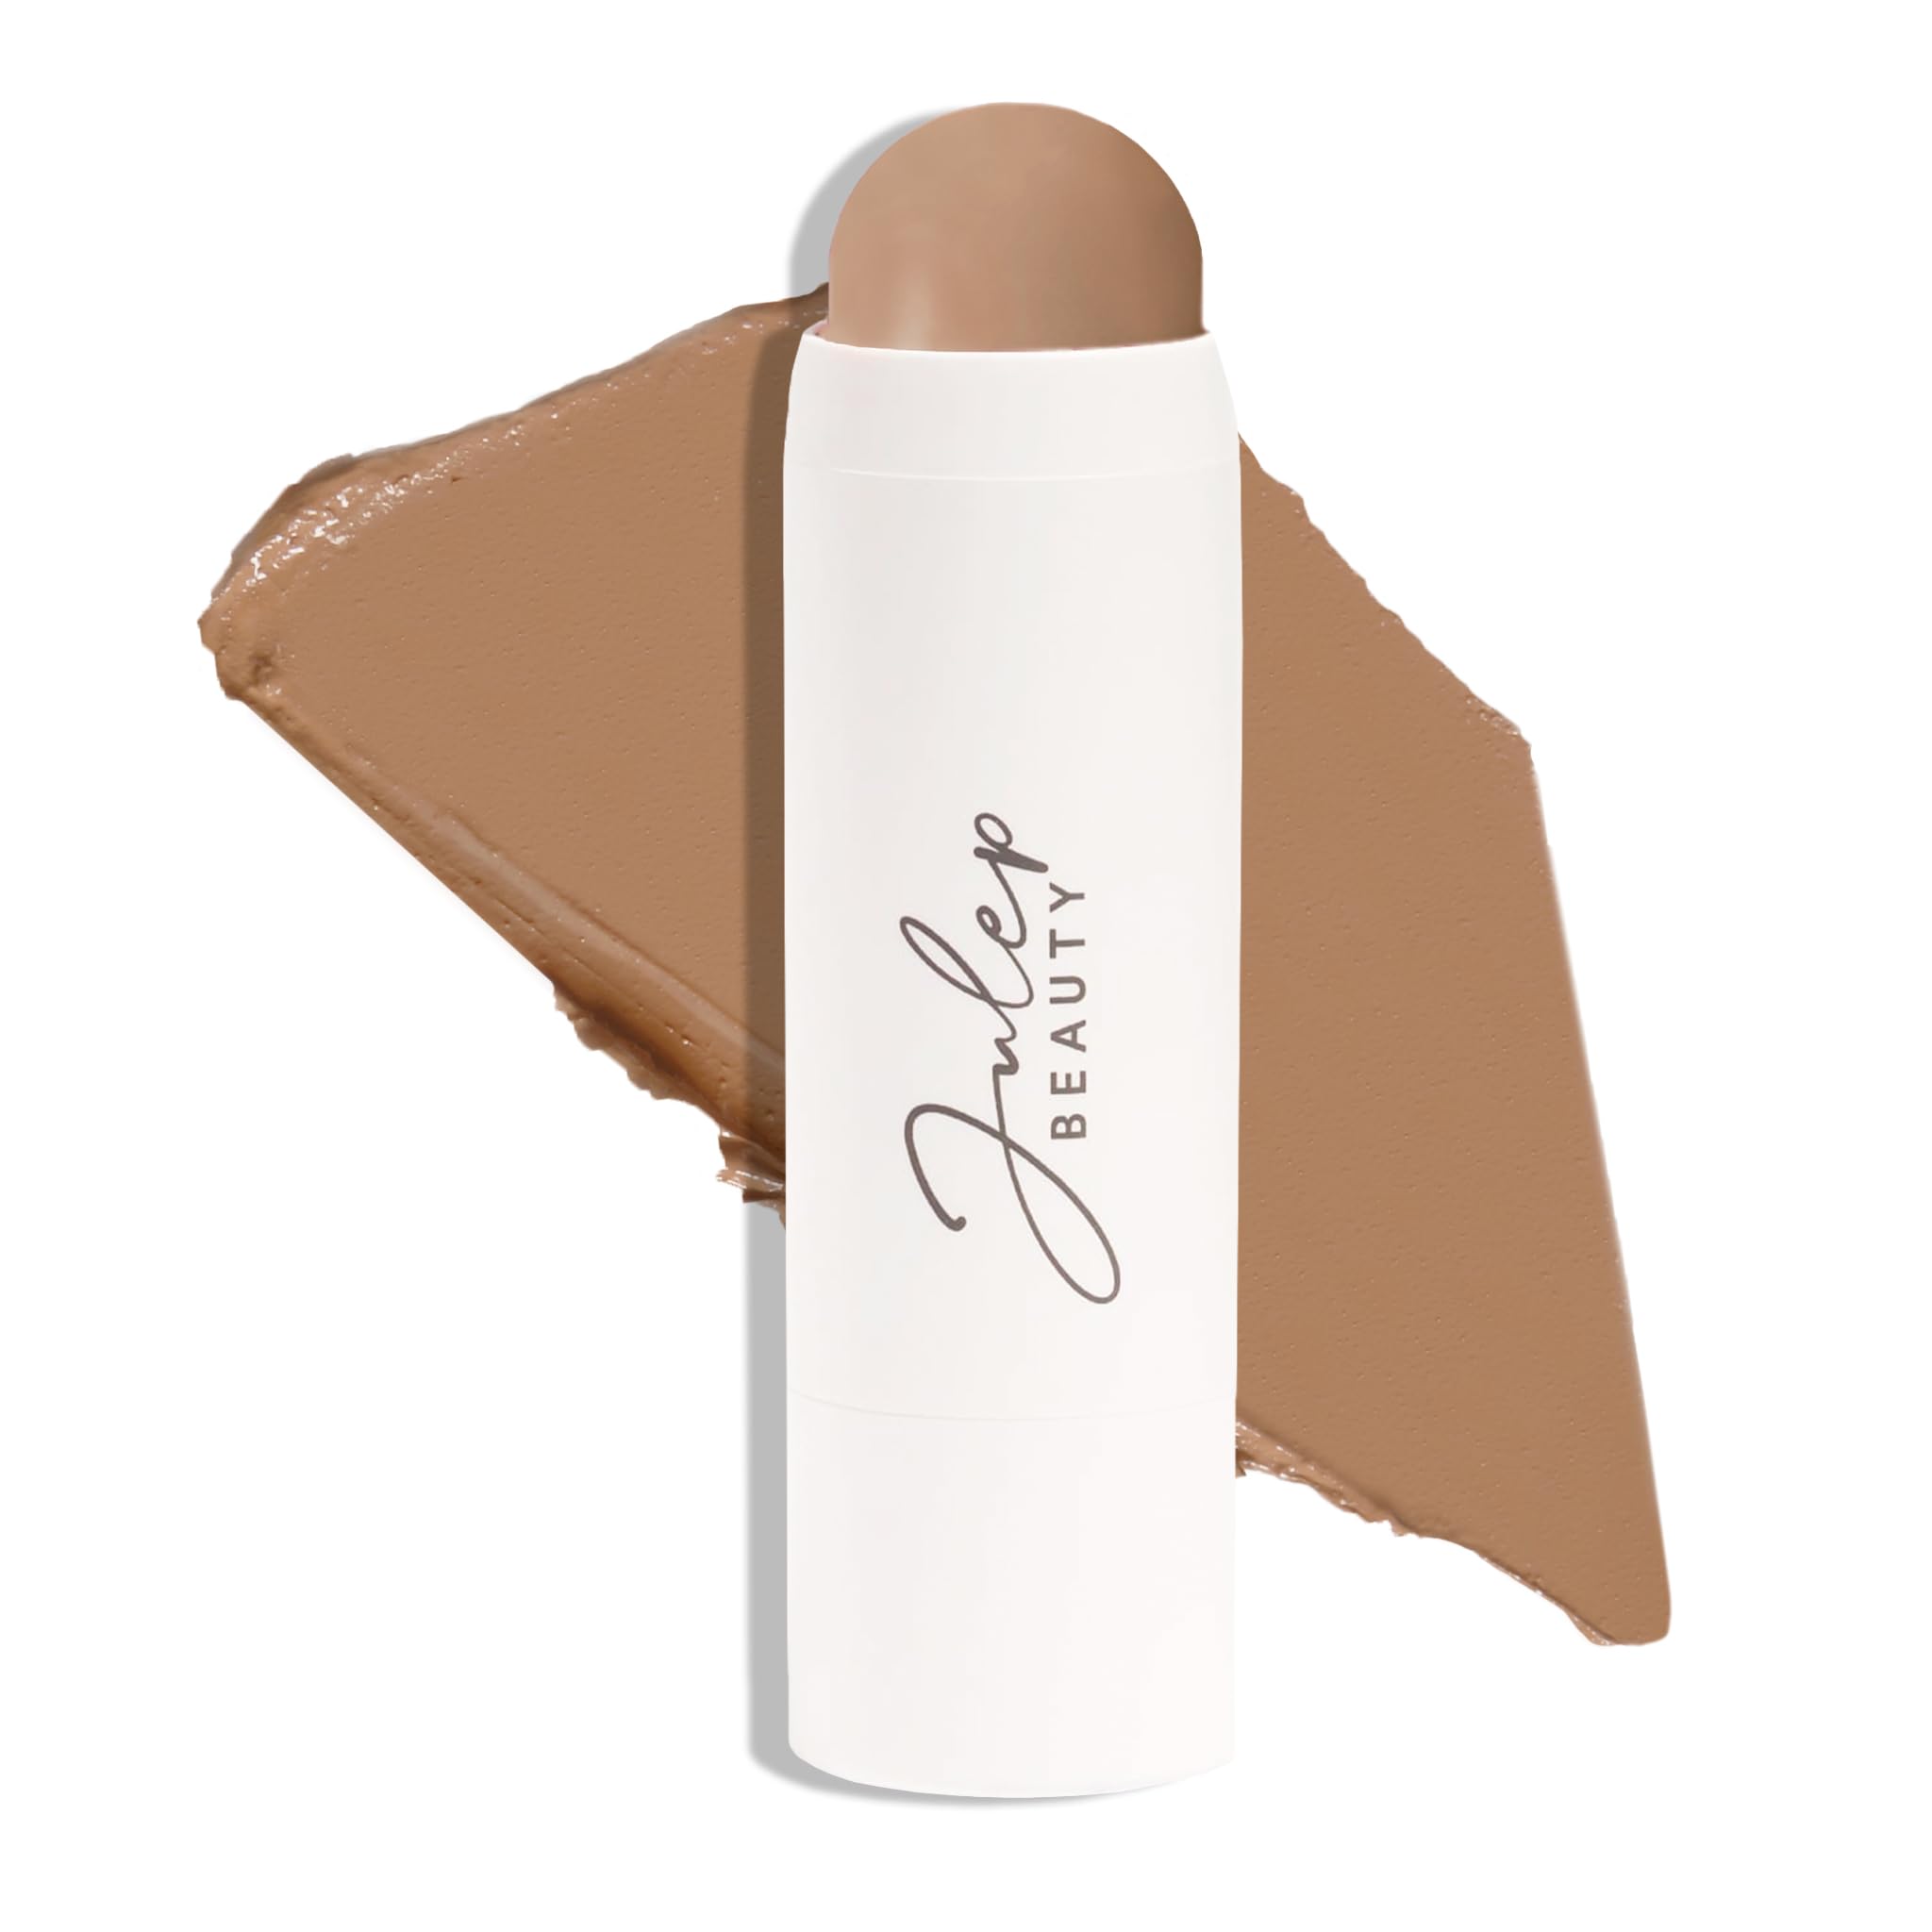
A cool shade that reads as shadow, not tan.
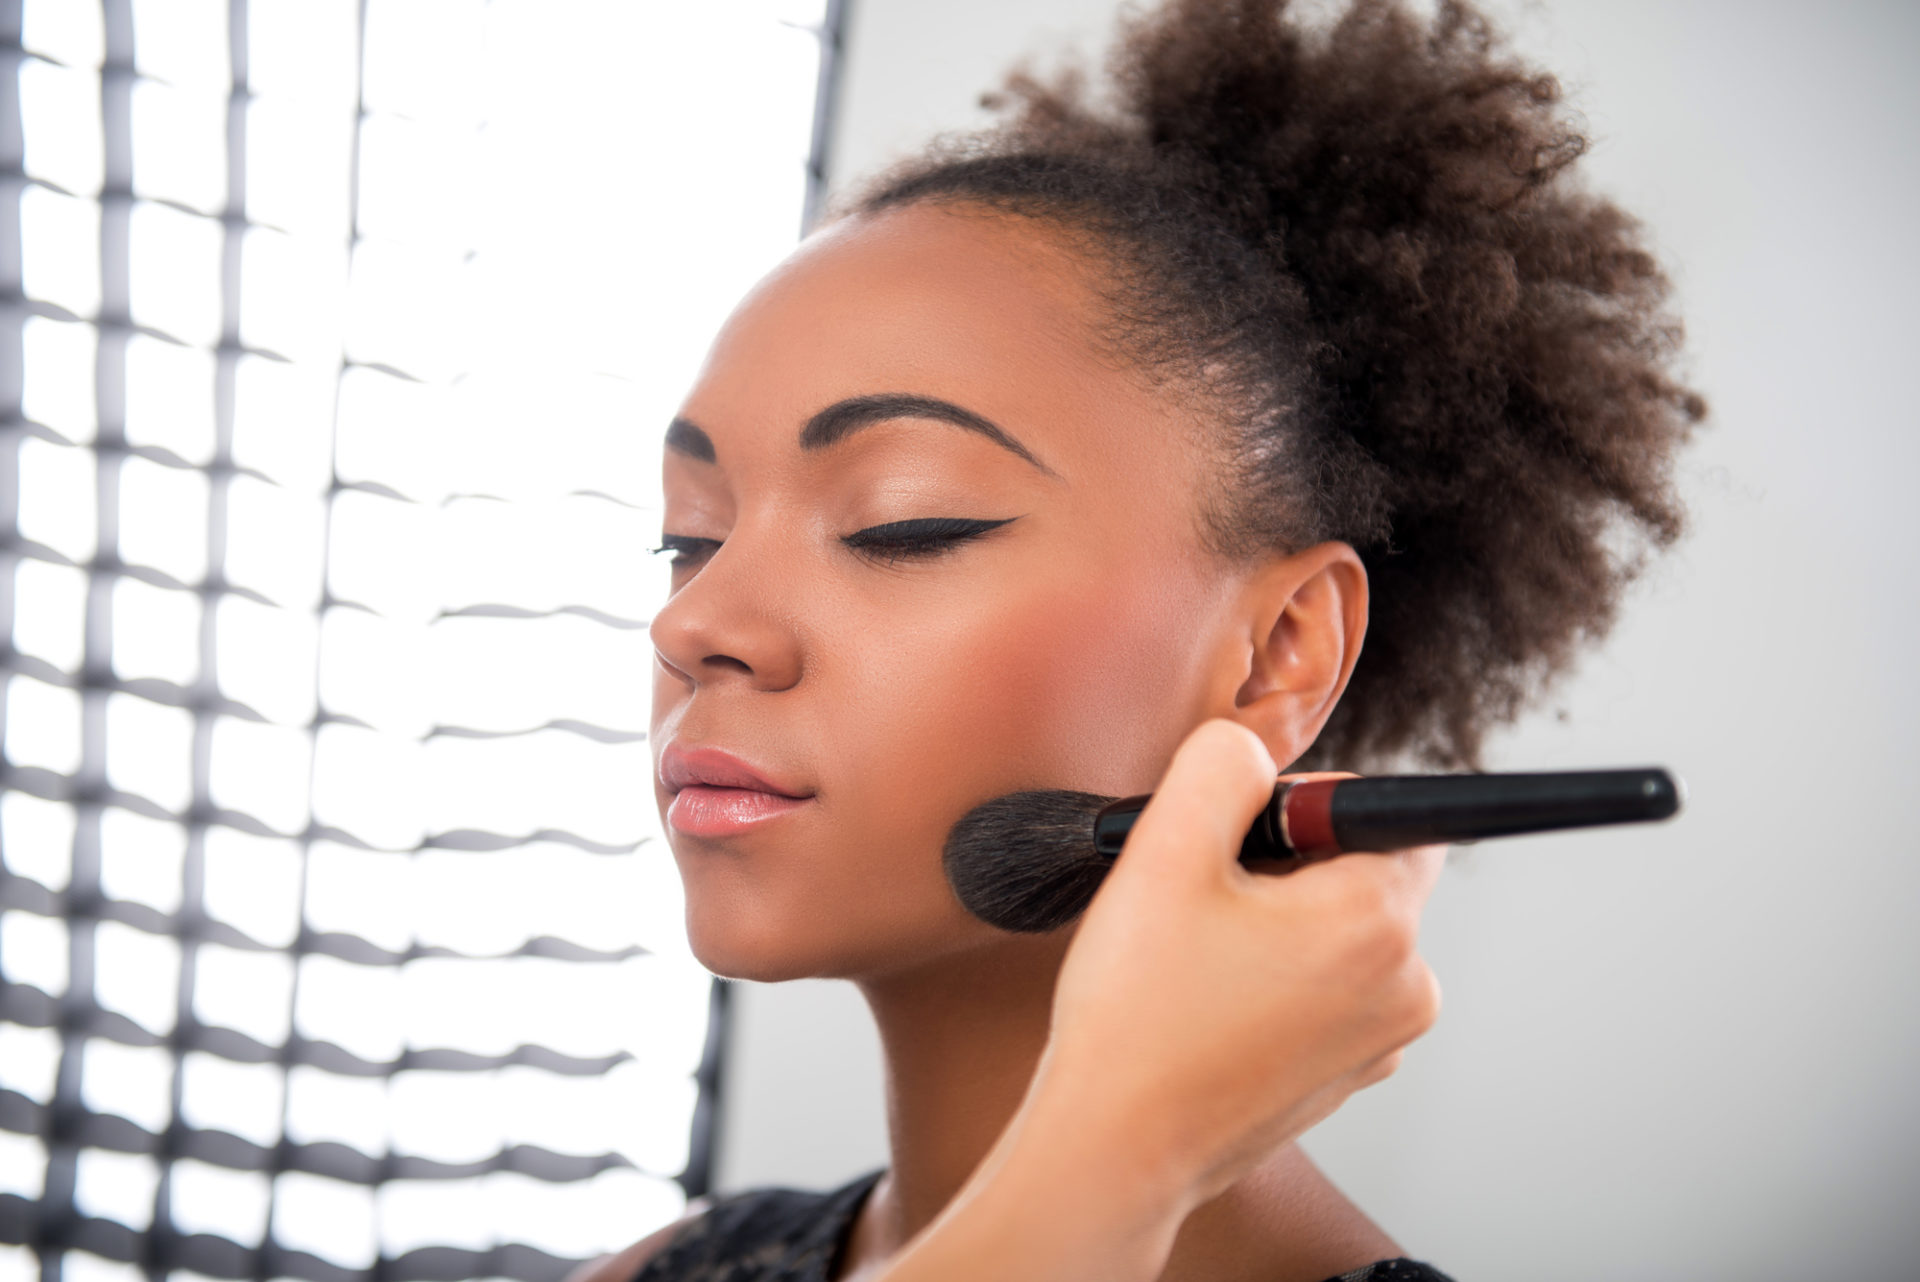
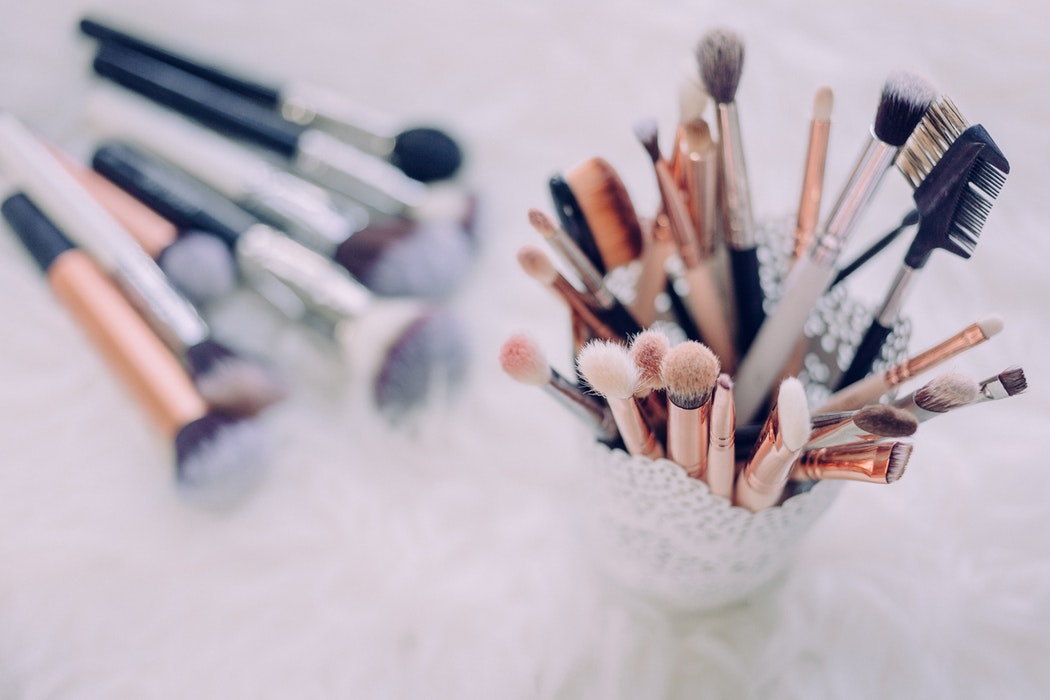
Tools matter as much as products. Contour is placed with precision and then blended until no edge remains. You therefore need a small, firm brush for placement and a larger, softer brush or sponge for blending. The nose, in particular, needs a narrow angled brush, because the shadows along it are thin and close to the eyes. Meanwhile, keep separate brushes for cream and powder, and clean them between clients. Work in thin layers and check from a distance as you go. Contour that looks right at arm’s length often looks heavy across a room or on camera. In addition, blend upward and outward, following the natural direction of shadow on the face. Finally, set cream contour lightly with powder if it needs to last through a long day.
ENZO KEN Angled Concealer Brush — for nose contour and fine shadows
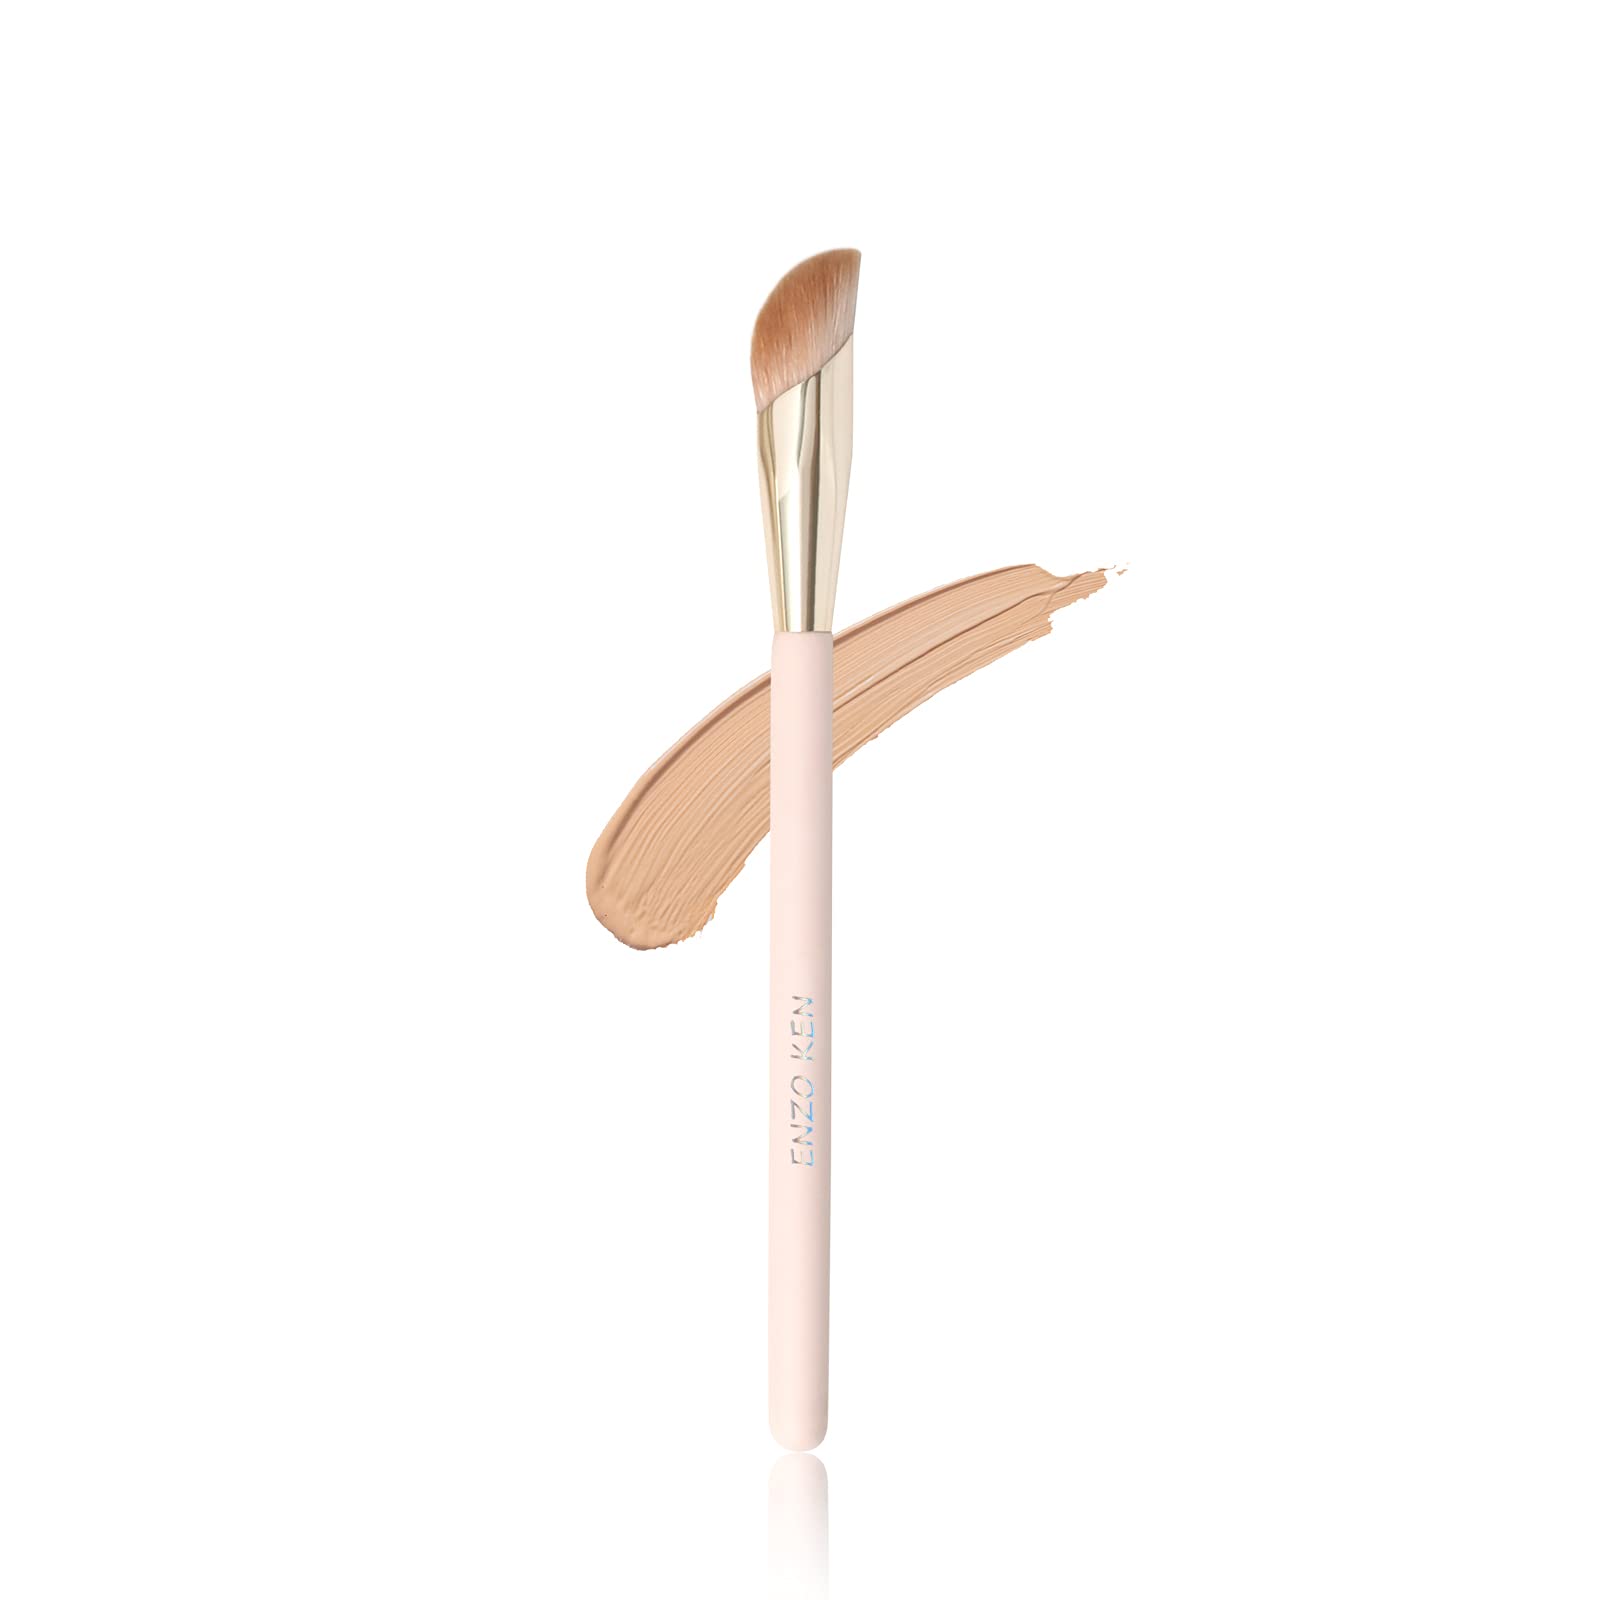
A small angled synthetic brush sold for under-eye concealer and nose contour. Its narrow, slanted head places thin lines of shadow along the nose and under the cheekbone before blending. Checked on Amazon on 28 October 2026 at $15.34, in stock.

Contour placement for different face shapes
With the theory, the read and the right products in place, placement becomes a series of small decisions. The three shapes that clients ask about most often are round, square and diamond, so it is worth looking at each in a little more detail. In every case, start lighter than you think you need, blend thoroughly and build only where the face needs it. Check from the front, from both sides and from a distance before you add more. Meanwhile, keep the client’s brief in mind. A bride wants to look like herself in photographs, while an editorial look might push the structure much further. Above all, the same placement can look sculpted on one face and heavy on another, so trust what you see over what the chart says.
Contouring for a round face
Place soft shadow in a diagonal line from just below the cheekbone toward the corner of the mouth, stopping well before it. Add a little at the temples. Highlight down the center of the face, on the forehead, nose bridge and chin, to add length.
Contouring for a square face
Soften the corners of the jaw with a light shadow blended down onto the neck, and add a touch at the temples. Keep cheekbone contour soft and slightly lifted, and highlight the center of the forehead and chin.
Contouring for a diamond face
Place soft shadow on the outer edges of the cheekbones only, and highlight the center of the forehead and the chin to add width there. Keep contour light, because the cheekbones are already the strongest feature.
Beyond contour: brows, blush and lips
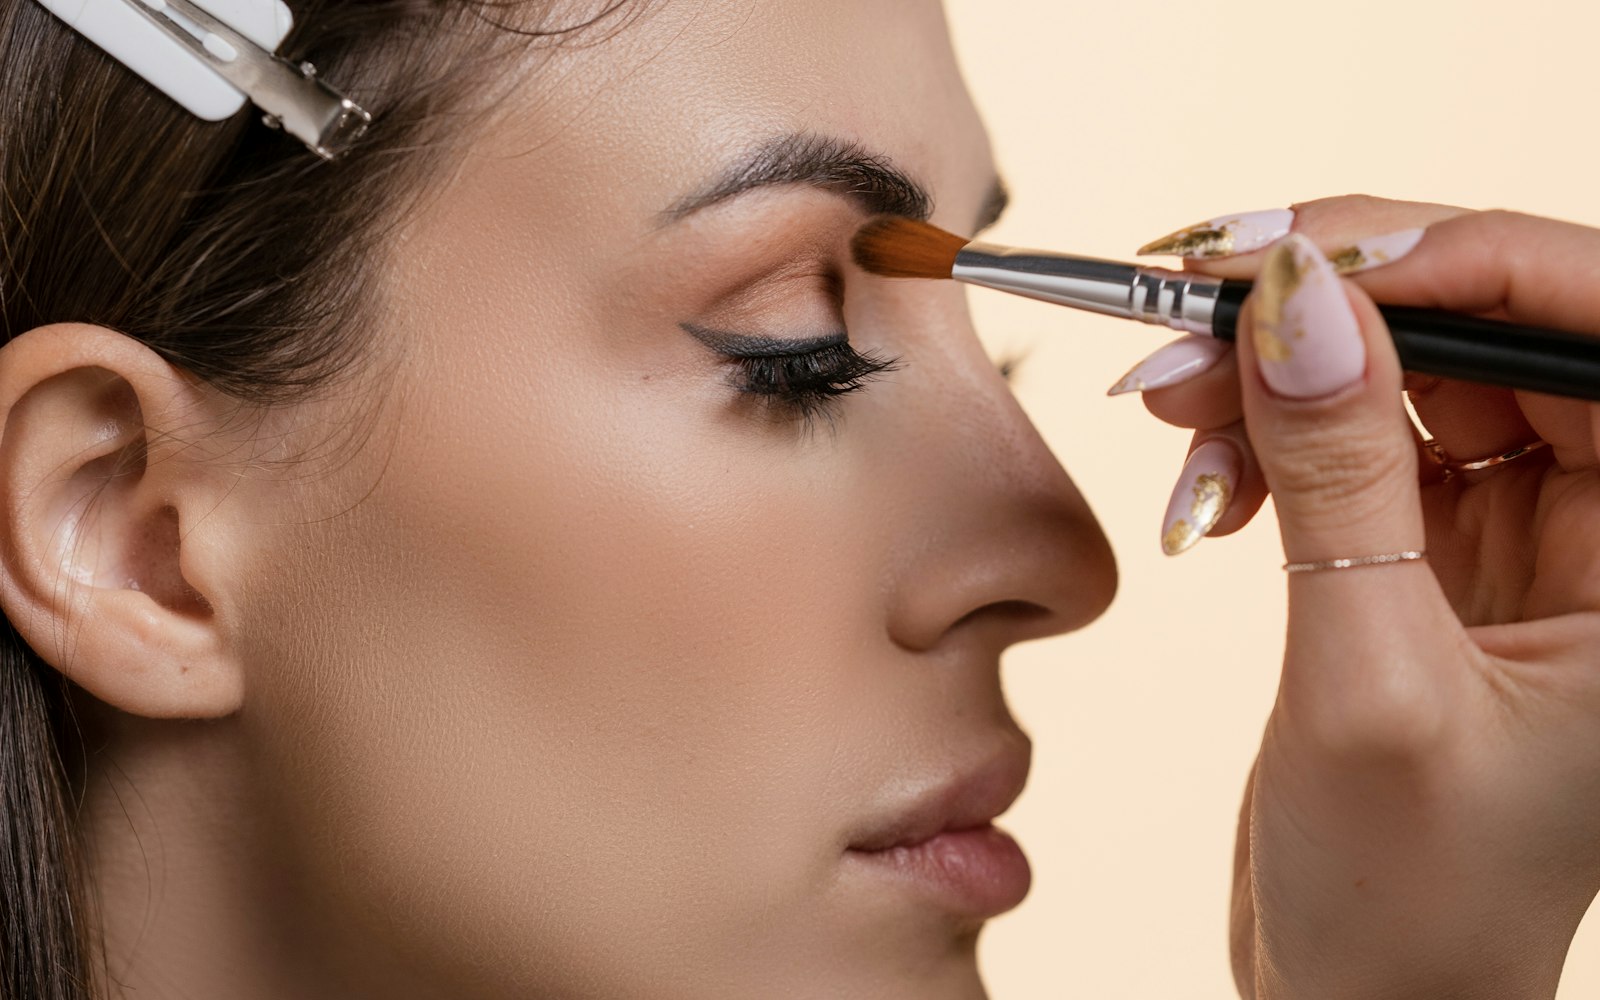
Face shape affects more than contour. Brows frame the face, blush lifts or widens it and lips balance the lower third. For that reason, plan them together with your contour rather than as separate steps. A brow with a soft arch can lift a round face, while a straighter brow can shorten a long one. Blush placed high and swept toward the temples lifts the face, while blush on the apples adds youthfulness and width. Meanwhile, a defined lip draws attention to the lower face, which can balance a wide forehead. As always, these are options to discuss with the client, not rules to impose. Planning brows, blush and lips alongside contour keeps the whole face coherent.

You may also like
Things Makeup Artists Should Know: 12 Lessons for Your First Years
You may also like
26 Makeup Artists to Follow on Instagram (2026)
Brows
Map the brow from the side of the nose, through the arch above the outer iris, to the tail. Adjust the arch height and length to suit the face and the client’s natural brow, and avoid reshaping dramatically without discussion.
Blush
Ask the client to smile to find the apples, then decide whether to place blush on them, above them toward the temple or along the cheekbone. Each placement changes how the face reads.
Contouring across skin tones and ages
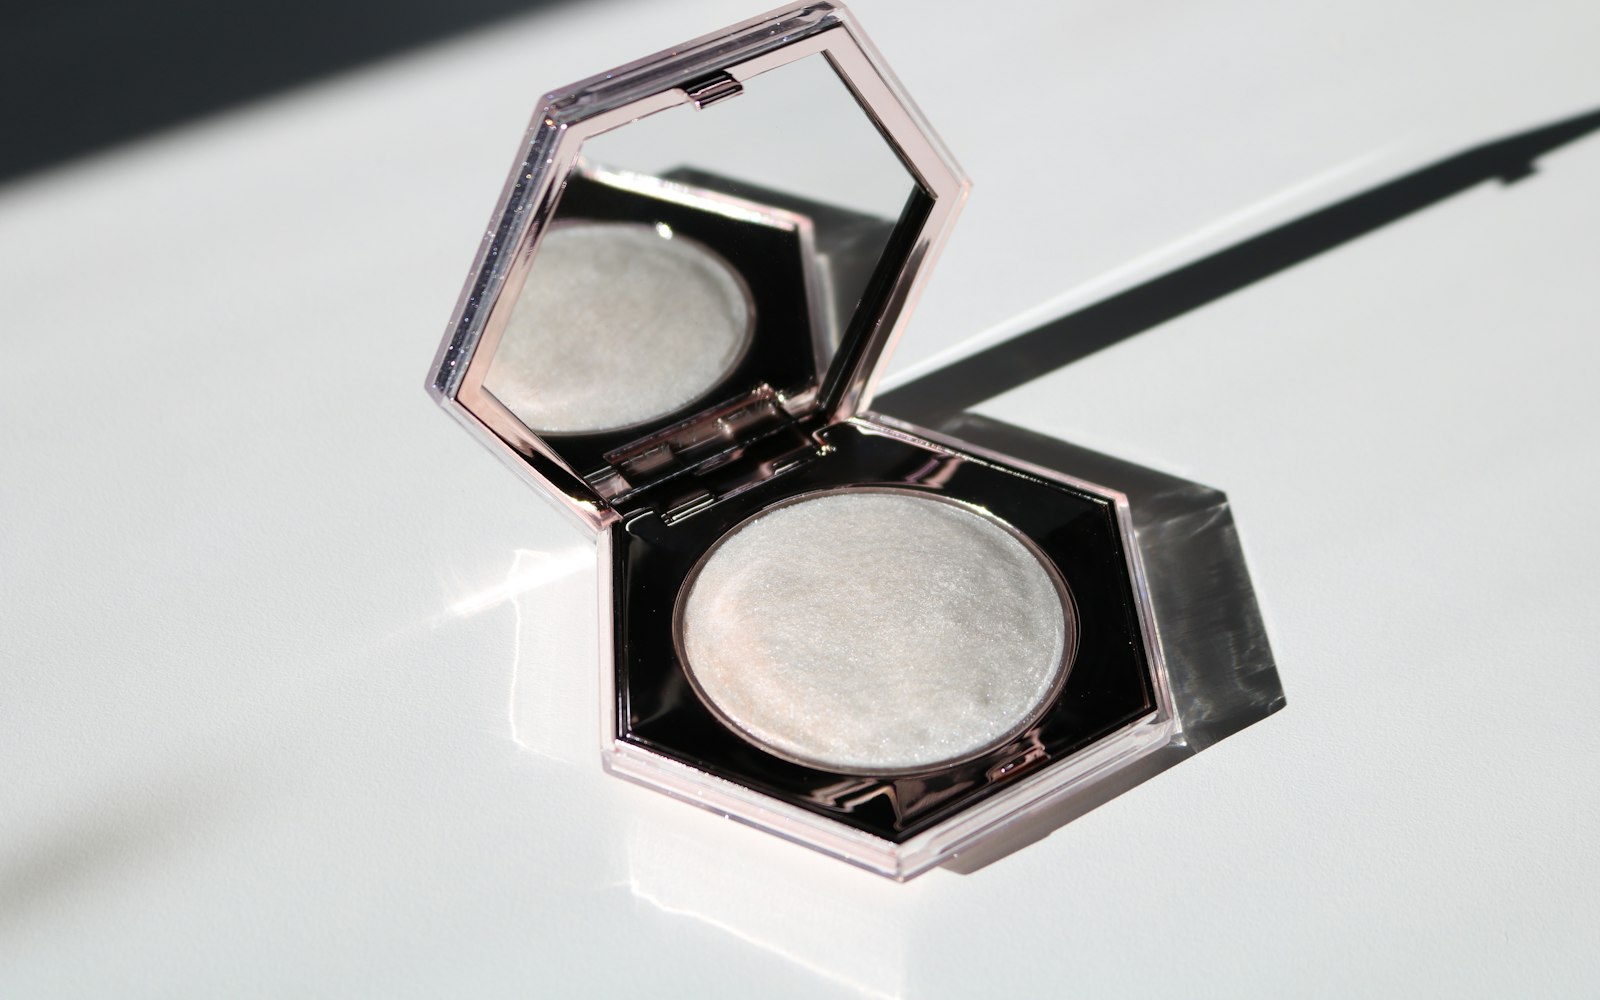
Face shape makeup theory is the same for every client, but the products and pressure change with skin tone and age. On deep skin, many standard contour shades vanish, so use deeper, cool-leaning shades and test them in daylight. Highlight on deep skin often looks best with a golden or bronze sheen rather than a pale, silvery one. On fair skin, contour can look muddy if it is too warm or too dark, so start very light. Mature skin needs a gentler approach: cream products, minimal powder and soft edges, because texture shows heavy product quickly. Meanwhile, the structure of a mature face often changes, so read it fresh rather than relying on habit. In short, the principles stay the same while the products adapt.

Specialty also changes how far you take the theory. Bridal artists usually aim for soft definition that photographs well in daylight and flash without looking heavy in person. Editorial artists may push structure dramatically, using strong shadow and highlight as part of the concept. Film and television artists think about continuity and the camera, so contour must be repeatable and subtle enough for close-ups. Our guide to becoming a bridal makeup artist covers the bridal approach in more detail. Whatever your specialty, keep notes of each client’s face read and placements, so you can repeat the look exactly. Those notes are especially valuable for trials and multi-day shoots.
A face-reading practice routine
Face reading improves quickly with deliberate practice. Start by studying photographs: portraits, film stills and your own reference images. For each, identify the widest point, the jawline and the strongest bones. Then practice on friends and models in daylight, writing a short read for each face before you apply anything. Afterward, photograph the result from the front and both sides, and compare it with your plan. Meanwhile, practice on as many different faces as you can, across ages, skin tones and heritages, because variety is what builds judgment. Finally, keep a notebook of reads and placements. Over a few months, it becomes a personal reference far more useful than any chart.

Theory as a starting point
Face shape makeup theory is useful because it gives artists a shared language for structure, light and shadow. Its weakness is that it was built on an artistic ideal that most real faces do not match, as research on the classical canons shows. The solution is to use the theory as a starting point. Read each face directly, ask the client what they want and place shadow and light to serve that goal. Learn the six shapes, understand why contour works and practice reading faces until it becomes instinct. Above all, remember that the face in your chair is not a problem to solve. It is a face to understand. Our ranking of the best makeup schools lists programs that teach face analysis in depth.

Tools and library

The three tools above support the craft and the career around it. The quiz helps you choose a specialty, which decides how far you take contour, from soft bridal definition to bold editorial structure. Meanwhile, the calculator helps you price the extra time that careful face reading and contouring add to each booking. The library gathers the career guide, notebooks and workbooks, including pages for client records where you can keep each face read and placement. Start with the quiz if you are still choosing a direction. If you are already working, use the library pages to build your face-reading notebook. Either way, revisit all three as your skills grow.
From the Artist Library
Technique opens doors. The guide covers the working side of the craft: pricing, contracts, agencies, kit economics and the first five clients, in plain terms.
Questions worth asking
What is face shape makeup theory?
A framework that groups faces into broad shapes, such as oval, round, square, heart, diamond and long, and uses contour and highlight to shift how light falls on each.
How do I determine a client’s face shape?
Compare the width of the forehead, cheekbones and jaw, compare length with width and note the jawline, in even daylight from the front and both sides.
Where should contour go on a round face?
Soft shadow in a diagonal below the cheekbone and at the temples, with highlight down the center of the face to add length.
Do real faces match the classic face shapes?
Often not. A 2022 study of 130 adults found the classical facial canons did not apply to most participants, so treat the shapes as a starting point.
What color should contour be?
Usually a cool or neutral shade slightly deeper than the skin, because natural shadows are cool. Warm, orange shades read as bronzer rather than shadow.
Is contouring different on mature skin?
Yes. Use creams, minimal powder and soft edges, and read the face fresh, because structure and texture change with age.
