
The Artist · Craft
A convincing prosthetic changes a face without anyone noticing the change was made. A broken nose, an aged jaw, a creature’s brow: done well, the audience sees a character, not a piece of rubber. Prosthetic makeup is the craft behind that illusion, from the first sculpt to the final edge blended on set. This guide, part of the hub for professional makeup artists, explains the main materials, how appliances are made and applied, and how artists build the skills to do it professionally.
It is written for artists who already know basic effects work and want to understand the full prosthetic process, from clay to camera.
The short answer
Prosthetic makeup uses sculpted appliances, usually made from silicone, foam latex or gelatin, to change the shape of a face or body. Artists sculpt the design in clay over a life cast, make a mold, cast the appliance, then glue it to the skin, blend the edges and paint it to match. Silicone looks and moves most like skin, foam latex is light and flexible, and gelatin is affordable and translucent but sensitive to heat.
In this guide

What prosthetic makeup is
Prosthetic makeup is the use of manufactured pieces, called appliances, to add shape to a face or body. A simple appliance might be a scar or a nose. A complex one might cover the whole head and change an actor into a creature. Unlike makeup built directly on the skin, appliances are made in advance in a workshop, so they can be repeated exactly for every day of a shoot. That repeatability is one reason prosthetics are central to film and television. Meanwhile, appliances allow far more dramatic changes than wax or latex built by hand, because they can add real volume and fine sculpted detail. In short, prosthetic makeup combines sculpture, mold making, chemistry and makeup into one craft.
The process has two halves, and many artists specialize in one. The workshop half covers life casting, sculpting, mold making and running appliances, which means casting the material into the molds. By contrast, the application half covers gluing the appliance to the performer, blending the edges, painting it to match the skin and maintaining it on set. Large productions often have separate teams for each, while smaller ones need artists who can do both. For that reason, learning the whole process makes you more employable, even if you later focus on one side. Our guide to building a special effects career explains how artists enter the field.
Silicone, foam latex and gelatin compared
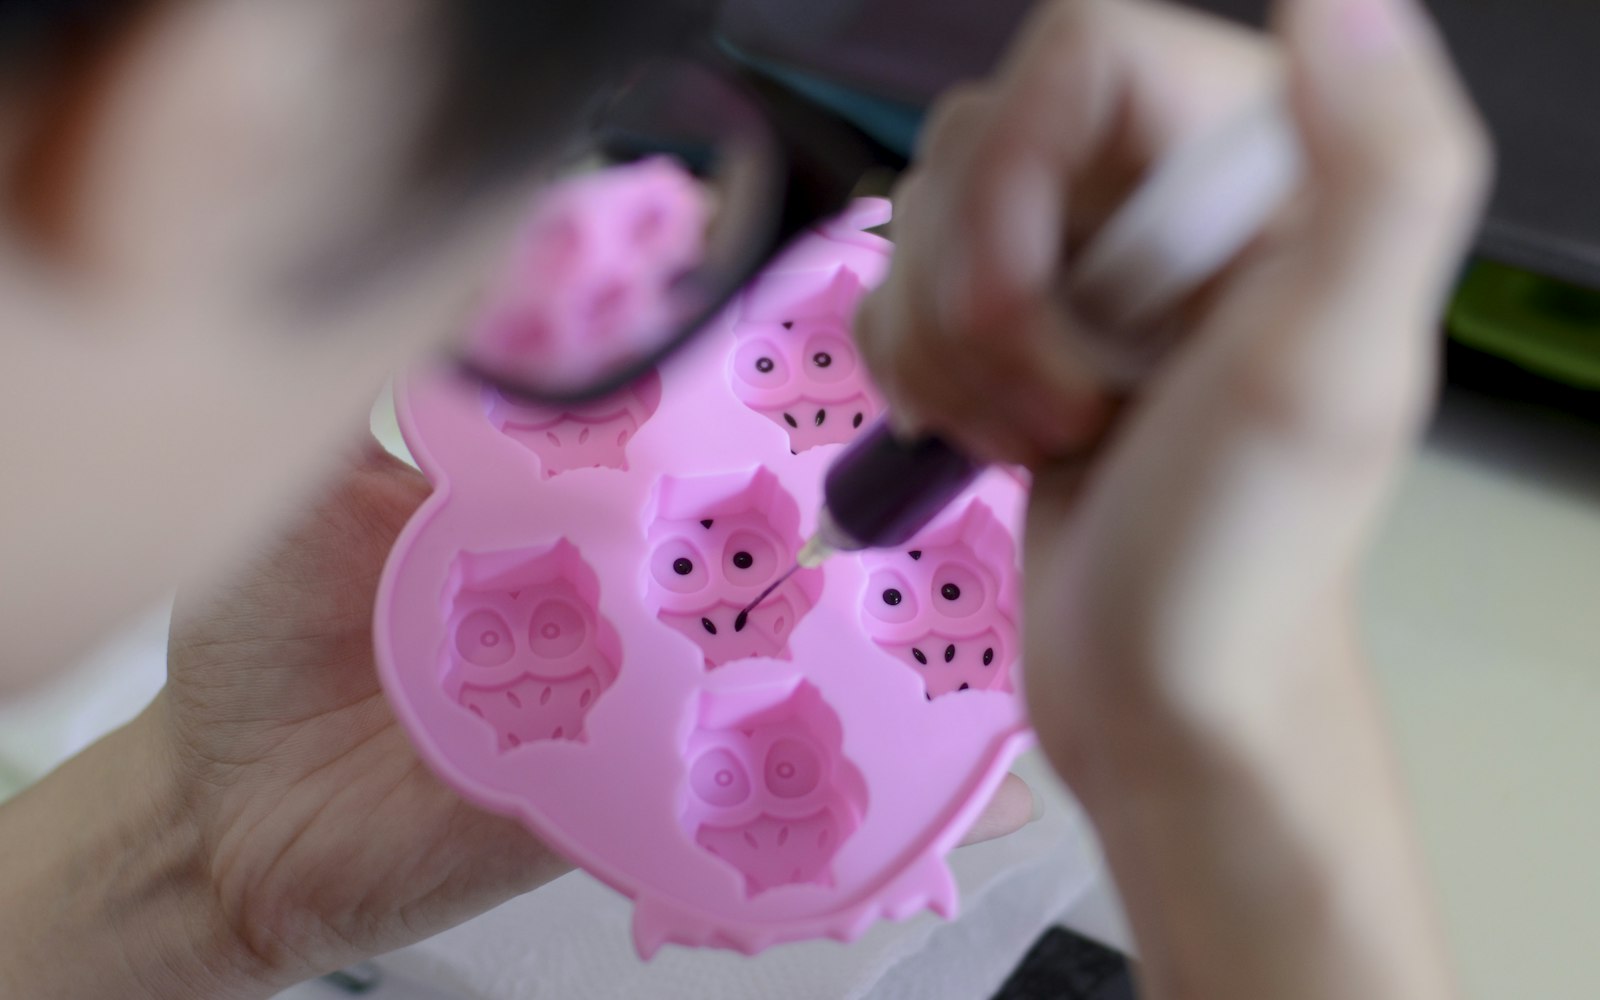
Three materials dominate prosthetic makeup, and each has a clear personality. Silicone looks and moves most like real skin, especially in close-up, and it is translucent enough to take paint convincingly. However, it is heavier than foam latex, more expensive and needs careful technique. Foam latex is light and very flexible, so it suits large pieces and creature work, but it is opaque and needs to be painted with care. It also requires an oven to cure, which adds equipment and time. Gelatin is affordable, translucent and easy to recast, but it melts with heat and sweat, so it suits shorter days and cooler sets. The table below summarizes the differences.
| Silicone | Foam latex | Gelatin | |
|---|---|---|---|
| Look | Most skin-like, translucent | Opaque; needs painting | Translucent |
| Weight | Heavier | Very light | Medium |
| Movement | Moves like skin | Very flexible | Flexible |
| Durability on set | High | Good | Sensitive to heat and sweat |
| Cost and setup | Higher material cost | Needs an oven | Affordable; reusable |
| Allergy note | Latex-free | Contains latex | Latex-free |
Choosing between them depends on the job, the performer and the budget. A close-up character on a long shoot often justifies silicone. A large creature head may need foam latex for its lightness. For a short theater run or a student film, gelatin may suit well. Meanwhile, always ask performers about latex allergies before choosing foam latex, and patch test every material and adhesive in advance. The FDA advises testing makeup at least 24 to 48 hours before use on a small area of skin. In practice, most professional workshops use all three materials, choosing piece by piece. Our guide to SFX wound makeup covers gelatin wounds built by hand.
You may also like
Special Effects Makeup Artist: How to Build an SFX Career in the US

You may also like
SFX Wound Makeup: Cuts, Bruises, Burns and Horror Effects
From life cast to appliance
Most custom appliances start with a life cast: a copy of the performer’s face or body made in alginate or skin-safe silicone and backed with plaster bandage. The life cast is then reproduced in a hard material, often a gypsum cement, to create a durable positive. Artists sculpt the appliance design in clay directly on this positive, so it fits the performer exactly. Next, they make a mold of the sculpture, clean out the clay and cast the appliance in silicone, foam latex or gelatin. Finally, they trim, seam and prepare the finished piece for application. Each step takes skill, and mistakes early in the chain show up at the end.
Sculpting
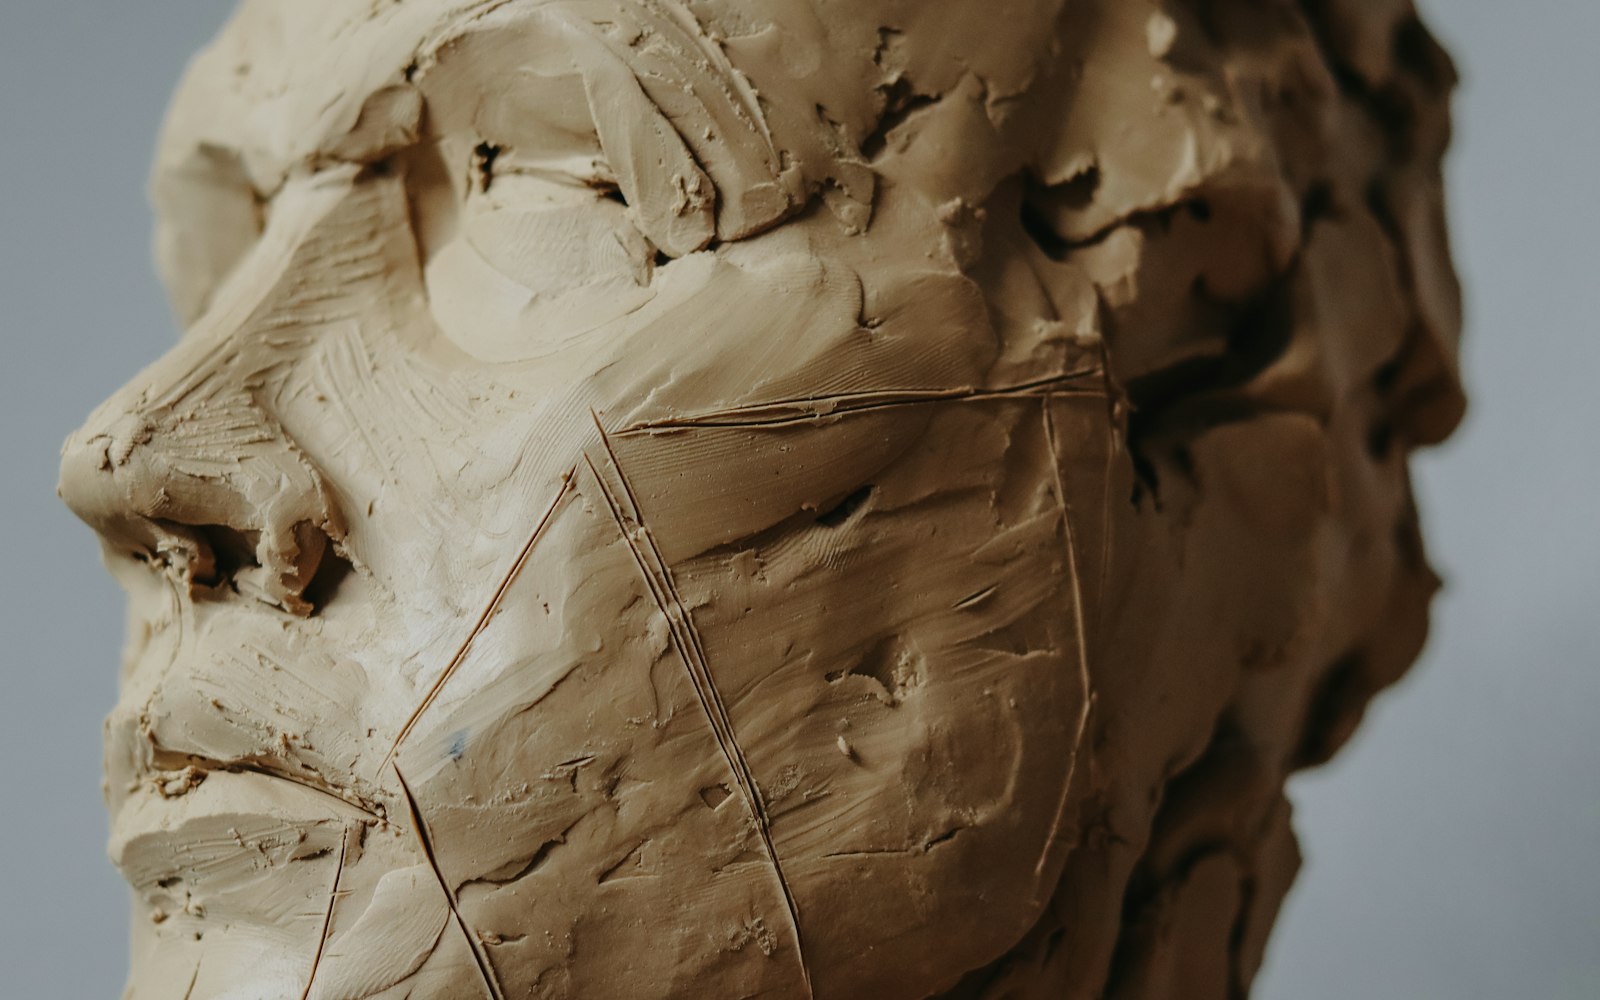
Sculpting is where the character is born. Artists use oil-based clay because it stays workable and holds fine detail, such as pores and wrinkles. Edges are sculpted very thin, so the finished appliance can blend invisibly into the skin.

Molding and the sulfur problem
Material compatibility matters. According to the silicone maker Smooth-On, cure inhibition happens when a surface contaminant stops a material curing as expected, and sulfur in clay is one common cause with silicone. For that reason, many prosthetic artists use sulfur-free clay when they plan to mold in platinum silicone, and they test any new combination first.
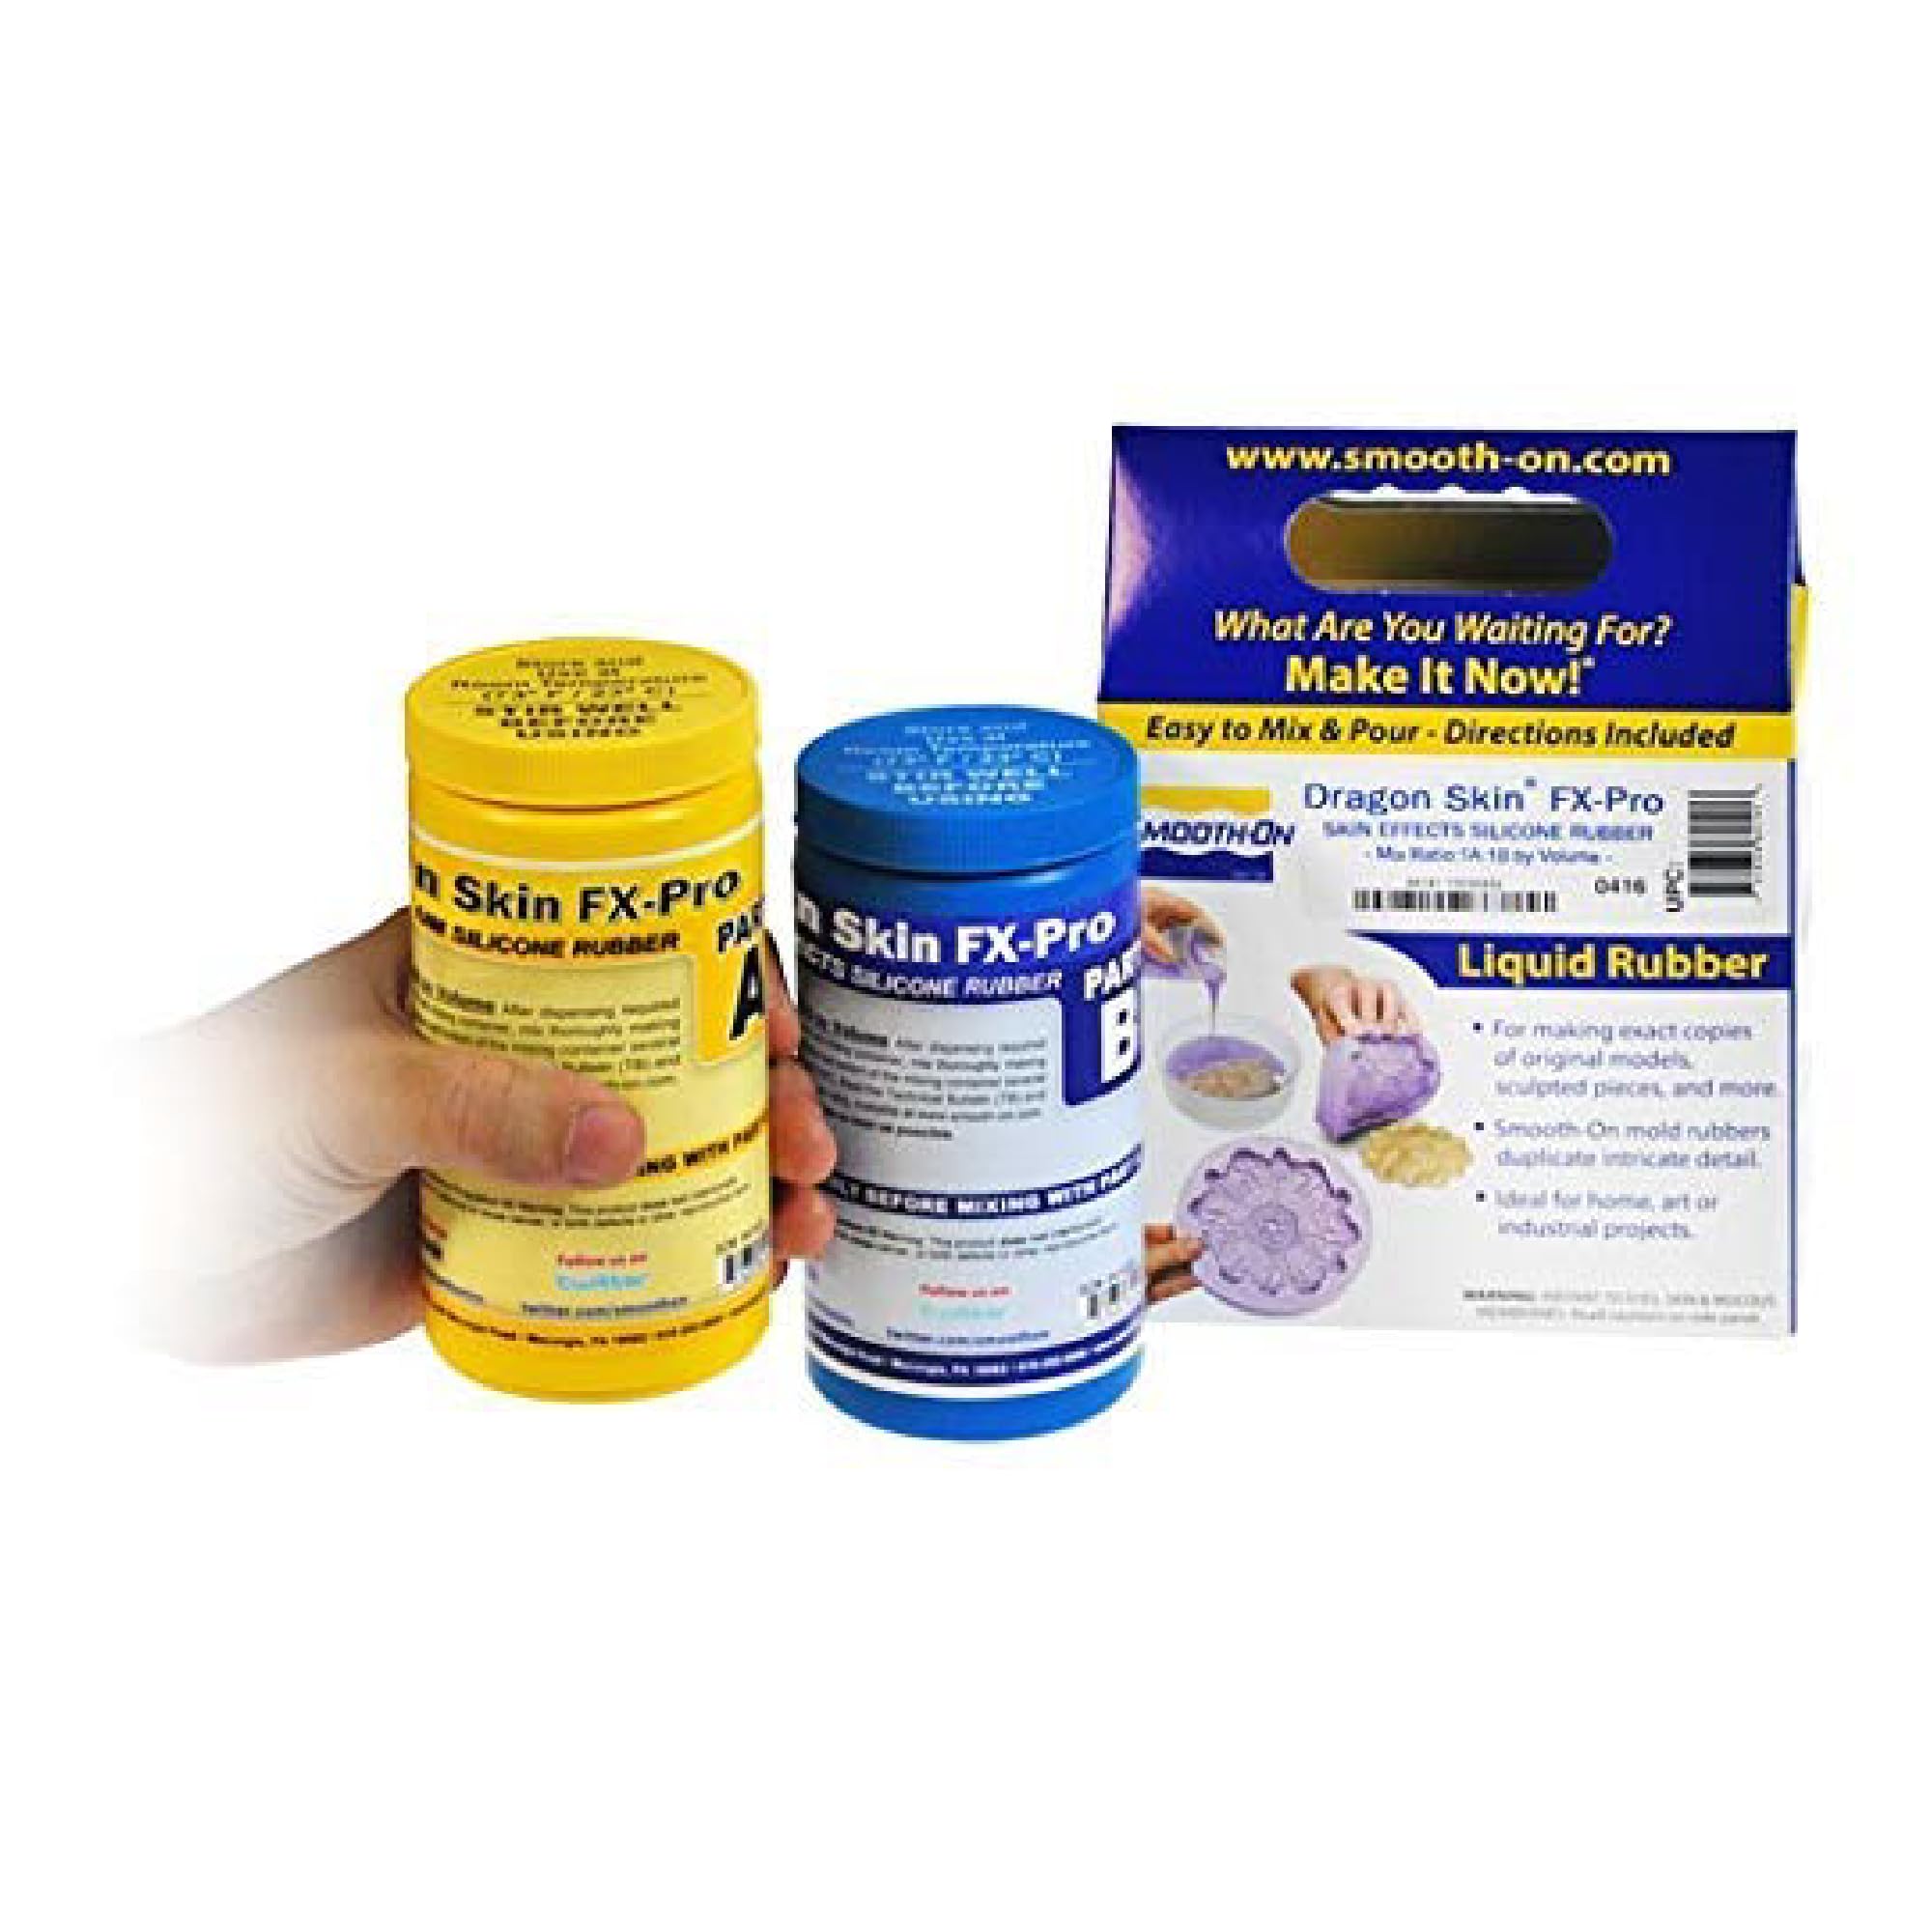
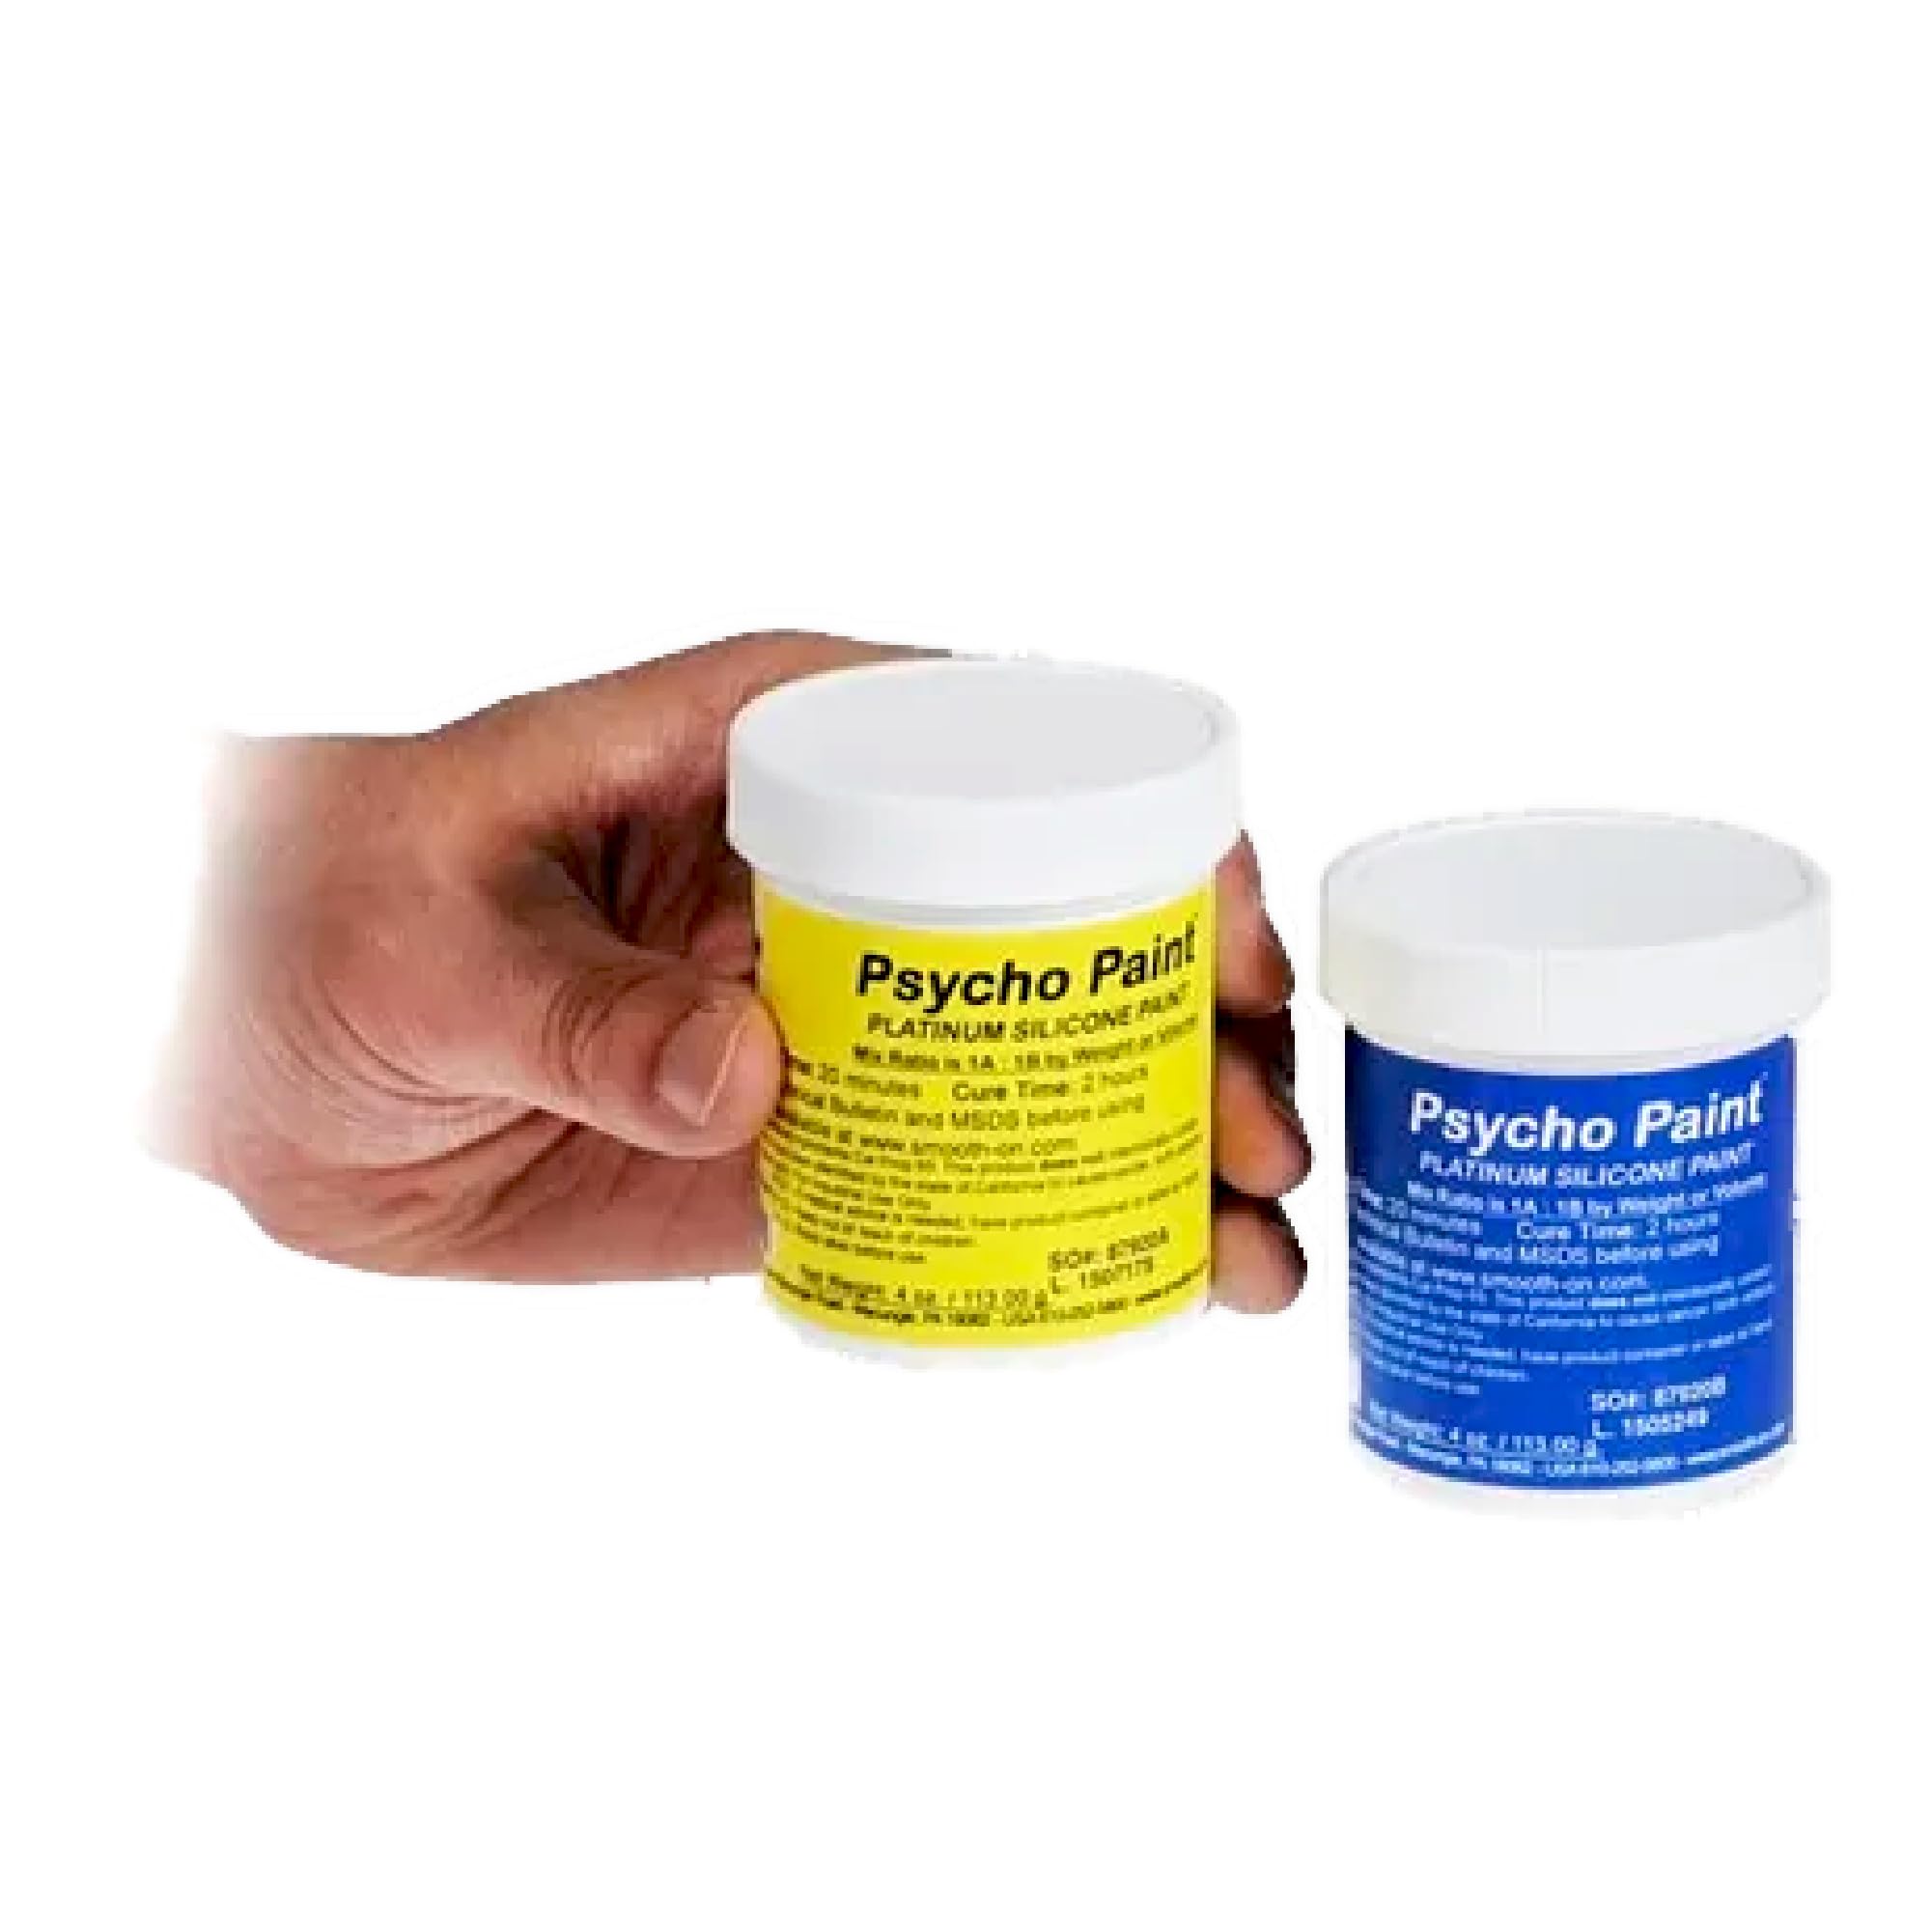
The workshop needs a small set of reliable materials. A platinum-cure silicone for appliances, a pigment base to color it, a strong adhesive for application, a sulfur-free clay for sculpting, a gypsum cement for durable positives and a good set of sculpting tools cover most beginner projects. Meanwhile, work in a ventilated space, wear the gloves the manufacturer specifies and read every technical data sheet before mixing. Measure carefully, because silicone systems depend on accurate ratios. In addition, keep notes of every mix, cure time and result, so you can repeat successes and avoid repeating mistakes. Start small, with simple pieces such as a scar or a nose, before attempting full faces. The products below are a starting kit for appliance work.
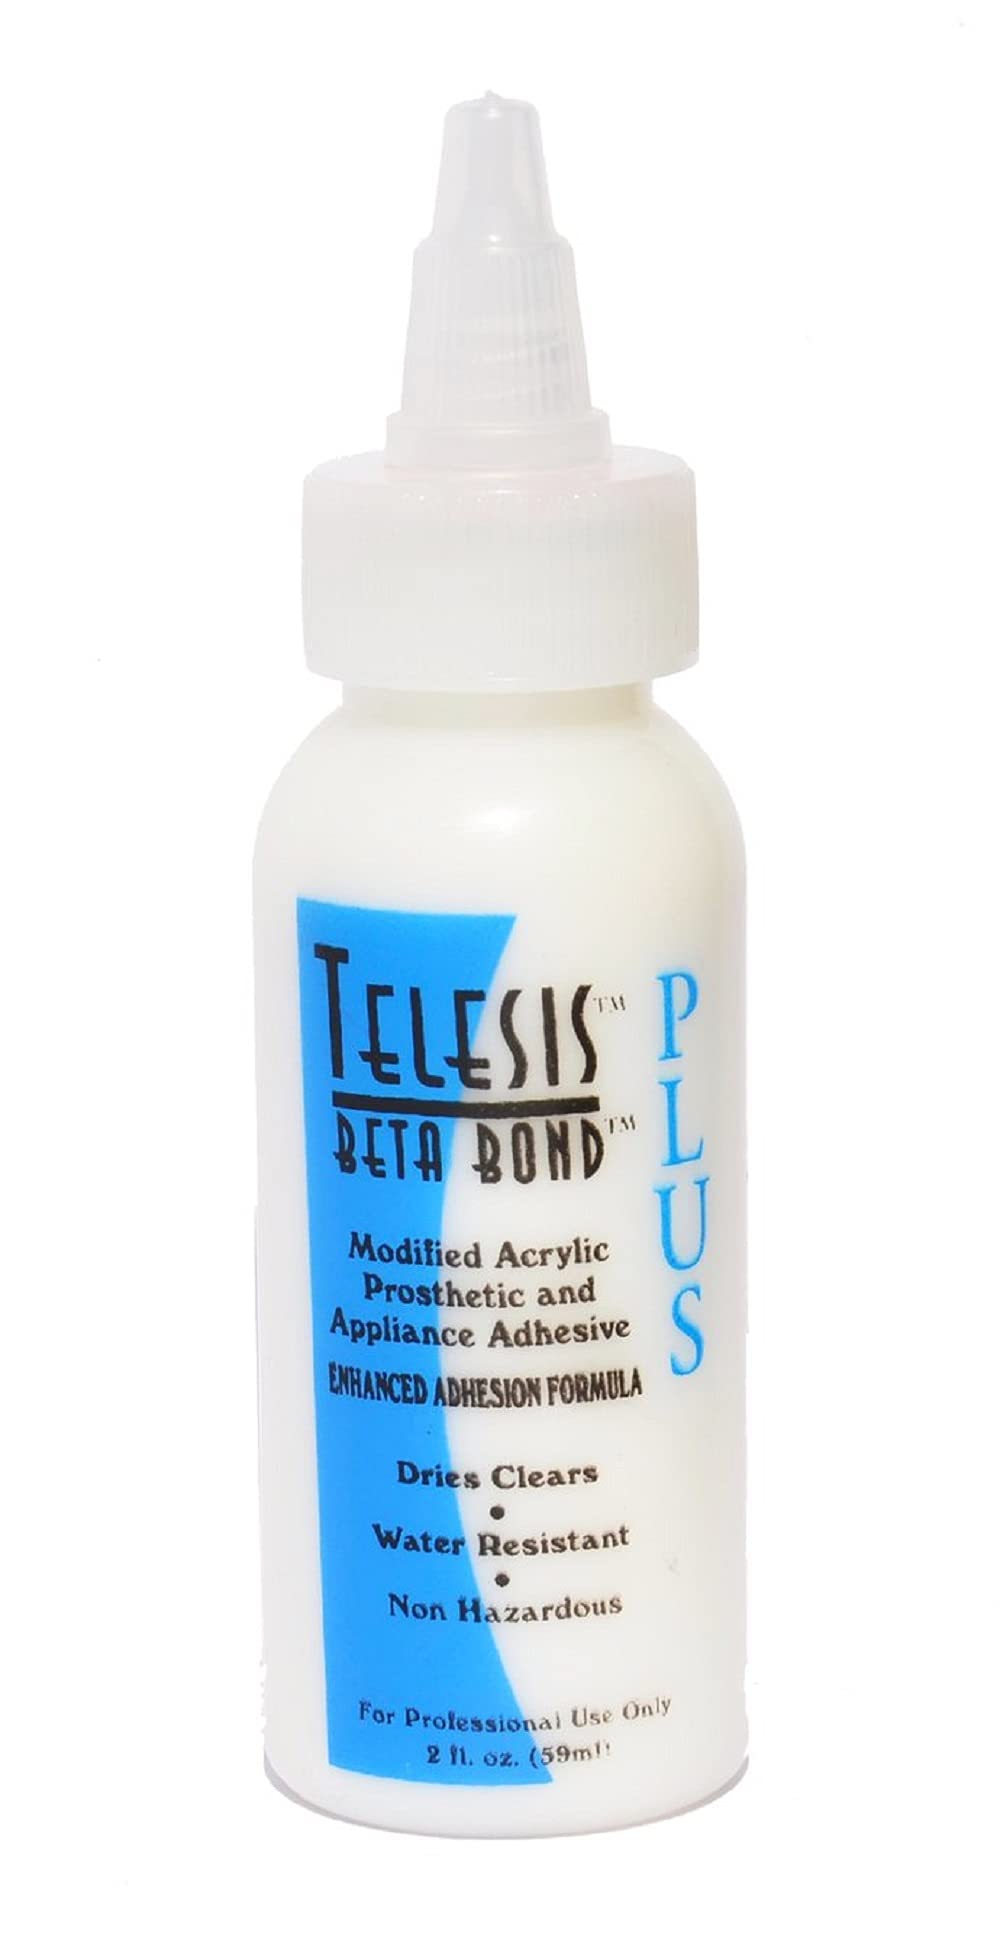
Material choice is only half of workshop success. The other half is preparation: clean molds, correct release agents and patient curing. Rushing a cure or skipping a release agent can ruin hours of sculpting in seconds. Meanwhile, plan the seam lines of each mold carefully, because seams are the hardest part of an appliance to hide. Keep your workspace tidy and label every container, since many materials look alike once decanted. In practice, the best prosthetic artists are as methodical as they are creative. They treat the workshop like a laboratory, with records, tests and careful timing. As a result, their appliances arrive on set ready to apply, with fewer surprises in the chair.
Clay, casting and tools
Sculpting clay, casting material and tools form the foundation of every appliance. A medium-firmness, sulfur-free oil clay suits most prosthetic sculpting, because it holds detail without being too hard to move. A gypsum cement makes durable positives that survive repeated molding. Meanwhile, a varied set of loop and rake tools, wooden modeling tools and fine detail tools lets you shape forms, carve wrinkles and add pores. Many artists also make their own texture tools from household items, such as citrus peel or crumpled foil. Start with a modest set and add tools as your style develops. Good tools last for years if you clean them after every session. The three products below cover clay, casting and tools.
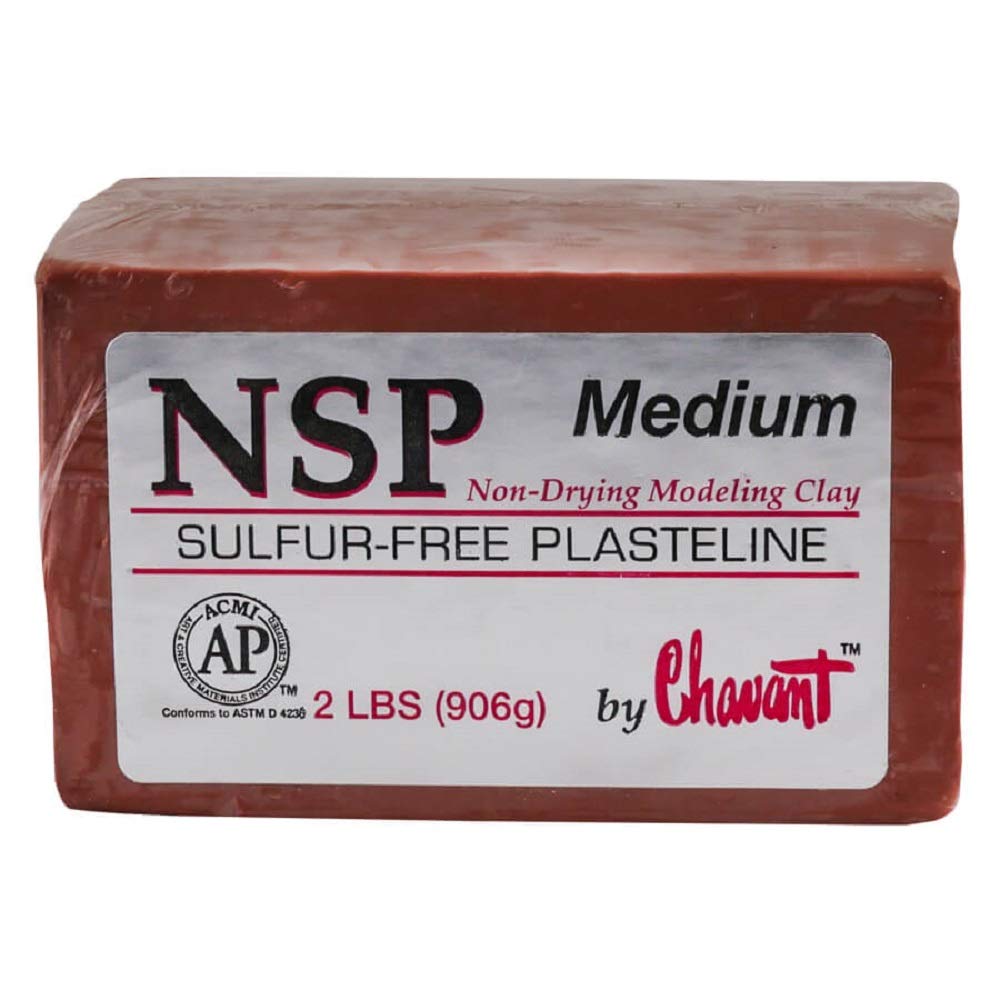
An oil-based, sulfur-free clay for sculpting appliances.
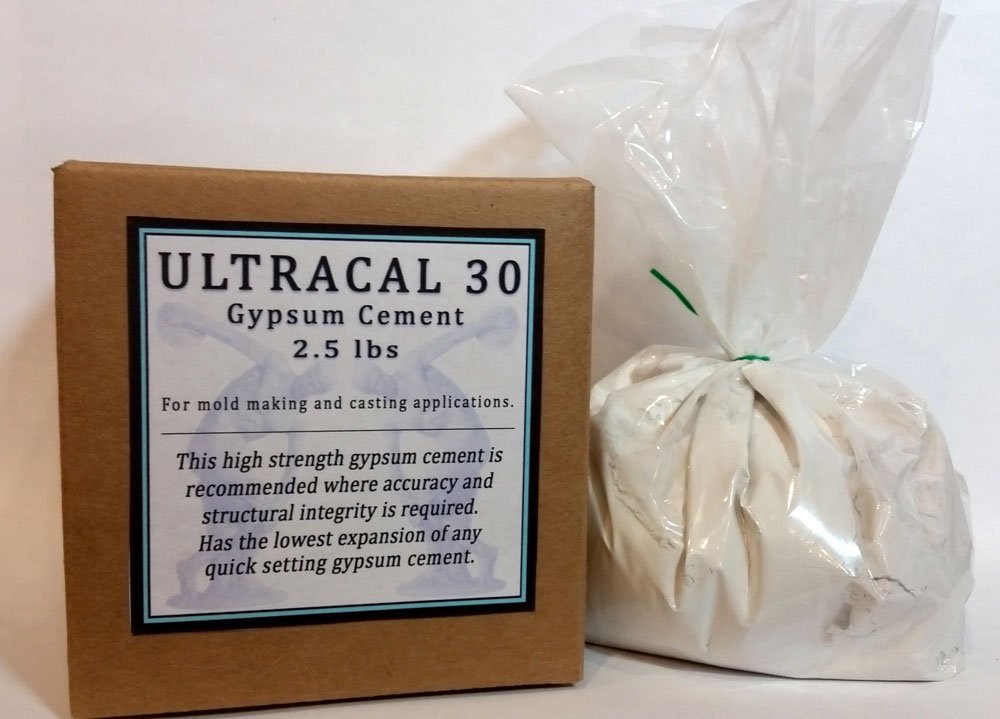
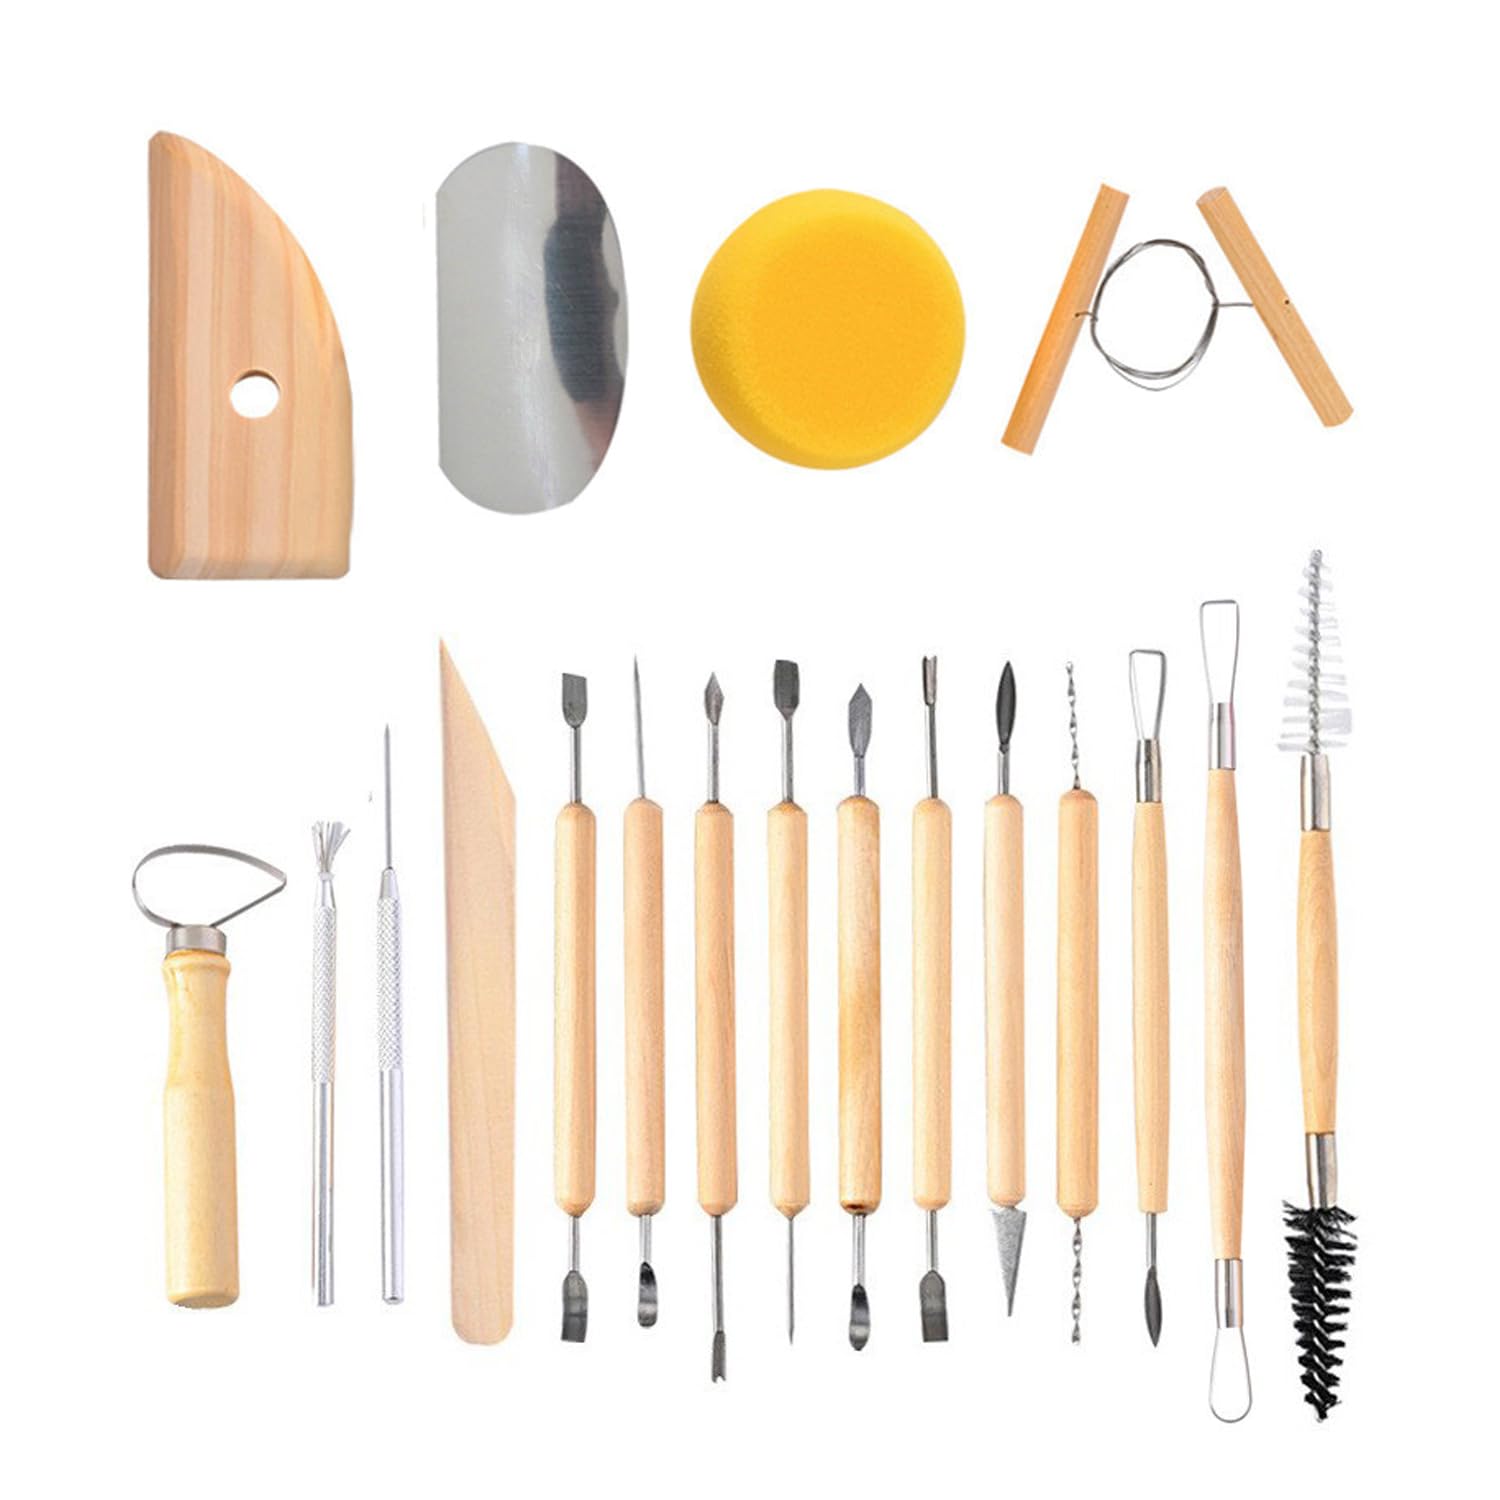
Loop, rake and detail tools for shaping clay.

Texture is what makes a sculpt read as skin. Real skin has pores, fine lines and subtle variations that change across the face, from the smooth forehead to the textured nose and the creased eyelids. Study close-up photographs of real skin before you sculpt, and copy the direction of lines and the size of pores in each area. Meanwhile, keep texture consistent across the edges, so the appliance blends into the performer’s own skin. Too much texture looks rough on camera, while too little looks like plastic. In addition, sculpt with the camera in mind: fine detail matters more in close-up work than for theater, where audiences sit at a distance. Our guide to on-camera makeup explains how high-resolution cameras change what shows.
Applying prosthetic makeup
Application is where the workshop meets the performer. Start with clean, oil-free skin and patch test the adhesive beforehand. Position the appliance carefully, gluing from the center outward, so it sits flat without trapped air. Then blend the edges into the skin with a solvent or edge-blending product suited to the material, until the line disappears. Finally, paint the appliance to match the skin, building color in thin layers that mimic natural variation: redness, veins, freckles and shadow. Check the result from every angle and on the monitor if you are on set.
- Clean and dry the skin; patch test the adhesive in advance.
- Place the appliance and glue from the center outward.
- Seal and blend the edges until they disappear.
- Paint in thin layers to match the skin.
- Add hair, stubble or texture where needed.
- Check on camera and photograph for continuity.
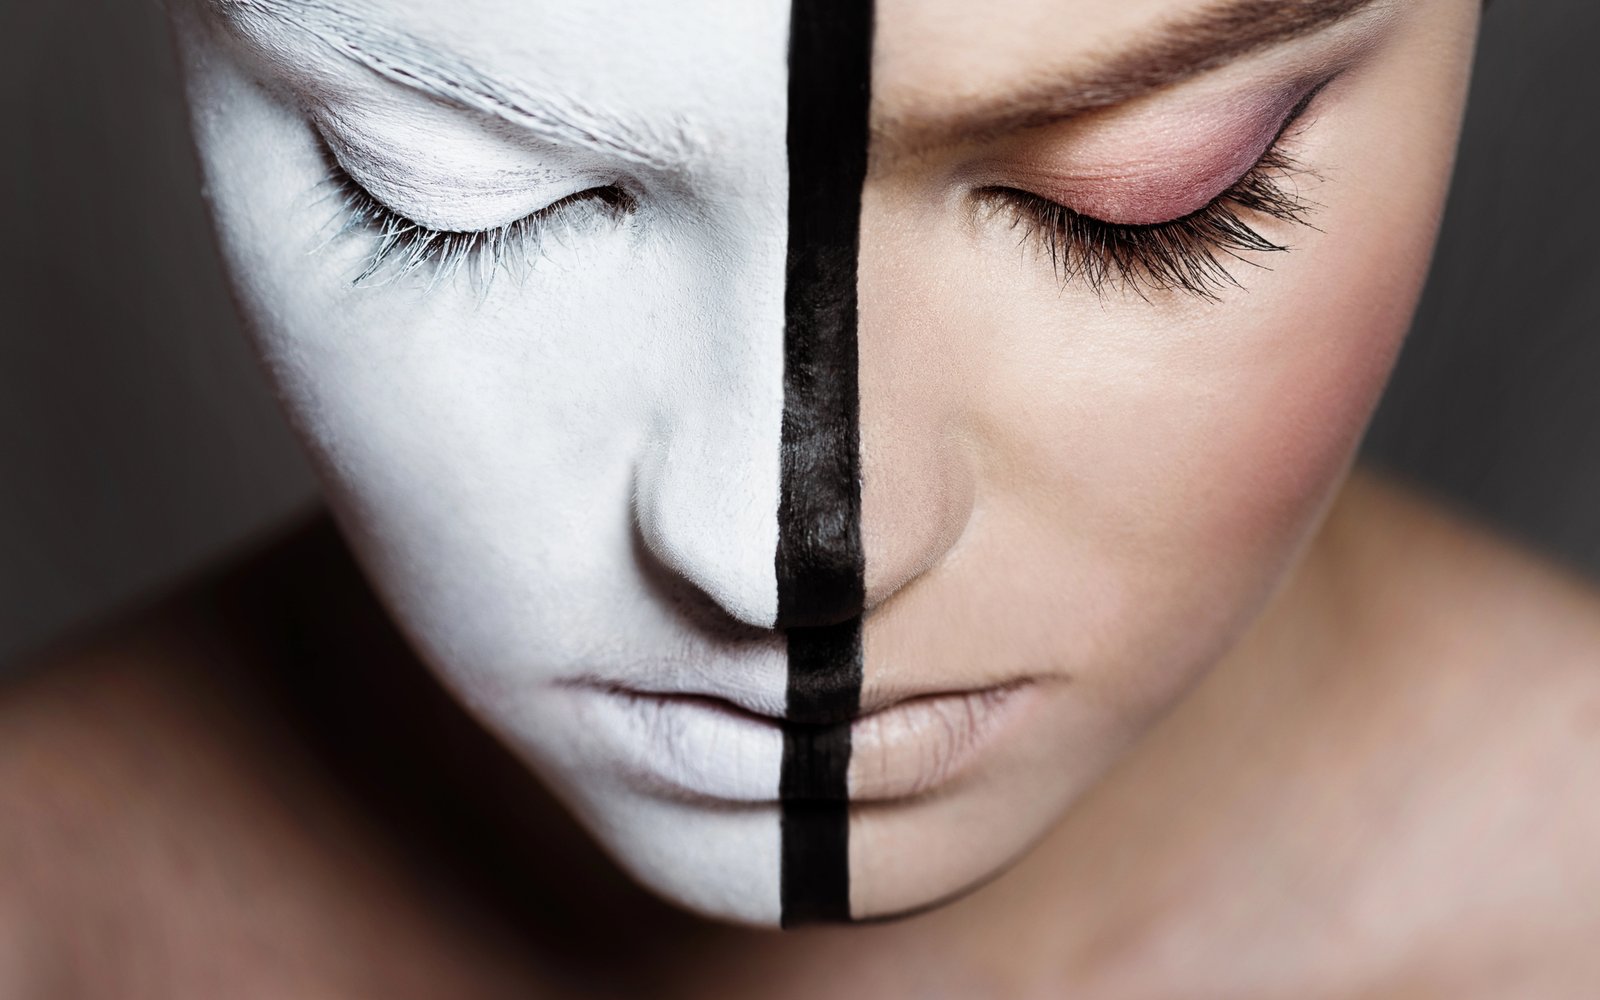
Painting is where many appliances succeed or fail. Real skin is not one color; it has warmth on the cheeks, coolness under the eyes, tiny broken capillaries and freckles. For that reason, paint with several translucent layers rather than one opaque coat, and stipple rather than brush, so the color sits like skin. Silicone appliances are often colored intrinsically during casting and then painted on the surface with silicone-based paints. Meanwhile, foam latex needs an opaque base first, because it is not translucent. Always compare the finished piece with the performer’s skin in the shooting light. Our guide to airbrush makeup covers airbrushed color, which many effects artists use on appliances.
Removal and skin care
Removal deserves as much care as application. Strong adhesives hold appliances through long days, so they need the right remover and patience to release them without damaging the skin. Work slowly, applying remover under the edge and letting it soak before lifting, rather than pulling. Then clean away adhesive residue and finish with a gentle cleanser and moisturizer. Meanwhile, check the skin for redness or irritation, and note any reaction for the next day. A performer who leaves the chair comfortable will trust you through a long shoot. For that reason, keep removal products in your set kit, not just in the trailer. Two removers cover most needs: a strong one for heavy bonds and a gentler one for residue.
Telesis Super Solv — remover for strong adhesives
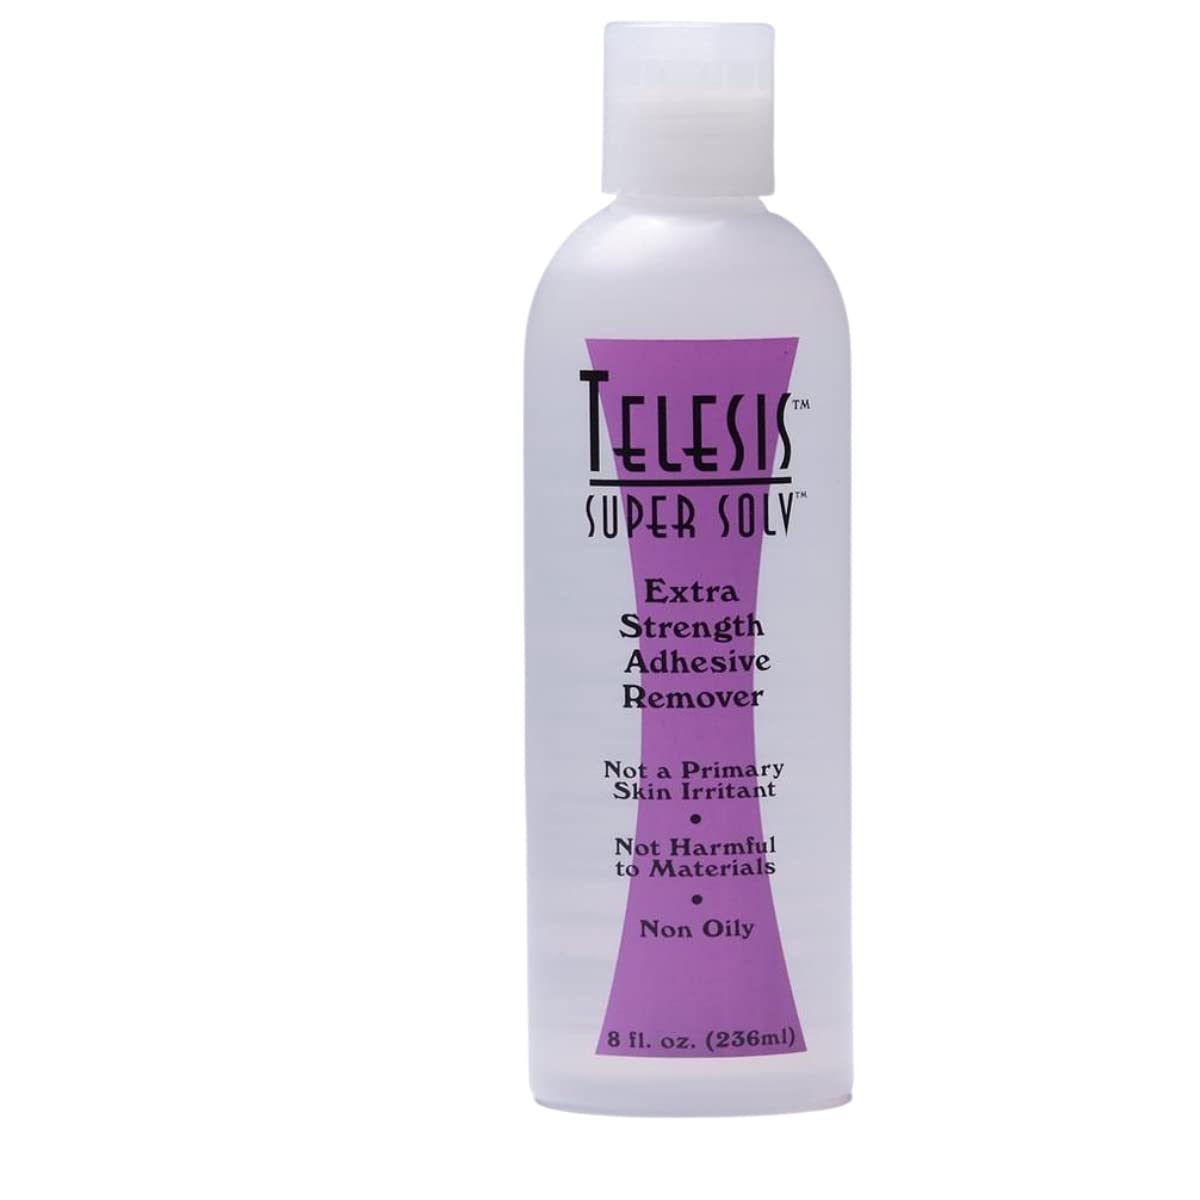
A remover made to release strong special effects adhesives, including Telesis bonds. It lets you lift appliances slowly at the end of the day without pulling the skin, and it cleans adhesive residue from the edges.
Not every job needs a strong solvent. For lighter adhesives, makeup and residue around the eyes and hairline, many artists prefer a gentler remover that is easy to spread and wipe away. Isopropyl myristate is a common choice in effects kits, because it breaks down many adhesives and makeup without the sting of stronger solvents. Meanwhile, keep both types in your kit and choose according to the adhesive and the skin. Test any remover on a small area first, especially on sensitive skin. Finally, wash brushes and tools after each removal, because residue builds up quickly and contaminates the next application. Good removal habits protect your performers and your reputation.
Isopropyl Myristate Remover — a gentler option for residue
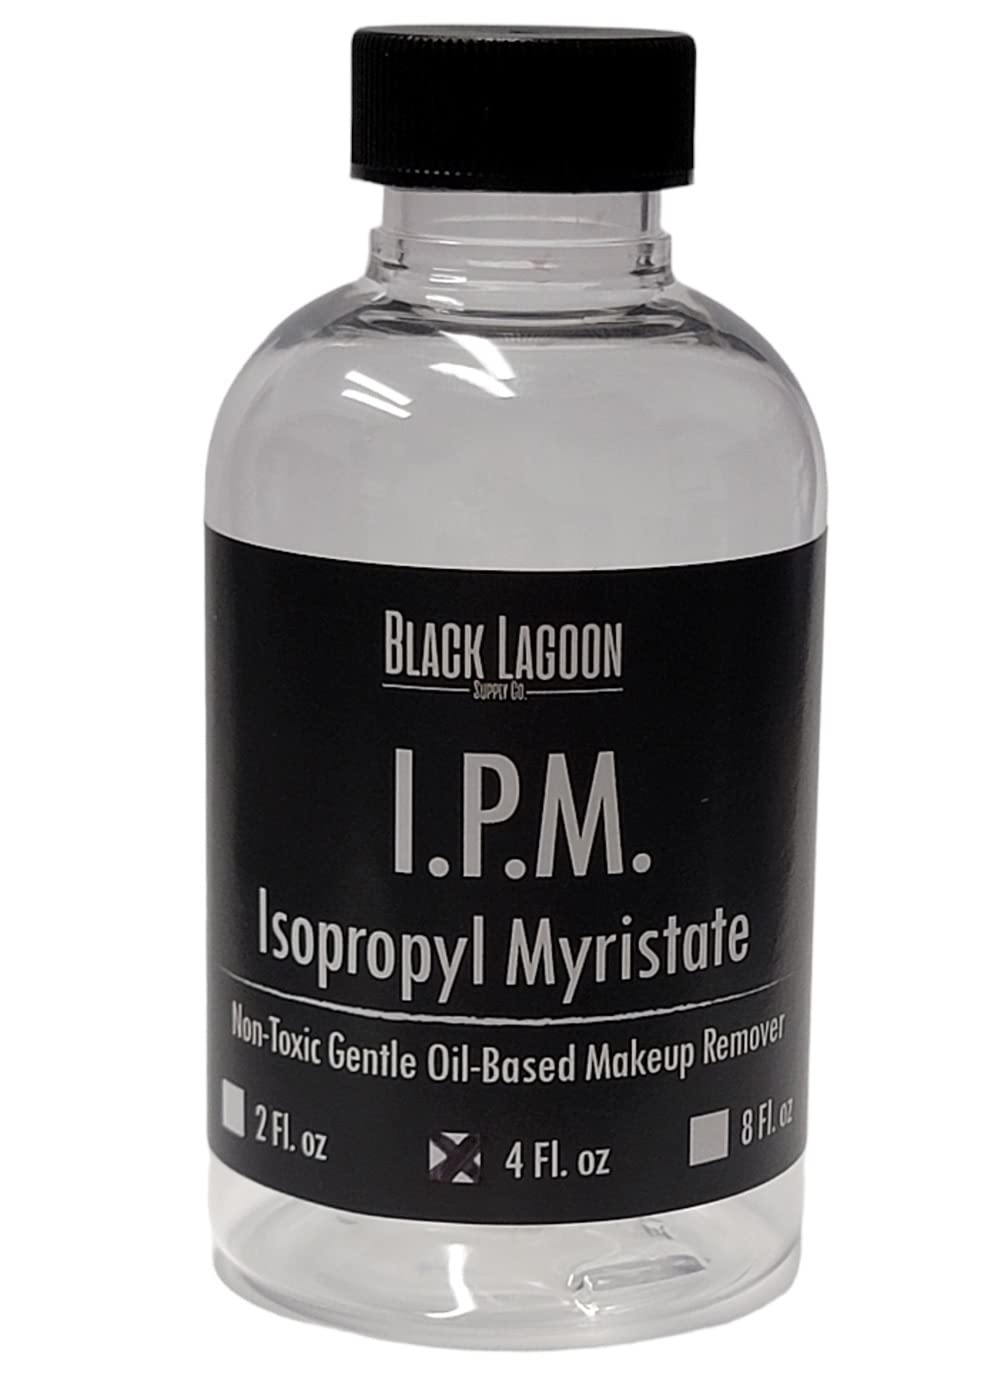
A professional makeup and adhesive remover based on isopropyl myristate. It breaks down many adhesives and makeup for gentle cleanup around the hairline, ears and eyes, and suits daily removal on long shoots.

Common prosthetic makeup projects
Most artists learn through a set of classic projects, each teaching a different skill. A scar or small wound teaches thin edges and painting. A nose teaches fit, blending and symmetry. Old-age appliances teach texture and anatomy, because aging must follow the real structure of the face: sagging under the jaw, deepening folds and thinning lips. Creature pieces teach design, scale and movement, because performers must still talk and emote through them. Meanwhile, bald caps teach edge work across a large area. Work through these projects in order, and photograph each result in daylight and on camera to judge it honestly. Over time, the skills combine into full character transformations.
Aging a face convincingly
Old-age work is a useful test of anatomy and restraint. Aging does not simply add wrinkles; it changes how the skin sits over bone. Cheeks lose volume and drop, the jawline softens, the nose and ears can look larger and the skin around the eyes thins and folds. For that reason, study photographs of the performer’s older relatives where possible, because aging often follows family patterns. Then sculpt the changes over the real structure of the face rather than drawing lines on top. Painting finishes the effect, with age spots, broken capillaries and uneven tone. Meanwhile, remember that hair and hands age too. A young pair of hands in shot can undo a careful face, so plan for gloves, hand appliances or framing.


You may also like
Breaking Into Film and TV Makeup: IATSE Local 798 and Local 706
You may also like
Airbrush Makeup for Professionals: Machines, Foundations and Technique
On set, prosthetics bring their own routines. Application calls are early, often hours before the rest of the cast, and the makeup must be maintained through heat, movement and repeated takes. For that reason, effects artists carry a touch-up kit with adhesive, edge blender, paints, remover and spare appliances. Meanwhile, continuity is essential: photograph each application and keep notes of paints, placement and adhesive. Many productions run several copies of each appliance, because pieces tear or degrade with use. Our guide to the film and TV makeup unions explains how effects artists work on union productions. In short, prosthetic work rewards planning as much as artistry. Artists who plan well also finish on time, which producers notice and remember.
How to learn prosthetic makeup
Prosthetic makeup is learned through practice, mentorship and formal training. Many artists start with online tutorials and simple projects, then take specialist courses that teach life casting, sculpting and mold making in a workshop. Our ranking of the best makeup schools includes several programs with strong effects departments. Meanwhile, assisting in an effects workshop is one of the fastest ways to learn, because you see professional processes and standards every day. Books by experienced effects artists also help, and our list of books for makeup artists includes several. Above all, build a portfolio that shows the process as well as the result: sculpts, molds, castings and finished applications. Effects conventions and trade shows are also useful. There, you can watch demonstrations, meet suppliers and see professional work up close.

Safety runs through every stage of learning. Many prosthetic materials and solvents need ventilation, gloves and eye protection, and some cause skin reactions. Read the technical data sheet for every product before you use it, and follow the manufacturer’s instructions on mixing, curing and handling. Meanwhile, keep a first-aid kit and the relevant safety information in your workshop. Never use materials on skin that are not made for skin, even if they look similar. In addition, store materials safely and away from heat, as many are flammable or sensitive to temperature. Check expiry dates, because old silicone and adhesive can fail without warning. Good safety habits protect you, your assistants and every performer in your chair.
Building a portfolio
A prosthetic portfolio needs to show more than finished faces. Producers and workshop supervisors want to see how you work, so include the stages behind each piece. Show the life cast, the sculpt in progress, the mold, the raw casting and the final application. Then add clean photographs of the finished character in neutral light, taken straight on and from both sides. Close-ups of edges matter, because seamless blending is the skill most people judge first. Keep each project short, with five to eight images and a line about the materials. In addition, include one or two pieces on camera, ideally in motion, so viewers can see how the appliance moves. Finally, update the portfolio often and remove weaker early work as your skills improve.
Pricing workshop time
Pricing prosthetic work is different from pricing beauty bookings. Much of the work happens before the shoot day, in the workshop, and it is easy to undercharge for it. Count every stage: life casting, sculpting, mold making, casting, trimming, painting and application. Then add materials, which can be costly for silicone and molds, and add a margin for spares. Productions usually expect more than one copy of each appliance, so quote for duplicates from the start. Meanwhile, agree the number of revisions and the delivery date in writing. Keep records of how long each job took, so your next quote is more accurate. Over time, those records become one of the most valuable tools in your business.
A craft of patience
Prosthetic makeup is one of the most demanding branches of makeup artistry, and one of the most rewarding. It brings together sculpture, chemistry and painting to change how a person looks, convincingly enough that audiences forget they are watching makeup. It also connects you with a wide community of sculptors, mold makers and painters. Start with the basics: learn the three main materials, practice simple appliances and master application and removal. Then build your skills project by project, keeping careful notes and photographs. Share your work with peers and ask for honest critique. Over time, those small projects add up to a portfolio that productions trust. Above all, be patient, because every great prosthetic artist began with a lopsided first nose. Keep that first nose, too. It is a useful record of how far your work has come.

Tools and library


The three tools above support the business around your prosthetic work. The calculator helps you price workshop time, materials and application days, which are often underestimated in effects work. Meanwhile, the quiz helps you decide whether effects, film beauty or another specialty suits you best. The library gathers the career guide, notebooks and workbooks, including pages for workshop notes, mix records and continuity. Start with the calculator if you are quoting your first prosthetic job. If you are still choosing a direction, start with the quiz. It takes a few minutes and points you toward the guides that fit your answers. Either way, revisit all three as your workshop and your bookings grow. They are free to use, and they sit alongside the career guide below.

From the Artist Library
Effects skills open doors. The guide covers pricing, contracts, agencies, kit economics and the first five clients, in plain terms.
Questions worth asking
What is prosthetic makeup?
The use of sculpted appliances, usually silicone, foam latex or gelatin, glued to the skin and painted to change the shape of a face or body.
Which is better, silicone or foam latex?
Silicone looks and moves most like skin and suits close-ups; foam latex is lighter and suits large pieces. Many workshops use both, piece by piece.
How are prosthetic appliances made?
Artists take a life cast, sculpt the design in clay on a hard positive, make a mold, cast the appliance and then trim and paint it.
Why use sulfur-free clay?
Sulfur can stop some silicones curing, according to silicone maker Smooth-On. Artists molding in platinum silicone often use sulfur-free clay and test first.
How do you remove prosthetic makeup?
Apply the remover made for your adhesive under the edges, let it soak, lift slowly without pulling, then clean residue and moisturize.
Is prosthetic makeup safe?
Use materials made for skin, patch test 24 to 48 hours ahead, ask about latex allergies and follow each product’s safety instructions.
