
The Artist · Craft
A convincing wound is a small piece of sculpture, painting and storytelling at once. It has to sit flush with the skin, match the light and tell the audience how the injury happened. SFX wound makeup is where many effects artists begin, because it teaches texture, color and edges with simple materials. This guide, part of the hub for professional makeup artists, covers the kit, safety, cuts, bruises, burns and blood, plus how wounds hold up on set.
It is written for training and working artists. The techniques are for performance, film and theater work on consenting adults, with products made for skin.
The short answer
Most SFX wound makeup is built from a few materials: scar wax for shallow cuts, liquid latex and tissue for raised or peeling skin, gelatin for deeper wounds, and cream colors and stage blood to finish. Patch test every product first, blend edges until they disappear, color from the inside out and add blood last. Photograph each wound for continuity if it has to be repeated.
In this guide

What you need for SFX wound makeup
A basic wound kit is smaller than most artists expect. The core materials are a modeling wax for cuts and a liquid latex for raised skin. Add a gelatin or silicone for deeper wounds, cream colors for bruising and two or three stage bloods. Add a spatula, a palette, cotton swabs, stipple sponges, tissue, translucent powder and a sealer. Meanwhile, keep removal products and adhesive remover in the same kit, because removal is part of the job. Above all, buy products made for skin and for theatrical use, not craft supplies. Quality matters more than quantity: three good bloods beat a shelf of cheap ones. As your work grows, add a bruise wheel, alcohol-activated paints and silicone kits.
Safety first: patch tests and products
Every SFX wound makeup look starts with safety, because the most realistic effect is worthless if it hurts the performer. The FDA advises testing makeup at least 24 to 48 hours in advance by putting a small amount on the arm of the person who will wear it. Redness, swelling, a rash or other irritation is a sign of a possible allergy. The FDA also explains that color additives in cosmetics, including theatrical makeup, must be approved for their intended use, which matters especially around the eyes. In practice, check labels and keep blood and color away from the eyes unless the product is made for them. Ask every performer about allergies, including latex. Finally, keep adhesives and solvents ventilated and away from open flames.
Adhesives and removers
Adhesives hold wax, latex pieces and appliances in place, and each has a matching remover. Spirit gum is the traditional choice and comes off with its own remover. Water-based and medical-grade adhesives are gentler for sensitive skin and long days. Whatever you use, apply it thinly, let it become tacky before pressing anything into it and never pull an appliance off dry skin. Keep a written note of which adhesive went where, so removal at the end of the day is quick and comfortable.

Cuts and slashes with scar wax
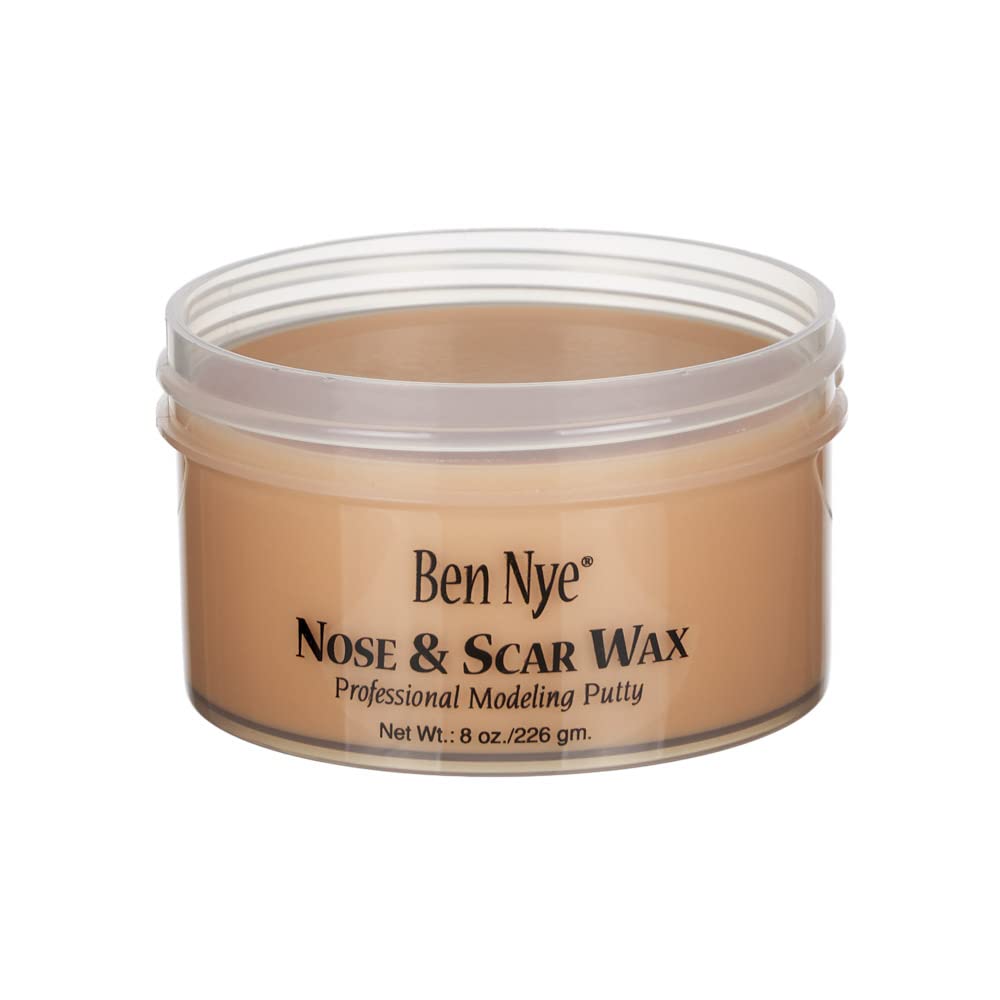
Scar wax, also called nose and scar wax or modeling wax, is the classic material for shallow cuts. It is soft, cheap and easy to correct, which makes it ideal for practice. The trick is the edge: the wax must melt into the skin so the audience sees a wound, not a lump. Work on clean, dry, oil-free skin, and keep the wax thin. Thick wax looks like a growth and moves when the performer speaks. Wax cracks with movement. For areas such as the mouth or the inside of the elbow, choose a flexible material instead. Practice on a forearm first, where the skin is flat and easy to see, then move to the face once the edges disappear reliably.
Step by step
- Clean the skin and apply a thin layer of spirit gum or a skin-safe adhesive, then let it become tacky.
- Warm a small piece of wax between your fingers and press it onto the area in a thin, even oval.
- Blend the edges into the skin with a spatula and a little moisturizer or petroleum jelly until they vanish.
- Cut the wound into the center with the spatula, then open the edges slightly.
- Seal with a little powder or sealer, then color with a skin-tone base and a red-brown inside the cut.
- Add thick blood inside the wound and a little flowing blood below it.
You may also like
Special Effects Makeup Artist: How to Build an SFX Career in the US
You may also like
Movie Makeup Transformations and the Artists Behind Them
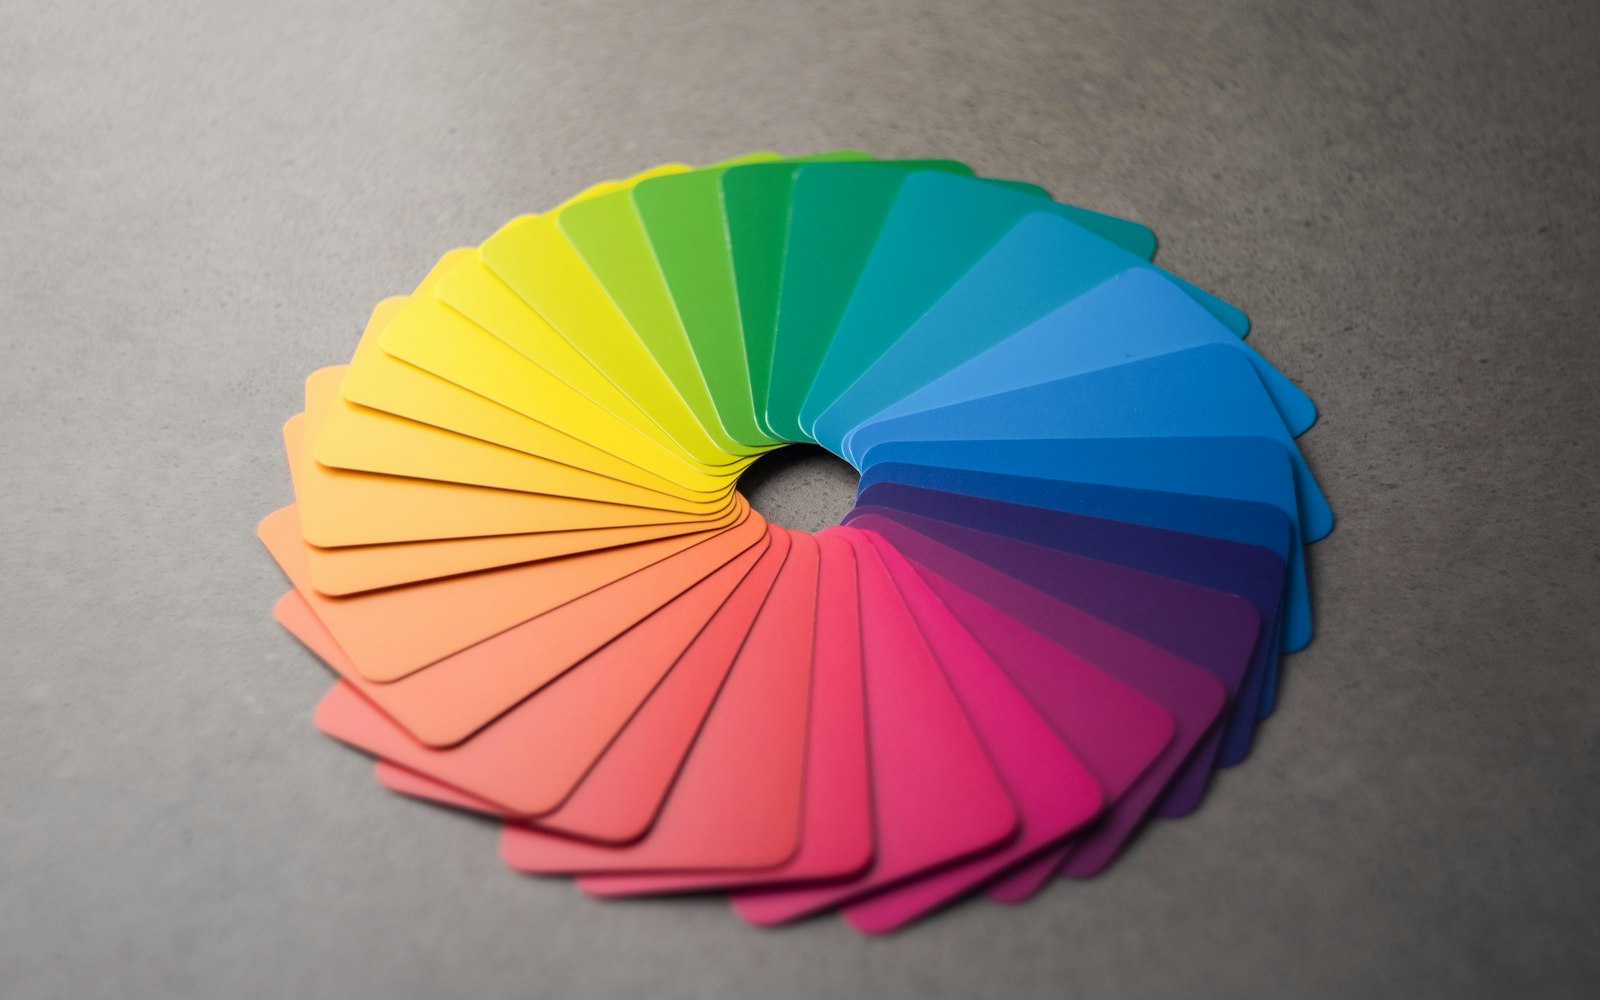
Color is what makes a cut believable. Real wounds are not one red. They have dark depths, lighter edges, a ring of irritated skin around them and, after a while, clotted areas that look almost black. For that reason, build color in layers. Use a deep red-brown in the center and a brighter red at the edges. Then blend a soft pink-purple halo out onto the skin. Keep the halo subtle, because too much redness reads as a rash rather than an injury. Our guide to color theory for makeup artists explains why these combinations work. Finally, judge the wound from a distance as well as up close, since cameras and audiences rarely see it at arm’s length.

Raised skin and burns with liquid latex
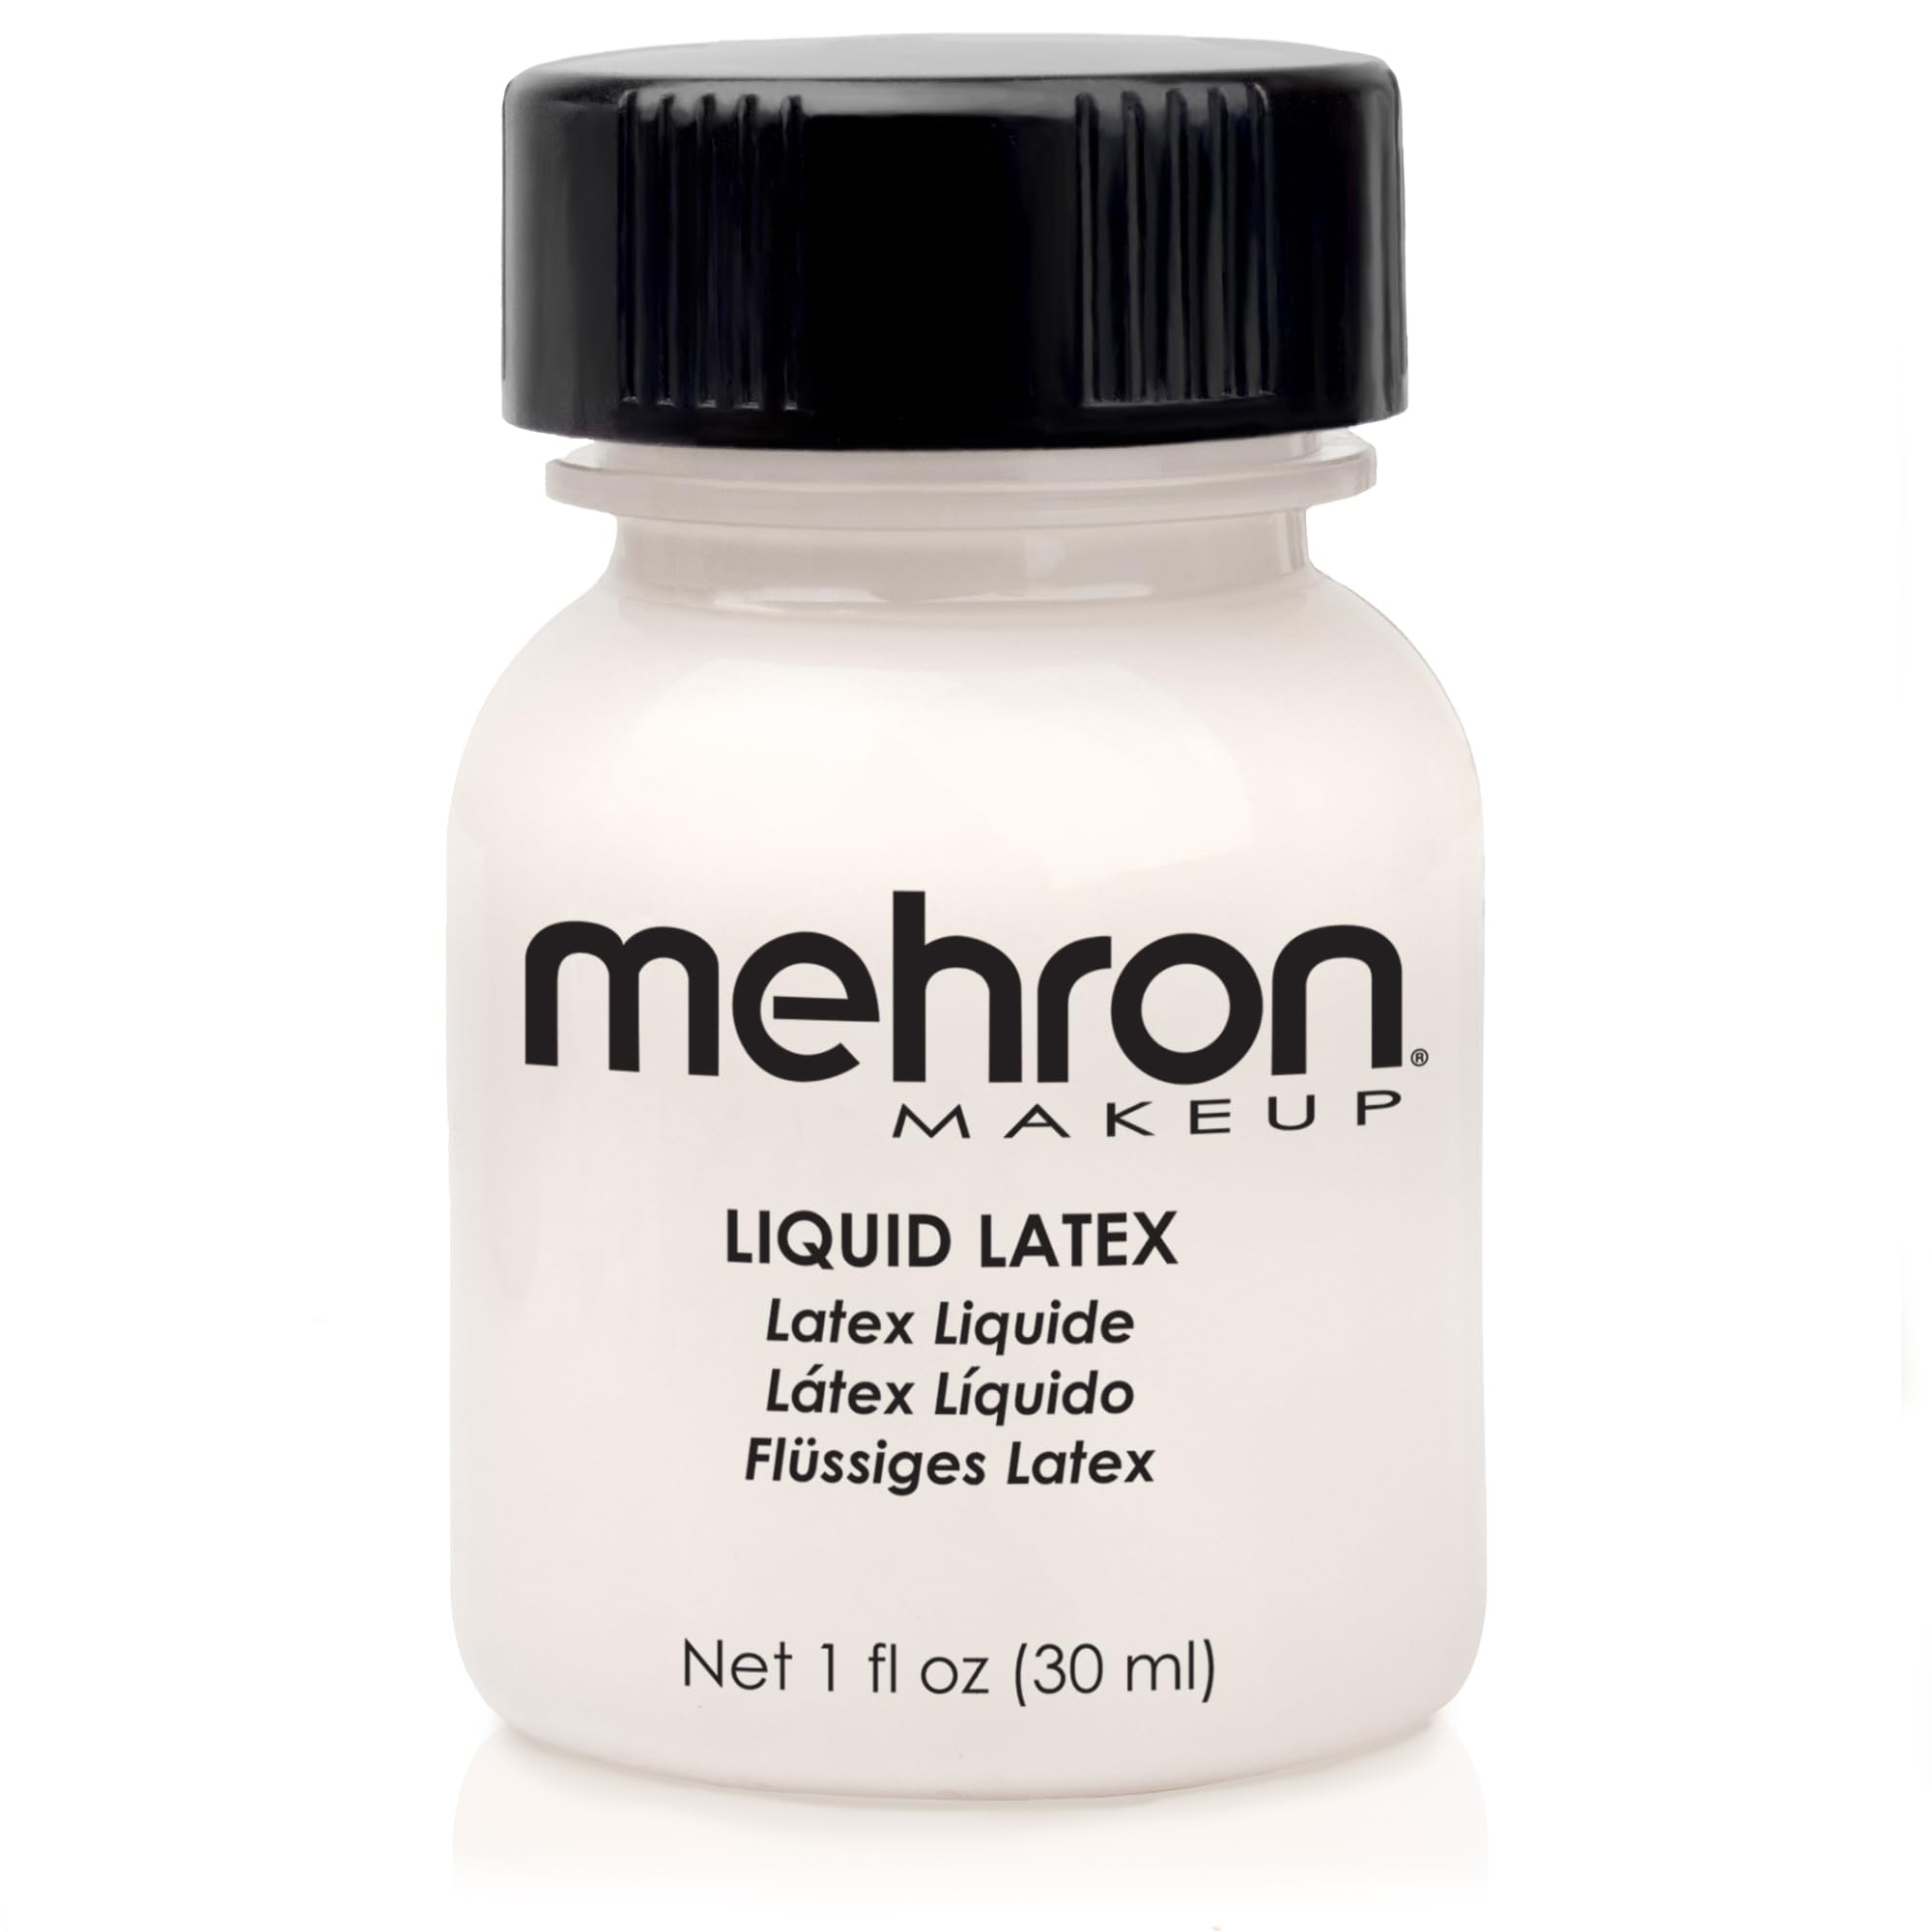
Liquid latex is the workhorse for raised, torn and peeling skin. Painted in thin layers with tissue between them, it builds a flexible skin that can be torn, wrinkled or blistered. For a torn-skin wound, apply two or three layers of latex and tissue, letting each dry. Then tear the center open and color underneath. For burns, stretch the skin slightly while the latex dries so it wrinkles when released. Then tear and color it with reds, yellows and browns. Bubbles in the latex can suggest blisters, so do not always avoid them. Always remember that some people are allergic to latex. Ask first, patch test, and use a latex-free alternative when needed.
Bruises
Bruises need no latex at all, only color. Stipple reds and purples for a fresh bruise, then add blues. For an older bruise, shift toward greens and yellows. Keep the shape irregular and the edges soft, and press a little color with a sponge rather than painting a solid patch. A touch of yellow at the outer edge suggests age, while a hint of deep red in the center suggests a fresh impact.

Building a starter kit
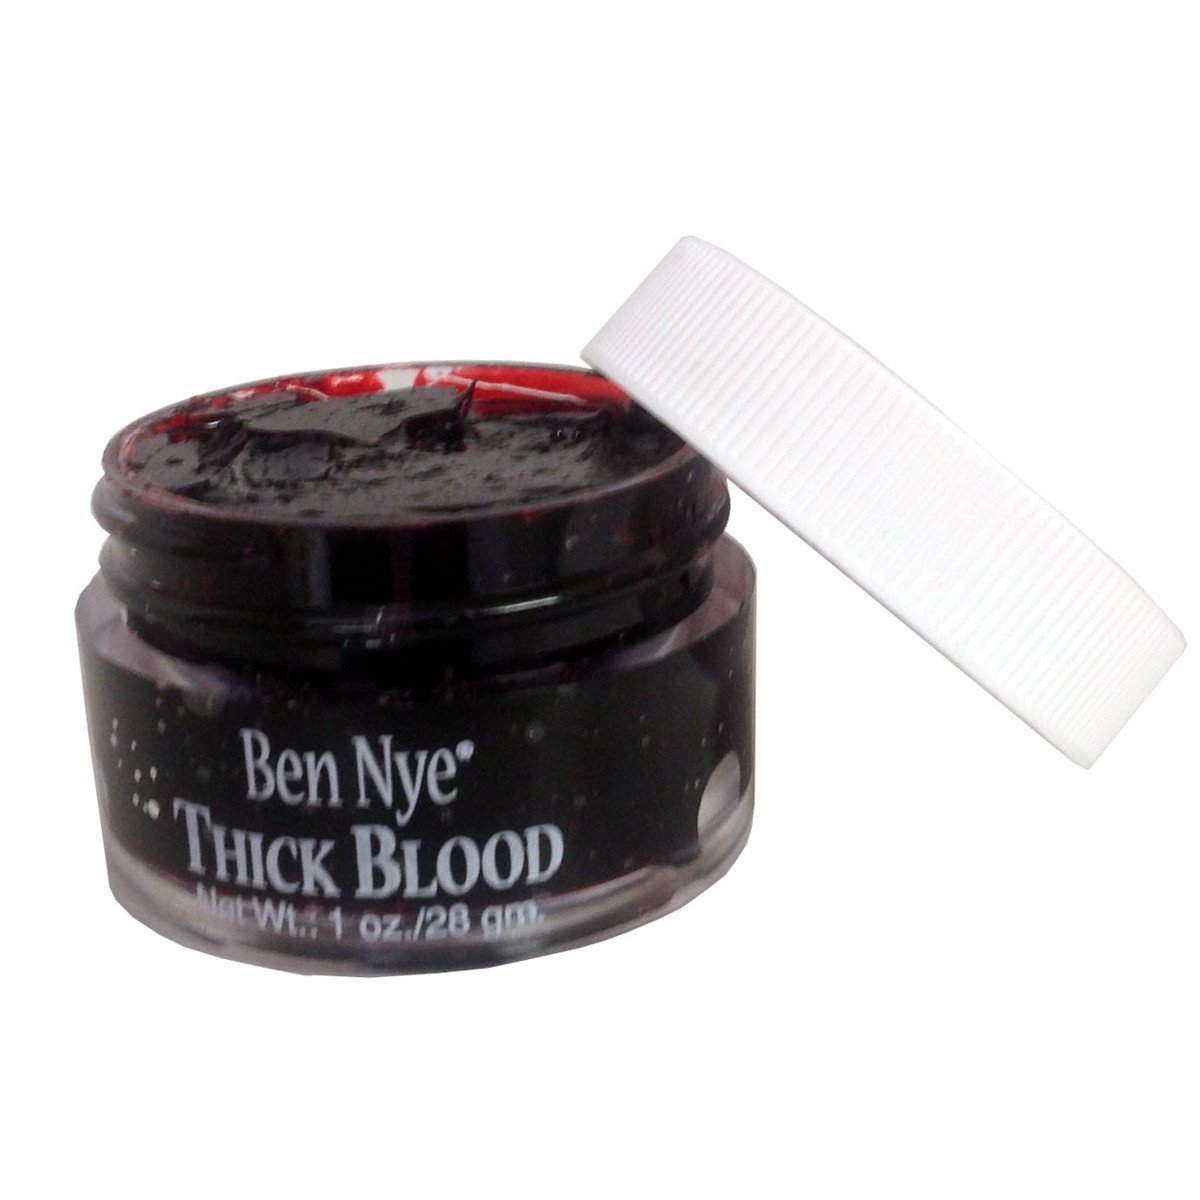
A small kit of four materials covers most of the wounds in this guide. Start with a scar wax for cuts, a liquid latex for raised and peeling skin and a thick blood for wound centers. Choose a clear latex if you want the skin tone to show through. A fair or light wax can be colored to match any performer. Meanwhile, keep the thick blood for the inside of wounds and use a thinner, flowing blood for drips. Test each product on your own arm first, then on the performer, following the patch-test advice above. Once you know how they behave, you can build almost any shallow wound in under half an hour.
With the basics in hand, the next step is depth. Wax and latex are excellent for shallow and surface wounds. However, they struggle with deep gashes, bullet wounds and anything that must look wet and open at close range. For those, artists turn to gelatin and silicone. Gelatin is warmed until liquid, sculpted onto the skin and colored once it sets. It holds edges well and looks translucent, like real tissue. Meanwhile, silicone gives the most realistic finish of all, but it costs more and needs careful mixing. Most artists learn gelatin first, because it is forgiving and can be melted down and reused. Practice with it on a forearm before attempting a face. A few sessions are usually enough to learn its working time.
Deep wounds with gelatin
Gelatin wounds start with a melted block or tub of SFX gelatin, warmed gently until fluid. Test the temperature on your own wrist before it touches the performer, because it can be hot. Apply it with a spatula, build the shape, then pull and shape it as it cools. Once set, cut into the center to open the wound, add depth with dark colors and finish with thick and flowing blood. For stab and bullet wounds, keep the opening small and the surrounding bruising wide. The damage around an injury sells it more than the hole itself. Practice on your own arm before working on a performer. Note how long each batch stays workable.
Mehron 3D Gel — gelatin for deep wounds
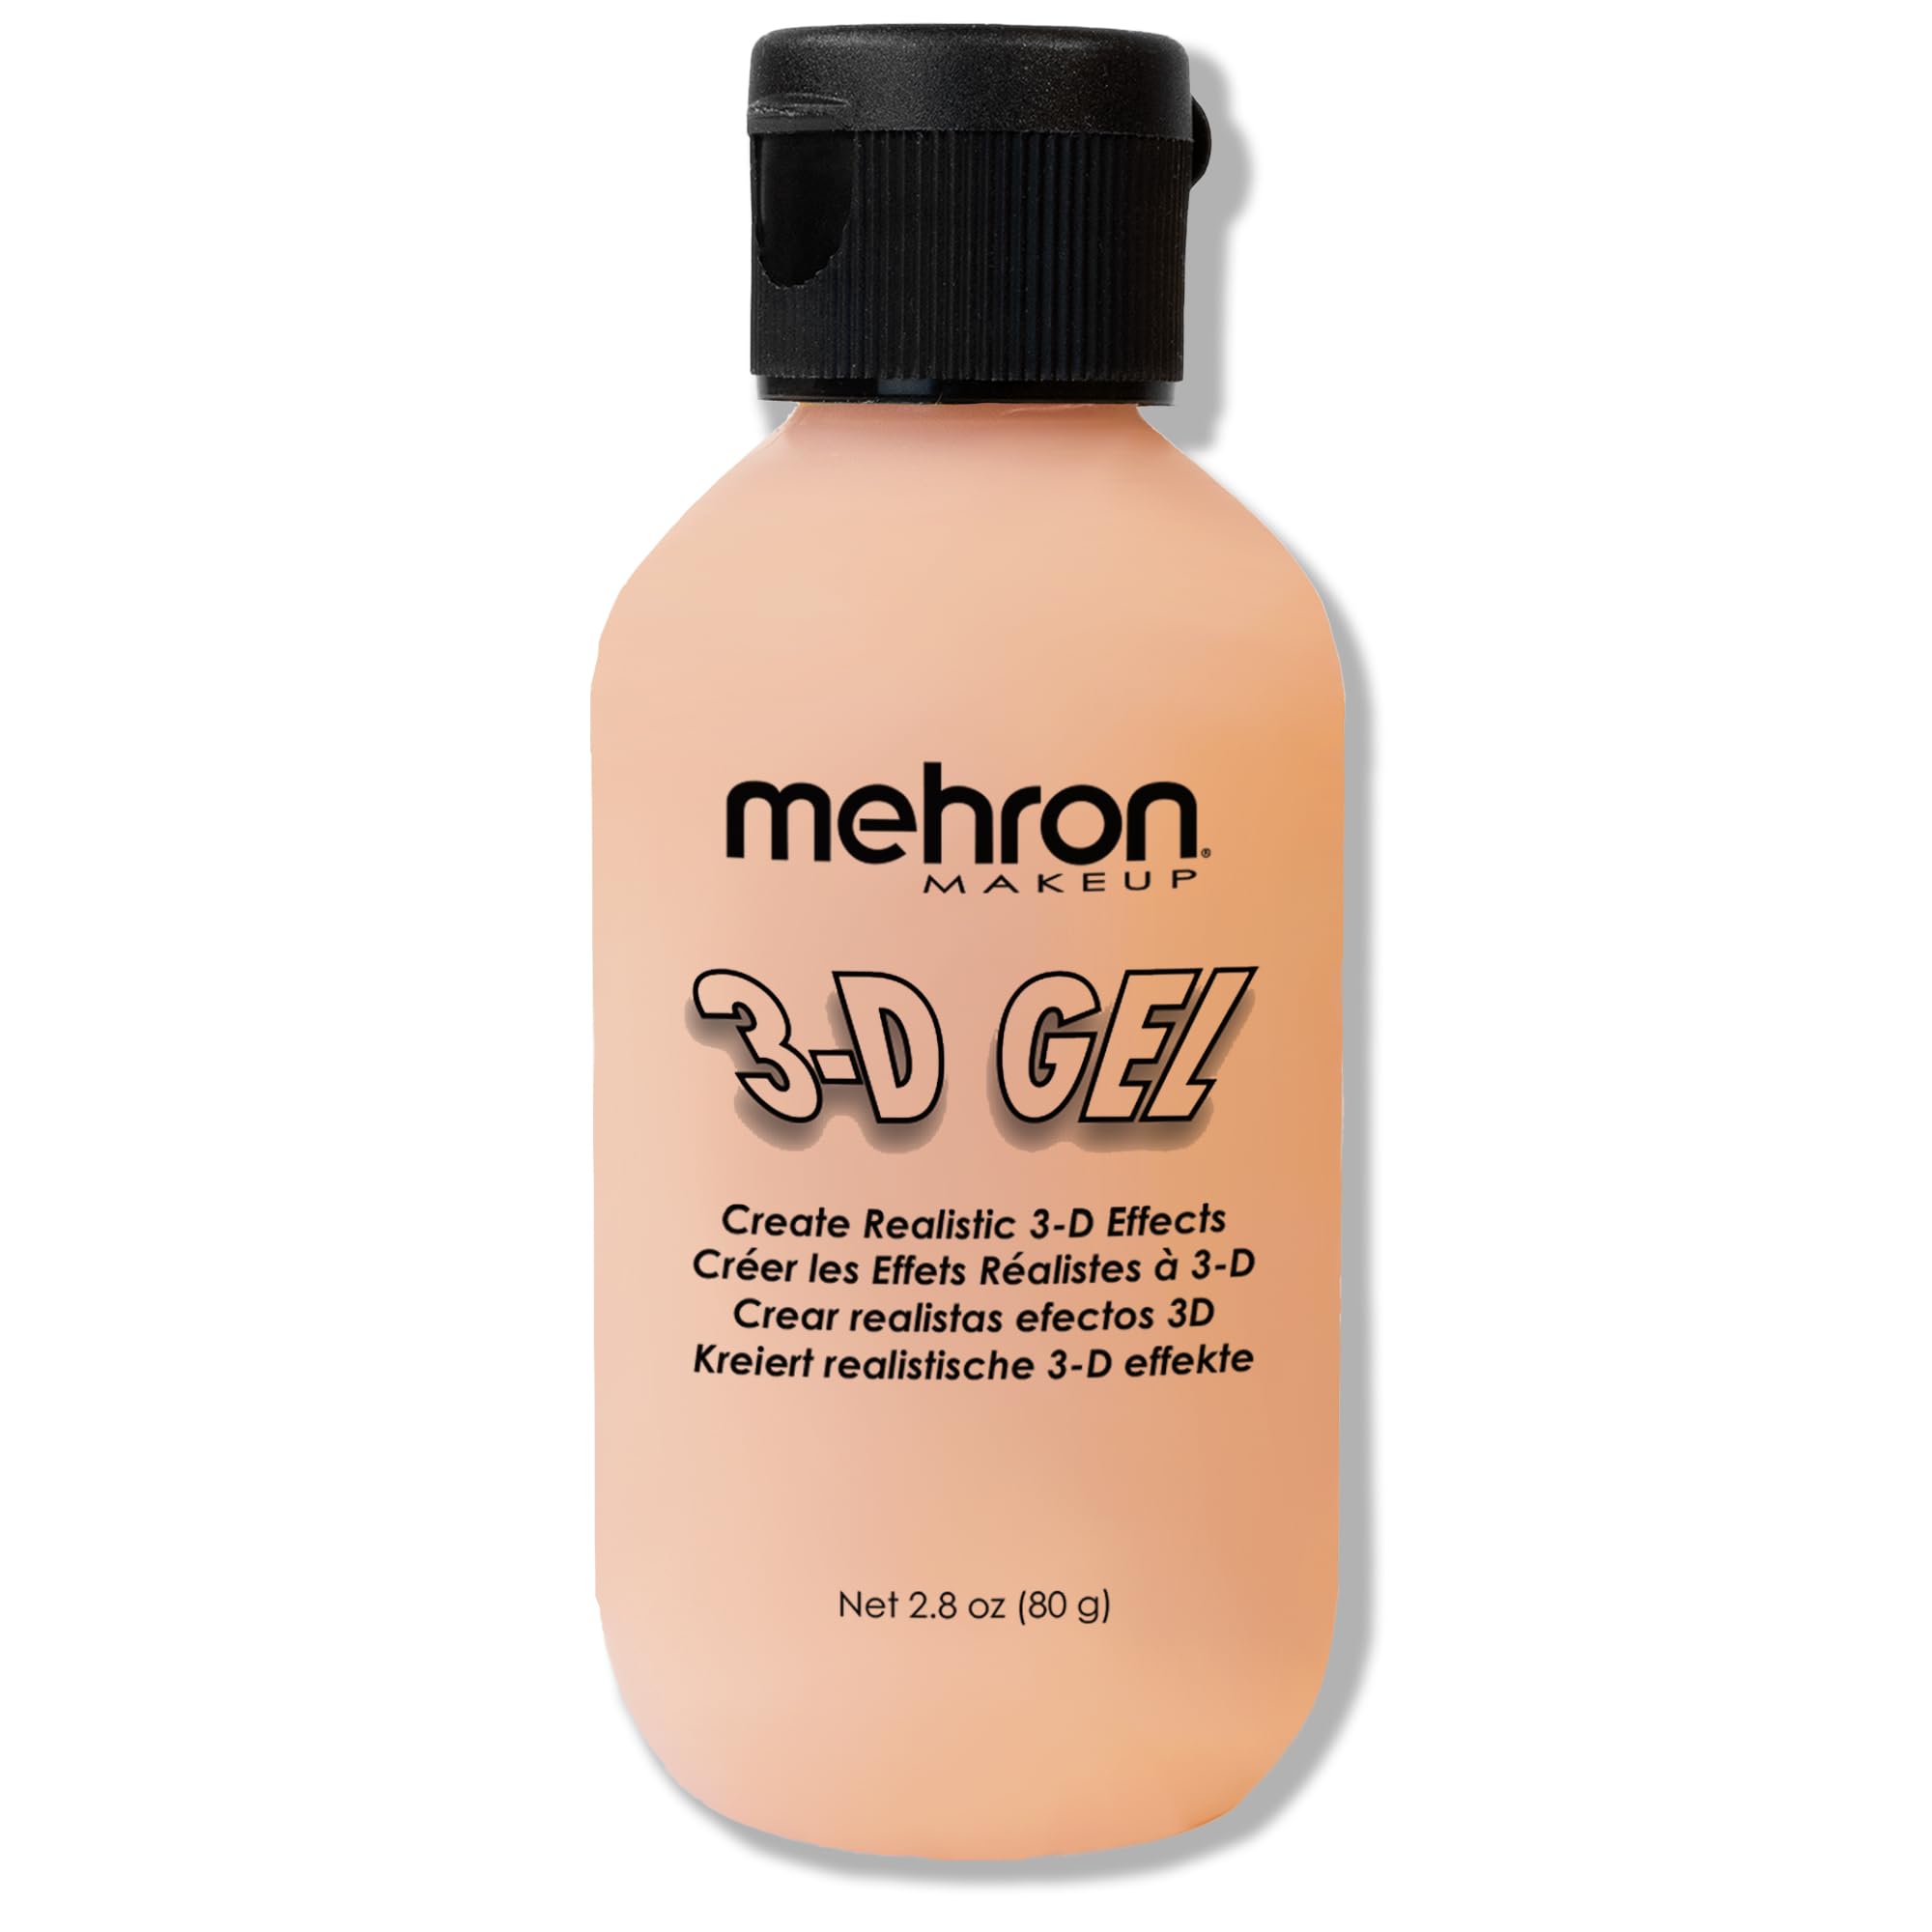
A special-effects gelatin that is warmed until liquid, then sculpted onto the skin for deep cuts, burns and open wounds. It sets translucent, takes color well and can be remelted for practice. Checked on Amazon on 28 October 2026: 2 oz, Light Flesh, $12.95, in stock.

Horror and zombie effects
Horror makeup combines all of these techniques at scale. A zombie face may use latex for peeling skin, gelatin for a torn cheek, wax for cuts and layers of color for decay. Keep the color story consistent: grays and greens for decay, reds only where injuries are fresh.
Scale changes the job. One wound can take half an hour, but a horror production may need dozens of performers ready at once. For that reason, effects teams often pre-make appliances, such as gelatin or silicone wounds cast in molds, and apply them quickly on the day. Learning to sculpt and cast simple appliances is a natural next step once hand-built wounds feel easy. Meanwhile, organize your station for speed: products in order of use, blood in squeeze bottles and photographs of each approved look within reach. Our guide to breaking into film and TV makeup explains how effects artists build careers on productions like these. In short, speed and consistency matter as much as realism.
Stage blood: types and placement
Blood is the finishing touch, and it is easy to overdo. Most artists carry at least three types. A thick blood suits wound centers and scabs, a flowing blood suits drips, and a mouth-safe blood suits performers who need blood near the mouth. Read labels carefully, because not every blood is safe for the mouth or eyes. In SFX wound makeup, blood placement often decides whether a wound reads as real. Apply blood last, after the wound is colored and sealed. Place it where gravity would take it, and let drips run naturally rather than painting them. Fresh blood is bright and wet, while older blood darkens and dries, so match the blood to the story. Finally, plan for staining: some bloods mark skin and fabric, so test on costumes and ask the wardrobe team first.

SFX wound makeup on set
On a production, SFX wound makeup must survive long days and match exactly from one scene to the next. Photograph every wound from several angles under neutral light as soon as it is approved. Keep notes of every product and color used. Carry a touch-up kit with wax, colors, blood and adhesive remover, and check wounds between takes. Meanwhile, work closely with the costume and camera teams, because blood on clothing and wounds in close-up affect both. Removal deserves the same care as application. Use the right remover for each material, work gently and leave the skin clean and calm. A performer who leaves comfortable is one who trusts you the next day. In other words, professionalism in effects work shows as much in the trailer as on camera.

You may also like
Breaking Into Film and TV Makeup: IATSE Local 798 and Local 706
You may also like
Color Theory for Makeup Artists: Undertones, Correcting and Light

Training speeds all of this up. Many artists learn effects through specialist courses, assisting effects teams or working on theater and independent film, where wound work is common. Our ranking of the best makeup schools includes programs with strong effects departments. Meanwhile, books by established effects artists show techniques step by step, and our list of books for makeup artists includes several. Above all, practice constantly and photograph everything. Compare your wounds with reference images, and adjust the color and edges until a stranger would flinch. That reaction is the measure of a good wound. Keep every reference photograph in one folder, sorted by wound type. Over time, it becomes the most useful book in your kit.
From practice to production
SFX wound makeup rewards patience. The materials are simple, but the skill lies in edges, color, placement and restraint. Start with scar wax cuts and color-only bruises, then move to latex burns and gelatin wounds. Patch test every product, ask every performer about allergies and keep blood away from the eyes unless the product is made for them. Photograph your work and keep a reference library of real injuries and film effects. Then build speed, because productions value artists who are both convincing and quick. Equally, build calm: performers sit for long applications, and a relaxed, organized artist makes the chair easier. Explain each step, check comfort often and keep tools clean and labeled throughout the session. Our special effects career guide explains how to turn that skill into a career. It covers training, portfolios and the route onto productions.
Finally, remember who the work is for. A wound exists to serve a story, a scene or a performance, so read the script or brief before you design it. Ask the director what the audience should feel: shock, sympathy or dread. That answer shapes the size, color and amount of blood more than any technique in this guide.
A practice plan for the next month
A simple plan turns this guide into skill. In the first week, make three scar wax cuts on your own forearm and photograph each in daylight. Next, in week two, build a latex burn and a color-only bruise, then compare them with reference images. During week three, try a gelatin wound and time how long the gelatin stays workable. Finally, in the fourth week, combine techniques into one finished look and photograph it for your portfolio. Keep notes on every product, color and timing, because those notes become your continuity habit on set. Repeat the cycle each month, and your speed and realism will grow together. Share the best results with a mentor for honest feedback.
Tools and library


The three tools above support different parts of an effects career. The quiz helps you confirm whether effects work suits you, compared with bridal, editorial or film beauty. Meanwhile, the calculator helps you price effects jobs. They use more product and more time than beauty work, so your rates need to reflect both. The library gathers the career guide, notebooks and workbooks, including pages for continuity notes and kit inventories. Start with the quiz if you are still choosing a specialty. If you are already working, the calculator and continuity pages will pay for themselves on your next production. Either way, revisit all three as your work grows and your kit expands.
From the Artist Library
Effects skills open doors. The guide covers the working side: pricing, contracts, agencies, kit economics and the first five clients, in plain terms.
Questions worth asking
What do you need for SFX wound makeup?
Scar wax, liquid latex, a gelatin or silicone for deeper wounds, cream colors, two or three stage bloods, a spatula, sponges, tissue, powder, sealer and the right removers.
How do you make a fake cut with scar wax?
Apply a thin layer of wax over adhesive, blend the edges into the skin, cut into the center, seal, color from dark inside to lighter edges, then add thick blood.
How do you make fake skin for SFX makeup?
Paint thin layers of liquid latex with tissue between them, let each dry, then tear, wrinkle or color it. Gelatin is another option for deeper wounds.
Is SFX makeup safe for skin?
Use products made for skin and theatrical use, and patch test at least 24 to 48 hours ahead, as the FDA advises. Ask about latex allergies and keep color away from the eyes unless approved for them.
How do you make a bruise with makeup?
Stipple reds and purples for a fresh bruise and add blues; shift to greens and yellows for an older one. Keep edges soft and the shape irregular.
How do you remove SFX wound makeup?
Use the remover made for each material, such as adhesive remover for spirit gum, and work gently. Clean and moisturize the skin afterward.
